Exploring the ins and outs of 3D printing a custom hard drive backplane for smoother home server upgrades
Ever thought about how handy it would be to quickly swap hard drives in your home server without dealing with tangled cables or pricey gear? That’s exactly why I started looking into making a 3d printed backplane for my setup — a neat little project to upgrade my old-school server case with four 5¼” bays. If you’re into home server setup or just love DIY tech fixes, this might pique your interest.
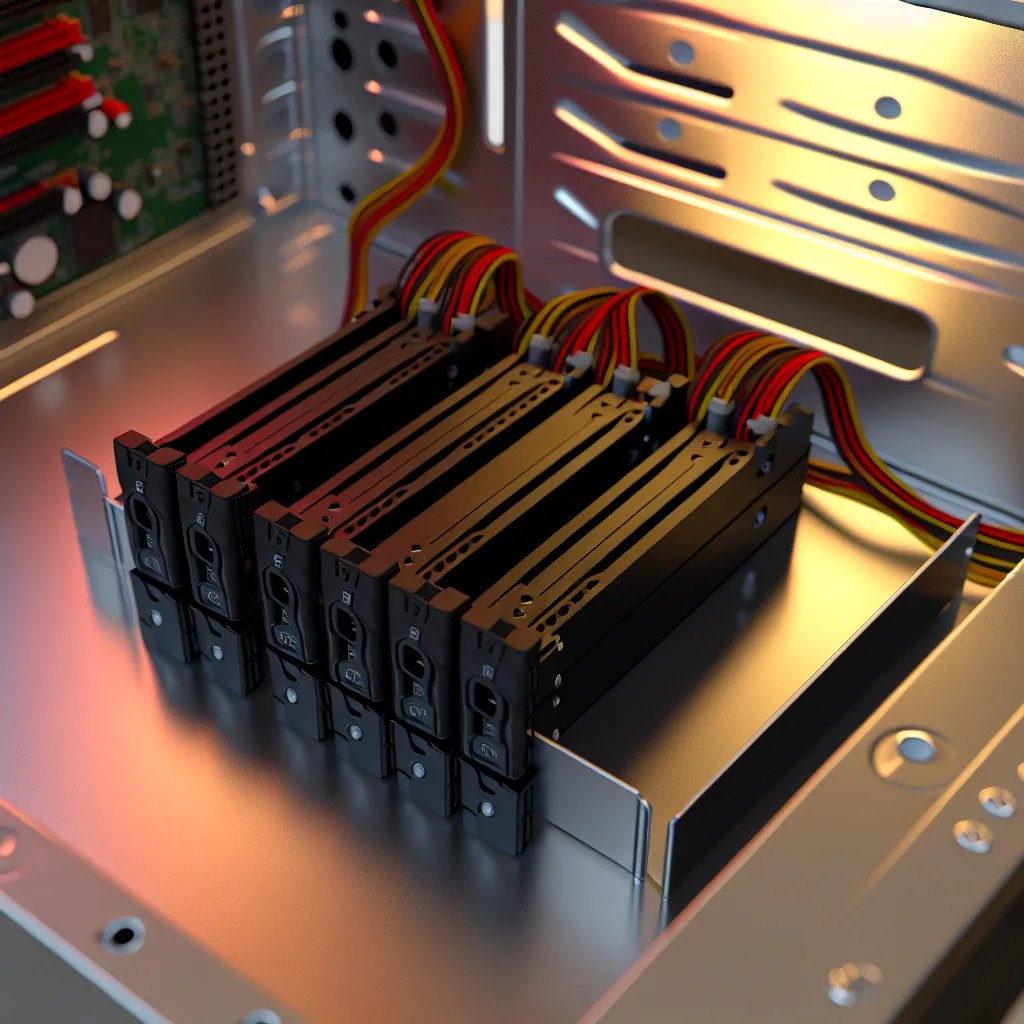
What Is a 3D Printed Backplane?
A backplane is essentially the interface where hard drives plug in — power, data, all that jazz. Commercial versions exist, but they often come with a steep price tag and sometimes more complexity than we’d like for a DIY project.
By designing a 3d printed backplane enclosure, the goal is to create a straightforward way to slide drives in and out while keeping the SATA and power cables fixed in place. This means you won’t have to fuss with each drive’s cables whenever you swap one out—a huge time saver and sure to make life a bit easier.
Why Use 3D Printing for Your Hard Drive Backplane?
3D printing allows for customization that commercial backplanes just can’t match. You get to tailor the rails or slots exactly to your drive dimensions. Plus, it’s a whole heck of a lot cheaper if you already have access to a 3D printer or a local maker space.
But there are some things to keep in mind:
– Cable management: You need to hold power and SATA cables firmly but gently so they don’t get damaged.
– Sliding mechanism: A rail or track system helps drive the hard drives in smoothly, without forcing connectors.
– Vibration dampening: Drives can vibrate and sometimes loosen connections — a simple retention system can prevent this.
I found that commercial vendors often use complicated locking mechanisms which might be tricky for a first DIY print, but simple clips or rails work surprisingly well too.
Tips and Ideas for Your DIY 3D Printed Backplane
- Measure twice, model once. Accurate dimensions of your drives and bays are key.
- Use flexible filament for cable holders. This material protects cables from damage while holding them securely.
- Test your design in pieces. Print a small section first to check the fit of rails and slots.
- Think about airflow. Your design should not block ventilation, so consider gaps or mesh designs.
Additional Resources
If you want to dig into 3D design, tools like TinkerCAD or Fusion 360 make custom parts easier to model. For 3D printing itself, Prusa’s guide has solid beginner-friendly info.
For the actual hard drive details and connectors, the SATA-IO official site offers specs and standards to help make sure your design matches industry norms.
Wrapping Up
Building a 3d printed backplane for your home server is a fun blend of practical tech DIY and a chance to customize your setup just right. It’s rewarding to slide a drive in and out without disconnecting cables, and doable with careful planning and a bit of patience.
If you’re thinking about taking this on, start simple, test often, and enjoy the process. Your server (and your sanity) will thank you!