Discover the essentials of home lab setup and what gear you really need for a solid start
If you’ve ever thought about diving into a home lab setup, maybe to tinker, learn, or just have your own private network and storage, I’m right there with you. Starting a home lab can feel overwhelming with all the gear out there, but getting the basics in place is really the key, and that’s exactly the story I want to share with you today.
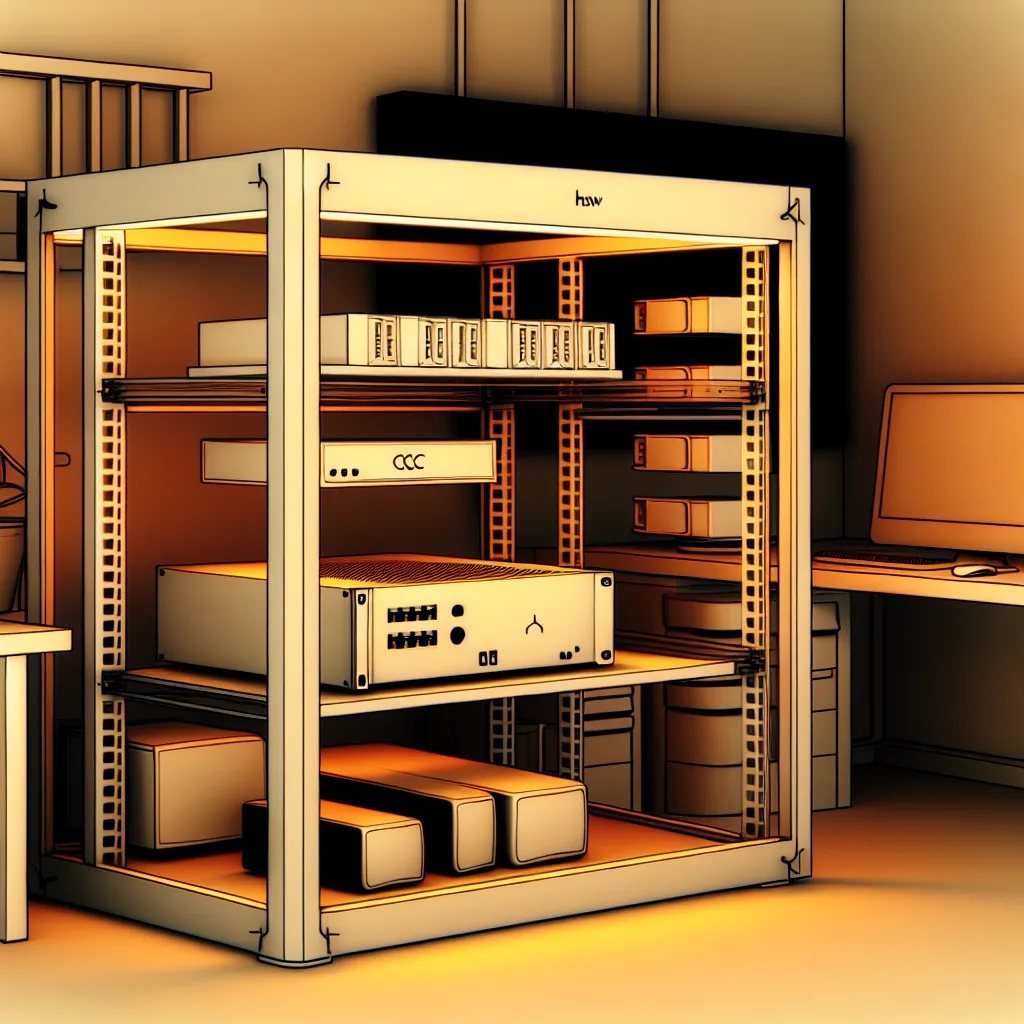
To kick things off, I used a StarTech 12U open frame rack. It’s sober, practical, and it gives me enough vertical space to keep my gear neat and accessible without crowding my workspace. For the brain of the system, I went with an Intel NUC 10 running ESXi and loaded it with 64 GB RAM. This setup handles the virtualization I need for my projects and plays nicely with various networking tools.
Storage is king in any home lab, so I included a couple of QNAP units — the TS-EC879U-RP and the TES-1885U. These aren’t just pretty boxes; they provide solid storage capabilities and are great for experimenting with different storage protocols and backups. For networking, I picked Ubiquiti switches: an EdgeSwitch 16XG that supports 10GbE for a dedicated storage network to keep things fast and efficient, plus an EdgeSwitch 48 Lite for general 1GbE connectivity to cover the rest of my devices.
Why This Home Lab Setup?
You might wonder why choose these components. Well, starting with virtualization using the NUC allowed me to run multiple virtual machines without needing a massive server. The high RAM helps with smooth operation across these VMs. Using Ubiquiti switches gives me reliable, scalable networking equipment often seen in prosumer and enterprise setups, but within a price range that makes sense for a home lab.
Getting The Most Out of Your Home Lab Setup
One tip I learned early was to keep my network segmented for better performance and security. Having a dedicated 10GbE switch just for storage means I’m not mixing traffic, which helps keep file transfers snappy. Plus, the QNAP devices support a wide range of RAID configurations and backup options, so it’s flexible as my needs grow.
Some Advice For You
If you’re eyeing a similar path, start small and expand as you go. Don’t chase every shiny new gadget – focus on what gives you value and learning. Also, make sure your rack is open and breathable like the StarTech 12U to avoid overheating. Lastly, explore the official sites for your hardware — they have great docs and forums:
- ESXi VMware Product Page for virtualization tips.
- QNAP Official Site for storage setup guides.
- Ubiquiti Networks for networking gear insights.
This setup is still early in the process, but having these essentials in place is already opening doors to countless projects and experiments. Building your own home lab is not just about hardware; it’s about the experiences and growth that come with it. If you’re curious or planning your own setup, I hope this gives you a clear starting point and inspires you to start building.
If you have thoughts or questions, I’m all ears! Home labs are all about community and shared learning, after all.