Understanding how to optimize your Promise Vess RAID 1840i storage setup
If you’ve recently picked up a Promise Vess RAID 1840i or are thinking about diving into RAID systems, you might be scratching your head about how the storage sizes work — especially when mixing different hard drive capacities. I was there too, and I want to share a few insights and tips that helped me make the most of this system, hopefully saving you some time and frustration.
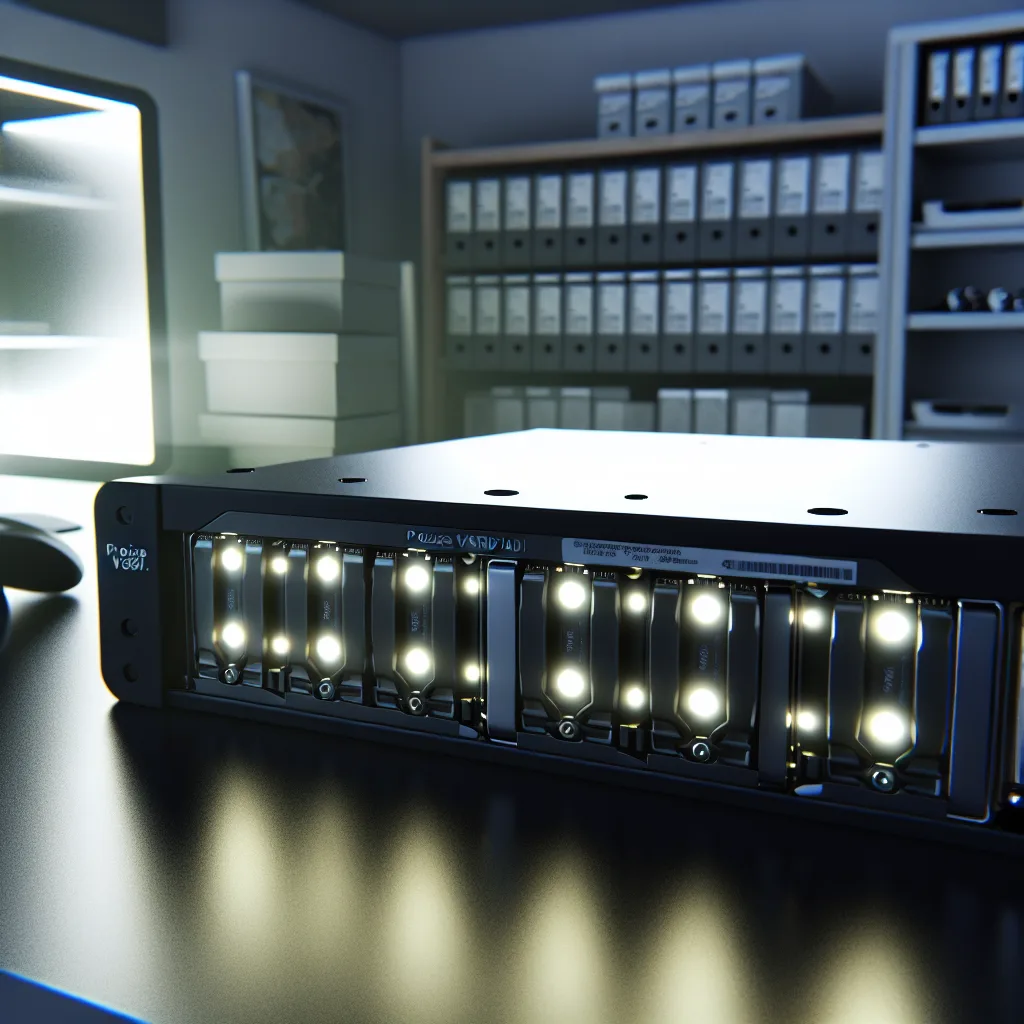
What is Promise Vess RAID 1840i?
The Promise Vess RAID 1840i is a storage array designed for handling multiple drives — up to 16 bays, supporting drives like 3TB hard disks to build a large storage pool. It’s great for those needing centralized storage, whether for backups, media libraries, or small business needs. But RAID systems can be tricky, especially when it comes to drive sizes.
Why Does My Total Storage Only Reflect the Smallest Drive?
One common thing I noticed right away is with RAID arrays like this, if you mix bigger and smaller drives, the system often limits each drive’s use to match the smallest one in the set. For example, if you have twelve 3TB drives and add a 12TB drive, the RAID will usually only count 3TB from that larger drive.
This is normal behavior because RAID levels (especially RAID 5 or RAID 6) require uniform drive sizes to balance data across disks for redundancy and performance. The Promise OS, which manages the array, isn’t designed to flexibly use the extra space from bigger drives in a mixed environment.
Should I Keep Using Promise OS or Switch?
I wondered the same. The Promise OS is great for a straightforward, traditional RAID setup. But it isn’t flexible for mixing different drive sizes or using them beyond the smallest drive’s capacity.
Alternatives like UNRAID are popular because they allow different sized drives and use only the space you add, but they require specific hardware compatibility. The Promise Vess RAID 1840i’s hardware RAID controller doesn’t work with UNRAID since UNRAID relies on a software-based approach and direct disk access.
So unless you replace your hardware RAID array with a software solution on a standard PC or server, you’re mostly sticking with Promise OS.
What Are My Options?
Here’s what I gathered:
- Stick with matched drives for full capacity: If you want to maximize space, you’ll want drives all the same size. This avoids wasting space capped by the smallest disk.
- Use the extra space on larger drives outside the RAID: You can sometimes partition the extra space on bigger drives and use it separately if the system supports it.
-
Upgrade hardware or rebuild with a different system: If your setup needs flexibility with mixed drive sizes, consider creating a NAS or server running something like TrueNAS or FreeNAS, which can handle drives differently but require more technical knowledge and different gear.
Helpful Resources
- Promise Technology Official Site for full specs and user manuals.
- UNRAID Home for understanding alternative RAID-like storage arrangements for mixed drives.
- How RAID Works – Backblaze Blog for a friendly intro to RAID principles.
Final Thoughts
The Promise Vess RAID 1840i is solid gear if you want a traditional RAID setup with matched drives. If you’re looking to mix drive sizes and use their full capacity, you might hit some constraints because of how RAID and Promise OS handle capacity. It’s a balance between hardware capabilities and what you want from your storage.
If you’re just starting out, keeping your drives uniform and sticking with Promise OS is the simplest path. But if you grow more adventurous with storage flexibility, exploring software-driven solutions like UNRAID or TrueNAS might be worth it. Either way, having a clear picture of your setup needs is key to making RAID work for you.
Hope this helps you get the most from your Promise Vess RAID 1840i setup!