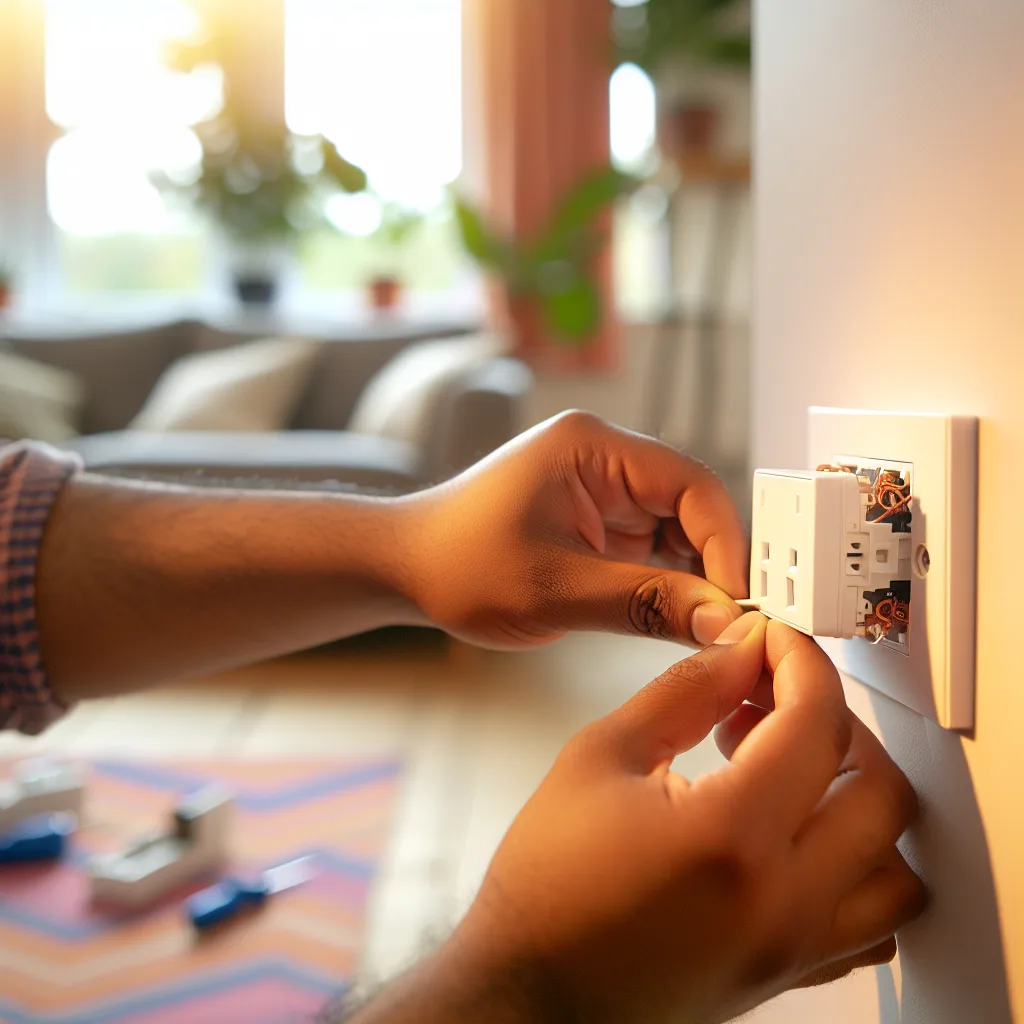
A simple guide to getting your Shelly 1PM Gen4 smart switch up and running in UK homes
If you’ve been diving into smart home gadgets lately, you might have come across the Shelly 1PM Gen4. It’s a neat little device that lets you control and monitor your home’s electrical appliances remotely. But when it comes to installing the Shelly 1PM in a UK wall socket, things can get a bit tricky if you’re not familiar with the wiring differences. Don’t worry—I’ve been there and figured out some practical tips that can help you breeze through your Shelly 1PM installation.
What Is the Shelly 1PM Gen4?
First off, the Shelly 1PM Gen4 is a smart Wi-Fi relay switch. It’s small, powerful, and capable of measuring power consumption while letting you control devices via an app or voice assistants like Alexa and Google Home. It’s popular for upgrading light switches, sockets, or any appliance you want to smarten up.
Understanding UK Wiring: The Challenge for Shelly 1PM Installation
One of the hurdles with Shelly 1PM installation in the UK is the wiring setup. Unlike some other countries, UK wall sockets follow strict wiring regulations with designated live, neutral, and earth wires. The catch? Shelly 1PM requires a neutral wire to function, but not every UK socket provides an accessible neutral wire inside, especially older fittings.
This can be frustrating, but it’s not the end of the road. Before you even start, make sure to turn off the power at your consumer unit (the fuse box) to avoid any danger.
Steps to a Smooth Shelly 1PM Installation
Here’s what helped me get my Shelly 1PM working without calling an electrician immediately:
- Check Your Socket’s Wiring: Open the socket faceplate carefully to examine if there’s a neutral wire present. Sometimes it’s tucked away or connected in a way that it’s hard to spot.
- Use a Multimeter: If you’re confident, a multimeter will help verify which wires are live, neutral, and earth.
- Consider the Switch Box: If your socket doesn’t have a neutral, the neutral wire might be at the light switch box instead. In those cases, running the Shelly 1PM there can be the solution.
- Consult the Manual: Shelly’s official installation guide is super helpful. It includes diagrams specific for the UK wiring setups (Shelly UK Installation Manual).
- Don’t Skimp on Safety: If in doubt, it’s always worth bringing in a qualified electrician. Electricity isn’t something to mess around with.
Benefits of Getting It Right
Once installed, the Shelly 1PM gives you real-time energy consumption data and remote control capabilities, which can genuinely make a difference in managing your home’s energy usage. Plus, integrating it with home automation systems is easier once you’ve got a solid installation in place.
Additional Resources for Your Shelly 1PM Installation
- Shelly Official Website – For product updates and official support
- UK’s IET Wiring Regulations (BS 7671) – To understand wiring standards
- How to Use a Multimeter Safely – For newbies wanting to test electrical circuits
A Quick Word of Advice
If you’re new to DIY electrical projects, the Shelly 1PM installation might seem daunting. But with a bit of patience and the right approach, it’s absolutely doable. Take your time, follow instructions closely, and always put safety first.
Feel free to share your experiences or questions. Sometimes just talking through the process makes it a lot less intimidating!
