Discover how a DIY home server setup can bring your digital projects to life, from gaming to media streaming.
I’ve recently jumped into the world of DIY home servers, and I wanted to share what I’ve learned so far. Setting up a home server is a fun project that opens up a lot of possibilities for managing your own digital space. Whether you’re interested in gaming servers, media streaming, or just a way to centralize your files, a home server setup might be something you want to try.
Why Start a Home Server Setup?
A home server setup lets you take control of services that might otherwise rely on third-party providers. Instead of streaming movies or music from cloud services, you can host your own media server. You could also run game servers for you and your friends, back up your data automatically, or experiment with different software.
My Server Rack: A 3D Printed Beginning
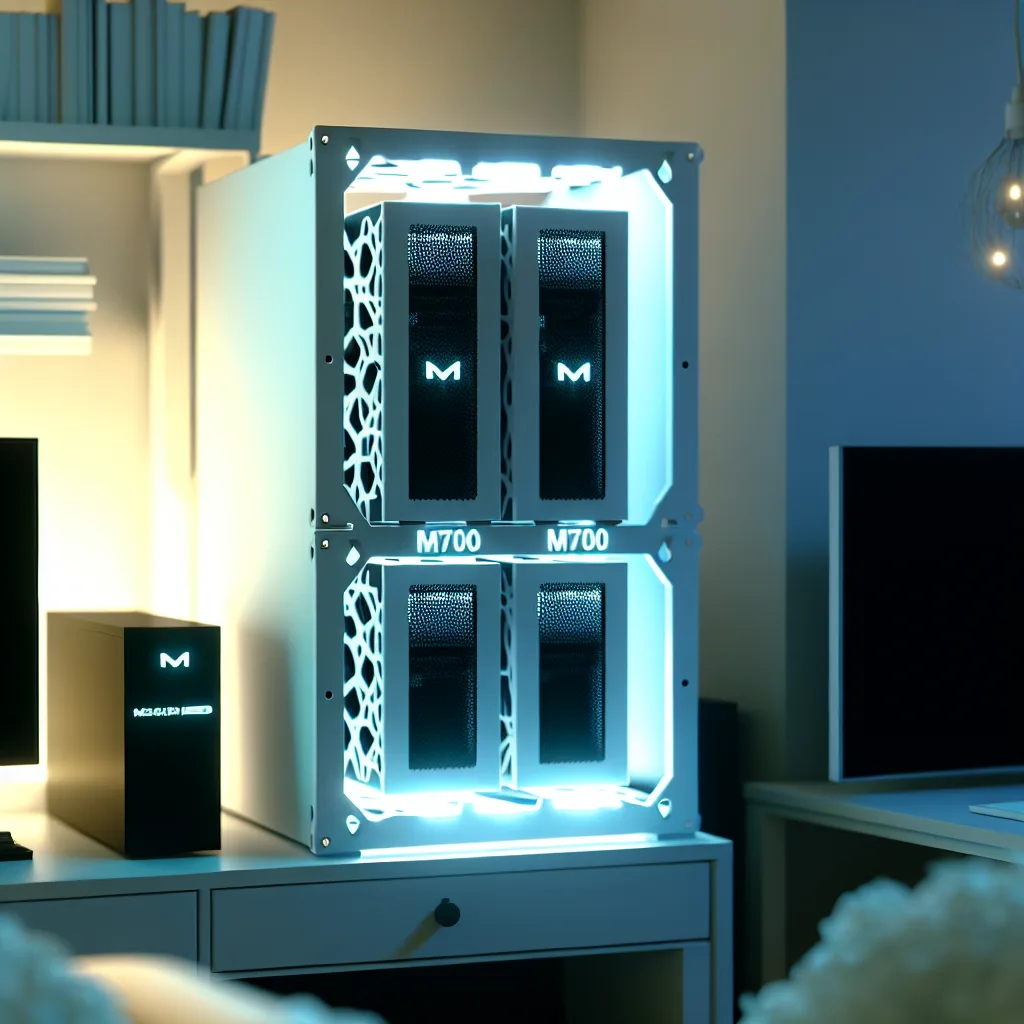
To organize my gear, I 3D printed a custom rack. Printing your own rack is a neat way to tailor your setup to the space you have and the exact hardware you want to use. It also gives a bit of a personal touch to an otherwise technical project.
I set up a TP-Link SG108PE switch — a solid choice if you want a reliable switch with Power over Ethernet (PoE) capability, which is handy for powering devices directly over the network cable. On that rack sit two Lenovo ThinkCentre M700 PCs.
What My Servers Are Doing
The top Lenovo machine runs a Minecraft server. It’s been a fun way to host gaming sessions privately with friends, and Minecraft is a light but versatile choice for a home server project. The bottom one is planned to run a Jellyfin media server, which allows me to stream my own movies and TV shows across devices without relying on subscription services. I’m also considering adding a music server there as well.
Why Jellyfin? Live Your Media Your Way
Jellyfin is an open-source media server that streams your music, movies, and TV shows to any device. It’s a great alternative to commercial services because it’s free, private, and fully controlled by you. You can learn more about Jellyfin at their official website.
Tips for Your First Home Server Setup
- Start small: Use spare PCs or low-power devices like Raspberry Pi to test out what you want.
- Plan your network: A switch like the TP-Link SG108PE helps manage devices efficiently.
- Think about cooling: Servers can get warm, so adequate ventilation is important.
- Secure your setup: Keep your home server protected with good passwords and firewall settings.
Resources to Explore
If you want to dive deeper, check out official Lenovo documentation for setting up ThinkCentre devices here, and for networking gear, the TP-Link SG108PE product page is a useful resource here.
Wrapping Up
Diving into a home server setup has been rewarding and educational. It’s amazing to see how a couple of machines and some networking gear can power different services like gaming servers and media streaming. If you’re curious about starting your own setup, my advice is just to begin and learn as you go. There’s a lot of room for customization and growth, and it’s a practical way to understand more about how networks and servers work.
If you’re thinking about your own home server, what projects would you start with? Or if you’ve been into it for a while, what tips would you share? I’d love to hear your thoughts!