Exploring my compact yet powerful home server setup, from 3D-printed racks to running Plex and Pi-hole.
I recently put together a neat little home lab that’s been a lot of fun to build and even more fun to use. If you’ve ever thought about diving into a home server setup but weren’t sure where to start, I wanted to share how I built mine from scratch with some clever tweaks and trusty gear.
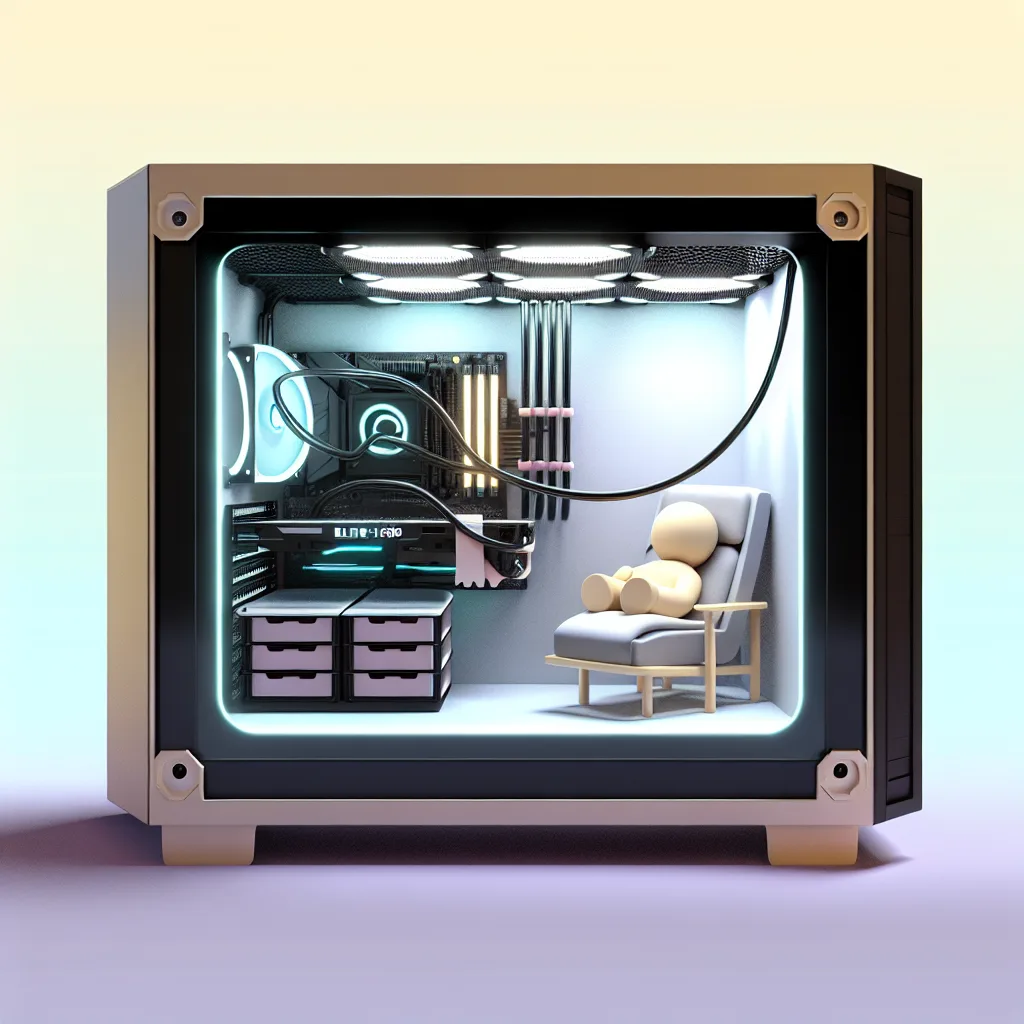
Starting With the Basics: The Case and Rack
My home server setup all began with a Cooler Master Elite 130 case. It’s small but sturdy — perfect for what I had in mind. I wanted something compact that could fit in my workspace without taking up too much room. To keep everything organized and sturdy inside, I used a 3D-printed rack designed by Lab Rax. I actually modified the rack’s feet to bolt straight into the bottom of the case so everything fits perfectly and stays put. It’s those little personal touches that make the difference in a setup like this.
Hardware Highlights in My Home Server Setup
For the hardware, I combined a few essentials and some older stuff I had lying around. This includes a UniFi Ultra light 8 port PoE switch, which powers my network devices smoothly. Running the core of the server is some older gaming hardware, repurposed to handle my TrueNAS server efficiently. The mix of new and old tech keeps it budget-friendly and reliable.
What My Home Server Setup Runs
Currently, my system is juggling quite a few services:
- Plex for media streaming around the house
- Radarr, Sonarr, and Prowlarr to automate my movie and TV show downloads
- Immich to handle photo backups and management
- Pi-hole to block ads network-wide
All these services run quietly in the background, making my daily digital life easier and more enjoyable. Next on the list is setting up Home Assistant for smart home control, which I’m really looking forward to.
Why a Home Server Setup?
I enjoy the control and privacy of running my own server at home. It’s like having a personal cloud without the recurring fees or privacy concerns that come with public cloud services. Plus, it’s a fun challenge and learning experience. If you’re curious about starting your own, I’d recommend checking out resources like TrueNAS documentation for servers and UniFi’s official website for network equipment info.
Final Thoughts
Building a home server setup doesn’t have to be intimidating or expensive. With some creativity — like using a custom 3D-printed rack — and a bit of patience, you can create a system that fits your needs and space. And the more you use it, the more you’ll find ways to expand and improve.
If you want a setup that grows with you and keeps your data close, this might be a great project to start. I’m excited to share more updates as I get Home Assistant up and running next!
For more info on building and managing home servers, sites like How-To Geek provide excellent guides and tips.