How to create a personalized and practical Lack rack that fits your space and style
If you’ve ever looked at the popular Lack side tables from IKEA and thought, “I wish there was a way to turn these into something more useful,” then you’re not alone. The idea of a custom lack rack has been floating around among DIY enthusiasts and tech geeks alike for a good reason—it’s simple, affordable, and surprisingly versatile.
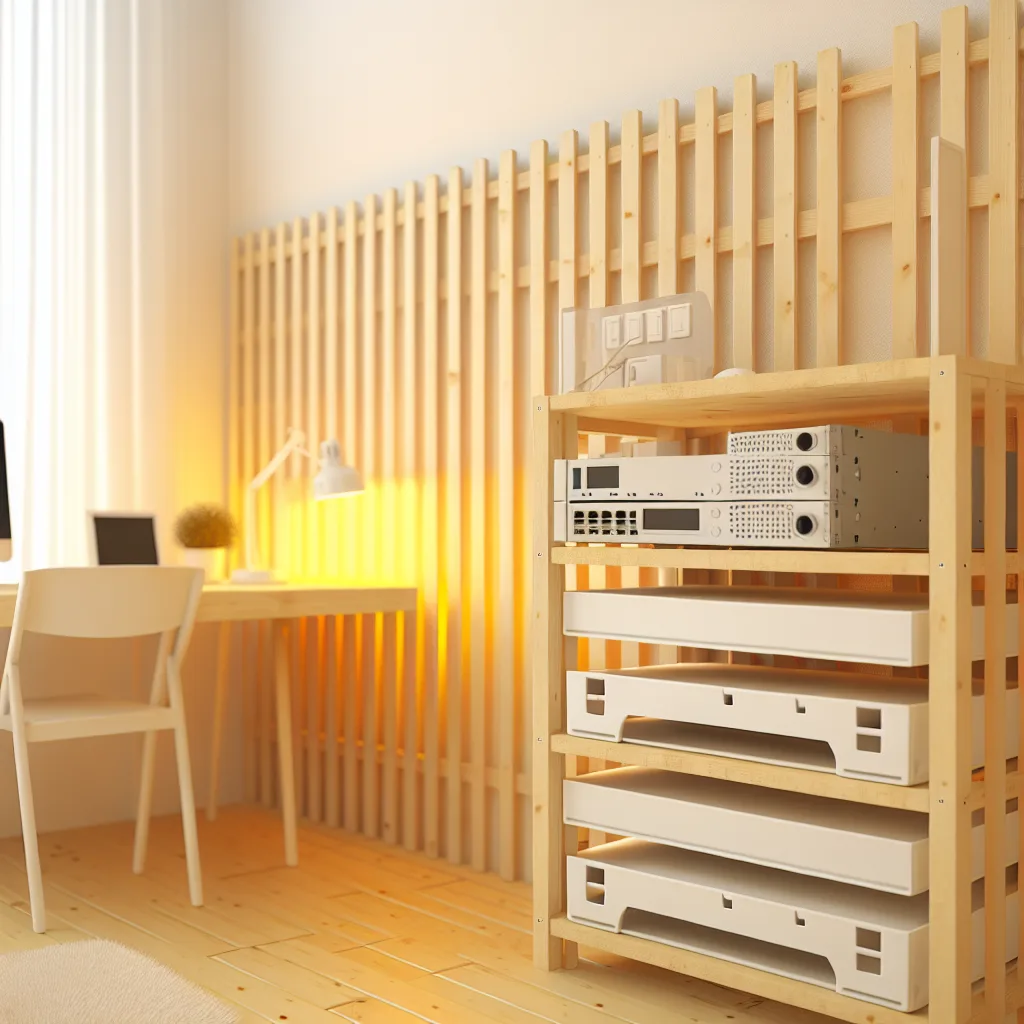
What is a custom lack rack? In essence, it’s a set of these sturdy little tables stacked or assembled in a way to create a rack that can hold your servers, network equipment, or even audio gear. It’s a clever alternative if you want to avoid buying expensive, bulky racks but still want something functional.
Why Choose a Custom Lack Rack?
The charm of a custom lack rack lies in its simplicity and affordability. IKEA tables are widely available, inexpensive (usually around $10-$15 each), and come in a variety of colors to match your room’s decor. Because they’re stackable and easy to modify, you can customize the size and shape of your rack to fit your exact needs.
One of the beauties is how lightweight these racks are. Transporting and rearranging them is much easier than traditional metal racks. Plus, their minimalist look fits well into apartment setups, dorm rooms, or even casual office spaces.
How to Build Your Own Custom Lack Rack
Getting started is easier than you’d think. Here’s a simple approach:
- Select your tables: Depending on your equipment’s size, decide how many Lack tables you’d like to stack. Most people start with 2 or 3.
- Prepare the stack: Optionally, drill holes in the corners to secure the tables together using screws or bolts. This is especially useful if you want a sturdy, vibration-resistant setup.
-
Optional mounts: If you’re tech-savvy, add mounts inside the shelves to secure specific hardware, like rack ears for your servers.
-
Cable management: Use zip ties or hook-and-loop straps to keep cables tidy and avoid a messy setup.
-
Finish touches: Paint or add decals to personalize the look. Some even add LED strips for a modern vibe.
For inspiration, communities like r/homelab showcase many custom lack rack builds. They highlight different layouts, modifications, and even weight limits to consider.
Things to Keep in Mind
- Weight Limitations: While the Lack tables are sturdy for their price, they’re not designed for ultra-heavy equipment. Make sure to check the weight of your gear and distribute it evenly.
-
Heat and Ventilation: Stacking equipment tightly can lead to heat issues. Make sure your custom lack rack allows for enough air circulation.
-
Space Considerations: Think about where your rack will live. The compact size is great for small spaces but measure twice before stacking.
Where to Buy Your IKEA Lack Tables
Most IKEA stores carry the Lack tables regularly, and you can also order them online. Keep an eye on sales or bulk purchases if you’re building a larger rack.
Creating a custom lack rack is a neat way to blend functionality with budget-friendly DIY. It’s perfect for nerds, hobbyists, or anyone wanting a little more from their furniture without breaking the bank.
If you want to explore more about rack options or server setups, check out ServerFreak or the official IKEA website for the latest product info and ideas.
Have you tried building your own custom lack rack or something similar? Drop your tips or questions below. Sometimes the simplest ideas are the best.