How I Set Up a Powerful and Stable Home Network Using a $150 Mini PC and Achieved 500 Mbps Speeds
If you’ve ever thought about upgrading your home network beyond the usual router setup, you might find this story interesting. I recently built a virtualized home network using a budget mini PC, and it’s been running seamlessly with internet speeds around 500 Mbps. No hiccups, no constant troubleshooting. Just solid, reliable connectivity. In this blog, I’ll break down how I did it, why the hardware works well, and why this might just be the practical home network upgrade you’ve been curious about.
Why Choose a Virtualized Home Network?
When I say virtualized home network, I mean running multiple virtual machines (VMs) on a single piece of hardware to manage different network functions. Instead of buying separate physical devices, everything operates within software environments on the mini PC. This gives you flexibility — from firewall and routing to Wi-Fi management — all without extra gadgets cluttering your space.
The Heart of the Setup: A $150 Mini PC
I picked an MLLSE G2 mini PC off AliExpress (but you can find similar models elsewhere). Here’s what it packs:
- 12 GB RAM
- Intel N100 CPU with 4 cores at 1.6 GHz base speed
- 512 GB SSD
- Built-in Wi-Fi 6 (Realtek 8852BE)
- Two 1 Gigabit Ethernet ports
This configuration is surprisingly capable for the price, especially with the two LAN ports which let me handle WAN and LAN traffic separately — a game-changer for home networking.
How It All Connects: The Network Flow
Here’s a simplified overview of how the network is structured:
- The ISP’s router connects to one of the mini PC’s Gigabit Ethernet ports.
- That port links to a Linux bridge (vmbr1) which also connects to the WAN interface of an OPNsense VM.
- OPNsense handles routing, firewall, and security. Its LAN side connects to another bridge (vmbr2), which is private and isolated from the WAN.
- For Wi-Fi, an OpenWrt VM is used as a transparent bridge, connecting its Ethernet interface to vmbr2 and passing through the Wi-Fi 6 chip for wireless access.
This setup means that everything — firewall, Wi-Fi, routing — runs virtually on one box.
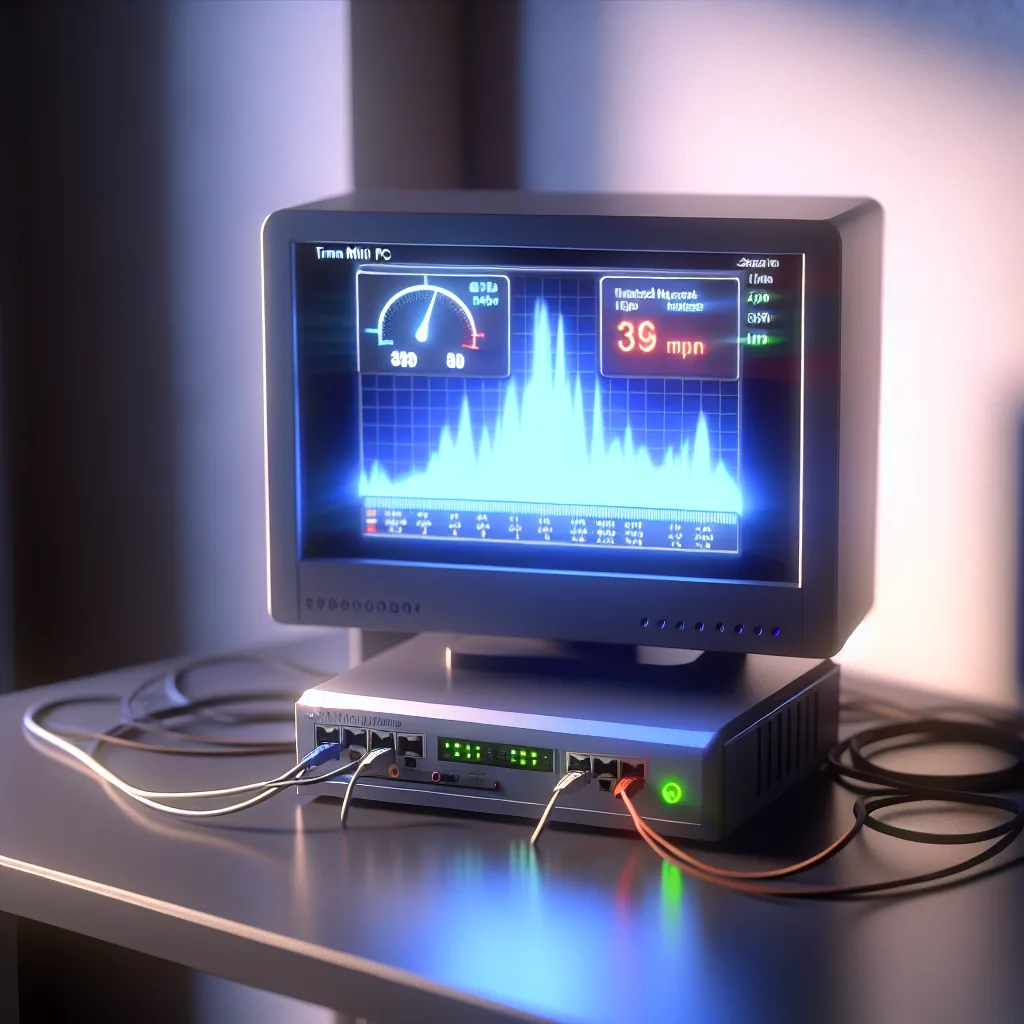
Performance and Reliability
Here’s the highlight: The network consistently delivers about 500 Mbps both up and down over Wi-Fi 6, which matches my ISP’s package speed. That’s full speed with no slowdowns from the virtualization layer.
What’s more, all VMs are set to auto-start, so if the mini PC reboots, everything comes back online without any manual intervention. I’ve run network monitoring tools like ntopng and security plugins like Zenarmor and AdGuard on OPNsense, and everything runs smoothly without consuming excessive resources.
Not once have I seen thermal issues or CPU throttling on that modest Intel N100 chip, which was a pleasant surprise.
Why Not Just Buy a Fancy Router?
I did consider dedicated devices like the GL.iNet MT3000 router, but this mini PC build wins for portability, power, and flexibility. Plus, I get to customize every bit of the system without being locked into firmware limits.
If you want to experiment, learn, or simply replace an aging router with something flexible and robust, this approach proves you don’t need to spend a lot.
Final Thoughts
Building a virtualized home network doesn’t require expensive gear or tons of space. With modest hardware like a budget mini PC and a bit of know-how, you can create a high-performance, secure, and manageable home network setup.
If this sounds intriguing and you’re interested in diving deeper, there are plenty of resources to help you get started:
- Check out the official Proxmox VE project for virtualization software.
- Learn more about OPNsense for firewall and router functions.
- Explore OpenWrt for flexible wireless router management.
Whether you’re just replacing a simple home router or looking to kick off your own homelab journey, this setup is a solid, budget-friendly way to go.
Happy networking!