How a compact, budget-friendly homelab can get you started with storage and more
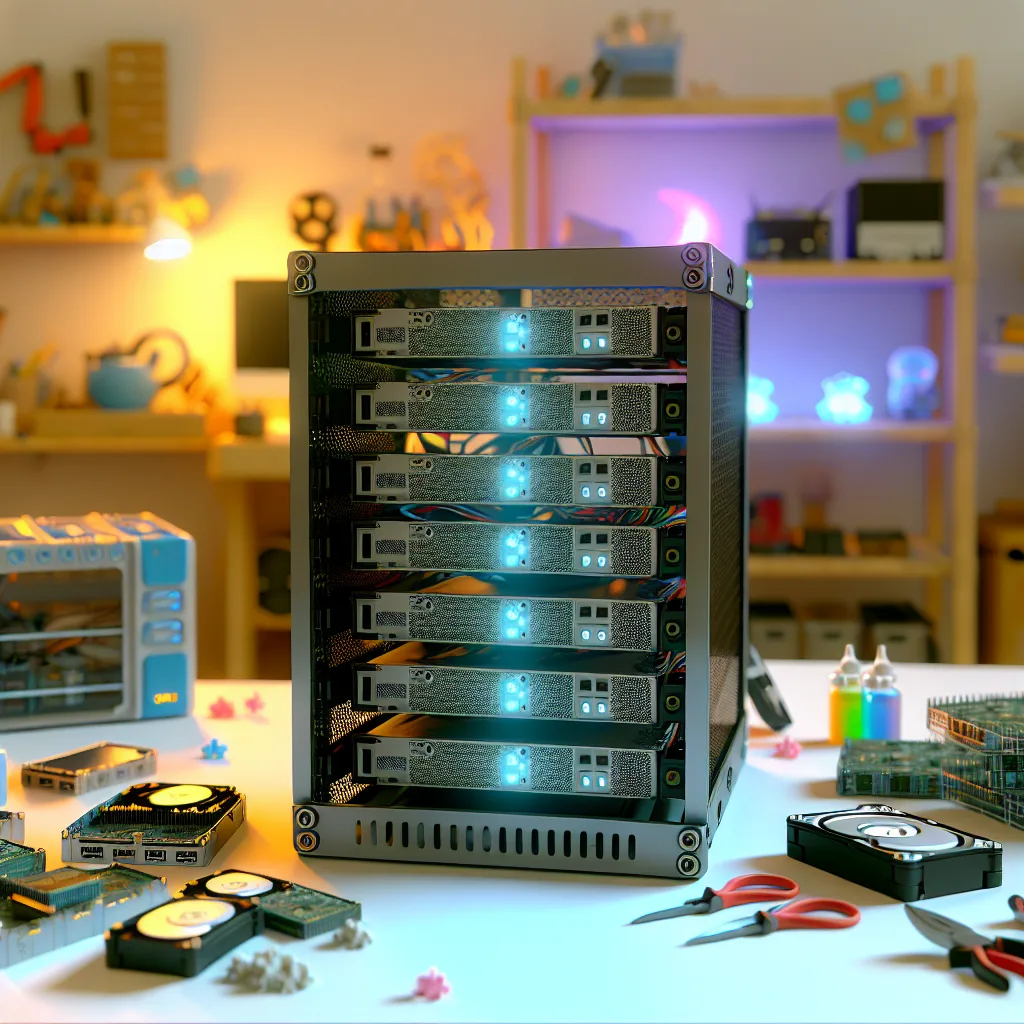
If you’ve been curious about diving into home servers but don’t want to start with something huge or overwhelming, I want to share a neat idea that’s both compact and budget-friendly: a first homelab setup built inside a fully 3D printed 10″ server rack. It’s an awesome way to tinker with servers without breaking the bank or needing tons of space.
Why Try a First Homelab Setup In a 3D Printed Rack?
The idea of building a homelab might sound intimidating, but using a 3D printed server rack changes the game a bit. Instead of hunting for custom racks or expensive cases, you can create a personalized rack that fits your gear perfectly. This setup I’m talking about holds a bunch of devices and storage in a tidy frame that’s both cool looking and practical.
With a tiny 10″ 8U frame, there’s enough space to pack in some solid gear without overwhelming your desk or room. Plus, the customization of a 3D printed chassis means you can adapt it for your exact needs — even if that means adding adapters, risers, or unconventional hardware arrangements.
What’s Inside a Budget-Friendly First Homelab?
Here’s a breakdown of what I’d pack into this kind of build:
- HP Compaq 8200 Elite USDT: An i5-2400s processor with 16GB RAM. Solid for general tasks and virtualization.
- HP 260 G1 Mini: Running an i3-4030U with 16GB RAM, great for lighter virtual machines or apps.
- Gigabyte Brix Pro: This one packs an i7-4770R paired with 16GB RAM, perfect for your more demanding workloads.
- GL.iNet GL-MT3000: A handy device running Tailscale and AdGuard to keep your network smooth and ad-free.
- 8-Port Gigabit Switch: To keep all your devices chatting fast and reliably.
- Dell Inspiron Mini 9: Not doing much work, but adds some charm and a little monitoring function.
- Storage: About 26TB of mixed drives (1TB, 2TB, 3TB, and 4TB varieties), connected via an HBA to the Brix.
All powered by a 460W supply with adapters and risers to fit the storage and nodes neatly into the printed chassis.
What About Power and Costs?
The whole build costs roughly $492, which is pretty reasonable for a functioning multi-node lab with decent storage. And it’s surprisingly efficient: it pulls about 109 watts at idle. That works out to around $27 per month in electricity at $0.35 per kWh, which isn’t too shabby if you’re mindful about power usage.
Software Setup and Use Cases
The three PCs run Proxmox in a 3-node cluster, so they work smoothly together for virtualization. Common use cases include:
- Storage management: A TrueNAS VM handles storage tasks.
- Personal apps: Running various lightweight apps for everyday needs.
- Learning and experimentation: For anyone who likes hardware, 3D printing, or playing with software clusters, this is a fantastic project.
Tips For Building Your Own
- Start small and work up: Don’t feel pressured to fill the rack immediately. Piece it together slowly.
- Look for second-hand and e-waste: You can find capable hardware on eBay or from recycling.
- Be ready to adapt: Using risers, adapters, and creative casing helps fit everything into the small 3D-printed rack.
This kind of homelab is perfect for folks wanting to learn about home servers, storage, and virtualization without needing a full data center in their basement.
If you’re interested in 3D printing your own rack or checking out similar tiny server projects, you can explore communities like Thingiverse for rack designs and Proxmox for virtualization software. And if you’re considering TrueNAS for your storage, the official TrueNAS documentation is a great place to start.
In the end, combining the tech geek in me with some 3D printing magic made this first homelab setup fun and functional. Maybe it’ll inspire you to try something similar in your corner of the world!