How to Begin Your Journey with Home Server Setup for Seamless Smart Home Management
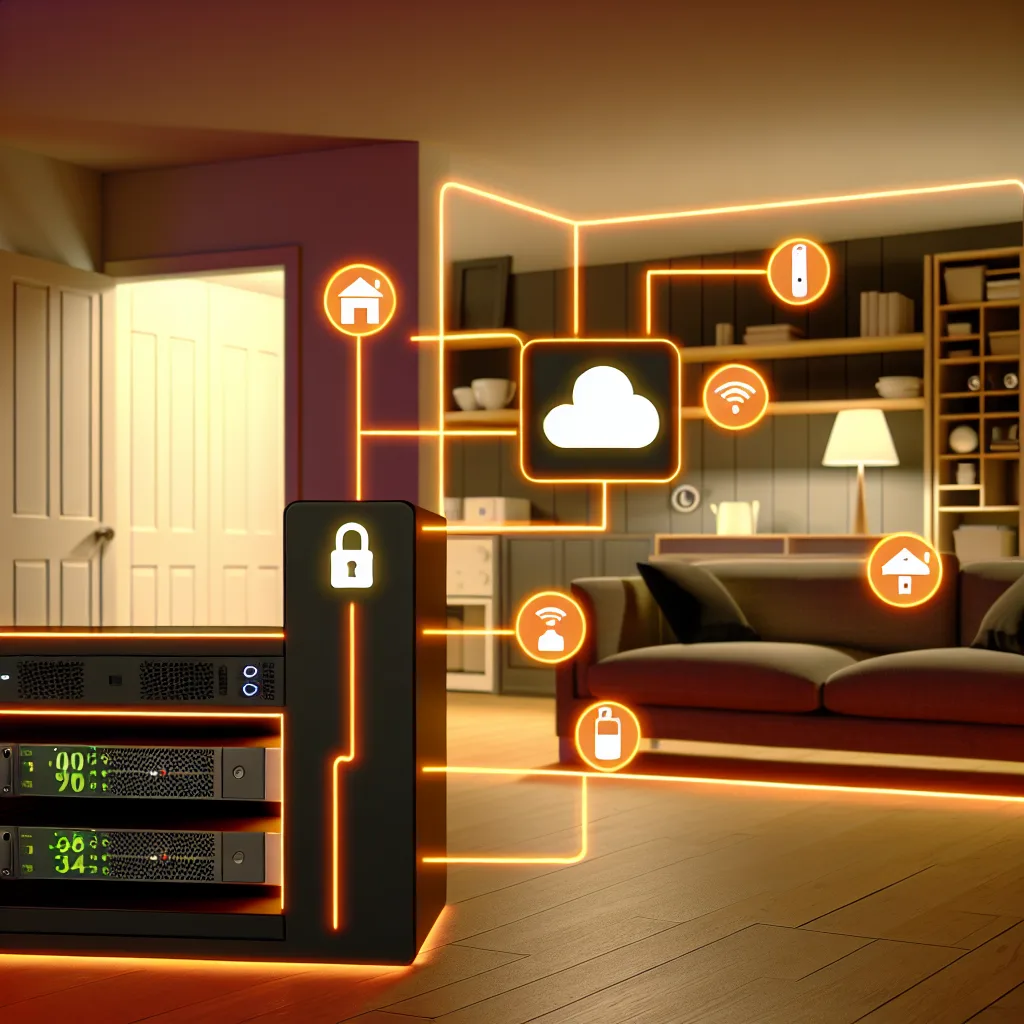
If you’ve just stepped into the world of smart homes and want a bit more control than what’s offered by commercial products, a home server setup might be the way to go. I recently dived into this myself with a second home I bought. The goal? To not just monitor but ultimately control everything remotely, right down to the locks, cameras, and thermostats.
Starting with a home server setup can feel a bit overwhelming, especially if your place already comes with smart devices like Schlage locks that need Z-Wave connectivity, a Nest thermostat nearing end-of-life, Ring cameras, and an ADT security system. But here’s the thing: you don’t have to rely fully on cloud services or the companies’ proprietary apps. Running your own server puts you in the driver’s seat.
Why Consider Home Server Setup?
Using a dedicated home server to control your smart devices brings several advantages. It gives you more privacy since your data stays local. You also gain flexibility to customize automations tailored to your needs and can integrate devices from different brands that usually don’t talk to each other.
Getting Your Bearings: The Right Hub and Protocols
For devices like Schlage locks that use Z-Wave, you’ll need a hub or controller that supports that protocol. Z-Wave acts like a special language for smart devices to communicate. Popular options include hubs like Samsung SmartThings or open-source solutions that you can run on your home server, such as Home Assistant.
Home Assistant is especially popular among Linux admins because it can run on a small server or even a Raspberry Pi. It supports a huge range of devices and protocols, including Z-Wave and Zigbee, and lets you control your Nest thermostat and Ring cameras through integrated add-ons.
Replacing Outlets and Switches: Opportunities for Improvement
Since I plan to replace all the outlets and switches in my second home soon, it’s a perfect time to select smart versions compatible with my server setup. This way, I can have full control over power management and automation without relying on the original brands’ apps.
Resources to Get You Going
If you want a crash course, here are some resources I found helpful:
– The official Home Assistant website (home-assistant.io) offers great documentation and tutorials for beginners.
– The Z-Wave Alliance (z-wavealliance.org) provides comprehensive info on Z-Wave technology and compatible devices.
– For a broad overview of smart home basics, CNET’s smart home section (cnet.com/smart-home) is a handy place to explore different tech and trends.
Keep It Manageable
Home server setup is exciting, but it can get complex fast. Start small — maybe just monitoring a few cameras or managing a couple of smart outlets — then expand as you learn. And don’t hesitate to join online communities or forums where folks share tips and troubleshooting advice.
Final Thoughts
Setting up a home server for smart home devices is a rewarding project if you want to own your tech fully and ditch the reliance on cloud-only solutions. It helps when you have some Linux experience, but there’s plenty of newbie-friendly tools and guides out there. So take it one step at a time, choose the right hub for your Z-Wave devices, replace switches thoughtfully, and soon you’ll have a home that’s smart, secure, and truly yours.
Starting with a home server setup is really about making your technology work for you, not the other way around. And with all the options out there, you can craft a system that gives peace of mind and convenience, whether you’re home or away.