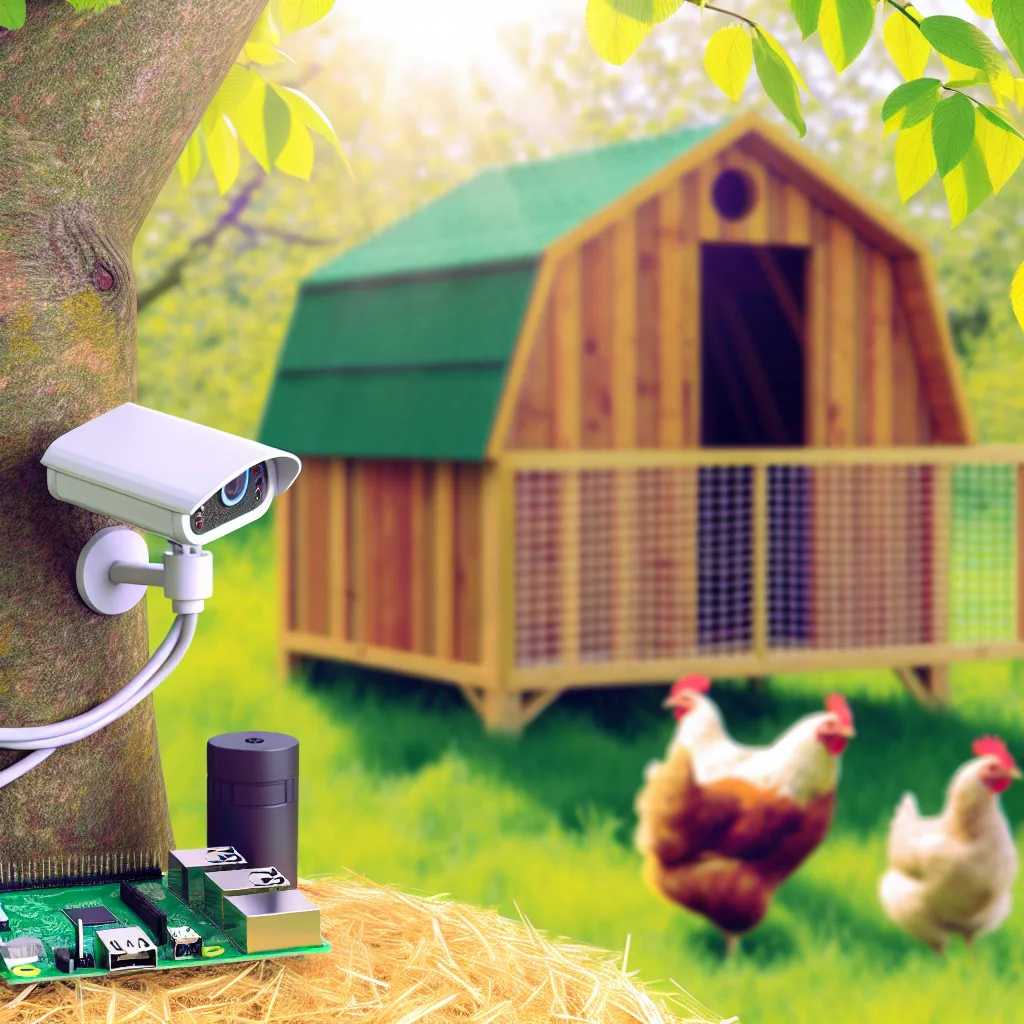
Using a Raspberry Pi to maintain permanent access to your WiFi hunting camera
If you’ve ever used a wifi hunting camera, you might know the frustration of having to be really close—like 15 to 20 meters—to connect to it with your phone. I recently learned about this from someone who set up a CoolifePro camera for their henhouse but had trouble connecting unless they were right next to it. This got me thinking: is there a way to keep a wifi hunting camera connected all the time, even when you’re away from home? Turns out, a Raspberry Pi can be a handy tool for this.
What’s the Challenge with a WiFi Hunting Camera?
WiFi hunting cameras like the CoolifePro are designed for outdoor monitoring. They take photos or videos when they detect movement and connect to your phone via WiFi. But the catch is, their WiFi range isn’t always great. You need to be close enough to link up, wait through connection delays, and deal with some sometimes slow app responsiveness. This setup isn’t ideal if you want to check your camera remotely from your server or when you’re not around.
Can a Raspberry Pi Help?
Yes! The idea is to use a Raspberry Pi (Pi 3 or 4) as a constant bridge between your wifi hunting camera and your home network. Instead of connecting your phone directly to the camera, the Pi stays logged into the camera’s WiFi network and then shares that connection with your main network or server. It’s like having a middleman who’s always there, keeping your camera online so you can access it anytime.
Setting Up Your Raspberry Pi as a WiFi Bridge
- Prepare your Raspberry Pi: Make sure it’s updated and ready to connect to WiFi networks.
- Connect to the hunting camera’s WiFi: Configure the Pi to connect to the camera’s WiFi network.
- Share the connection: Set up the Pi to share this connection over your home network using Ethernet or create a virtual adapter.
- Access the camera remotely: Once this is set, your camera’s feed becomes accessible from your server or devices on your home network even if you’re not physically near the camera.
There are some great guides online that dive deep into creating WiFi bridges with Raspberry Pi, like the one on RaspberryPi.org and tutorials on Adafruit. They walk you through the commands and configurations step by step.
Benefits of a Raspberry Pi Setup for Your WiFi Hunting Camera
- Extended Range: The camera no longer needs to reconnect every time you move away. The Pi keeps it online.
- Remote Access: View your henhouse or hunting area footage from anywhere on your server or via network.
- Reliable Connection: No more waiting 40 seconds for your phone to connect. The Pi is always connected.
A Few Things to Keep in Mind
- The Raspberry Pi needs to be within the camera’s WiFi range.
- You’ll want to secure your Pi properly since it will bridge networks.
- Powering the Pi outdoors or near your camera setup might require some planning or weatherproofing.
If you’re curious about the CoolifePro camera specifically, you can check out its product page on Amazon to learn more about its specs and typical range.
In the end, using a Raspberry Pi as a WiFi bridge is a practical fix for the common range issue with wifi hunting cameras. It’s a solid DIY approach if you want to keep an eye on your property or animals remotely without the hassle of constant reconnecting. Might even save you from making that extra trip to the henhouse!
