A personal journey into remodeling my homelab with practical tips for your own setup
If you’ve ever felt like your homelab setup just needs a fresh start, you’re not alone. I recently decided to rebuild my homelab from the ground up, and the process was both challenging and rewarding. Starting fresh allowed me to rethink what I truly needed and improve my setup without the baggage of old, unused gear.
Why I Chose to Rebuild My Homelab
After years of adding gadgets and servers here and there, my homelab was cluttered and not as organized as I’d want. I wanted a clean slate to optimize performance, simplify management, and incorporate newer technology. Rebuilding a homelab means reconsidering everything—from the physical layout to the software stack.
Planning the Rebuild Homelab Process
Before pulling the plug on my old setup, I jot down a plan. What are my goals? Which services do I want to run? How much space and power will my new setup need? Are there new networking components to add? If you’re thinking about a similar project, start with an inventory of your current equipment and decide what deserves a second chance and what can be retired or upgraded.
Picking The Right Hardware and Software
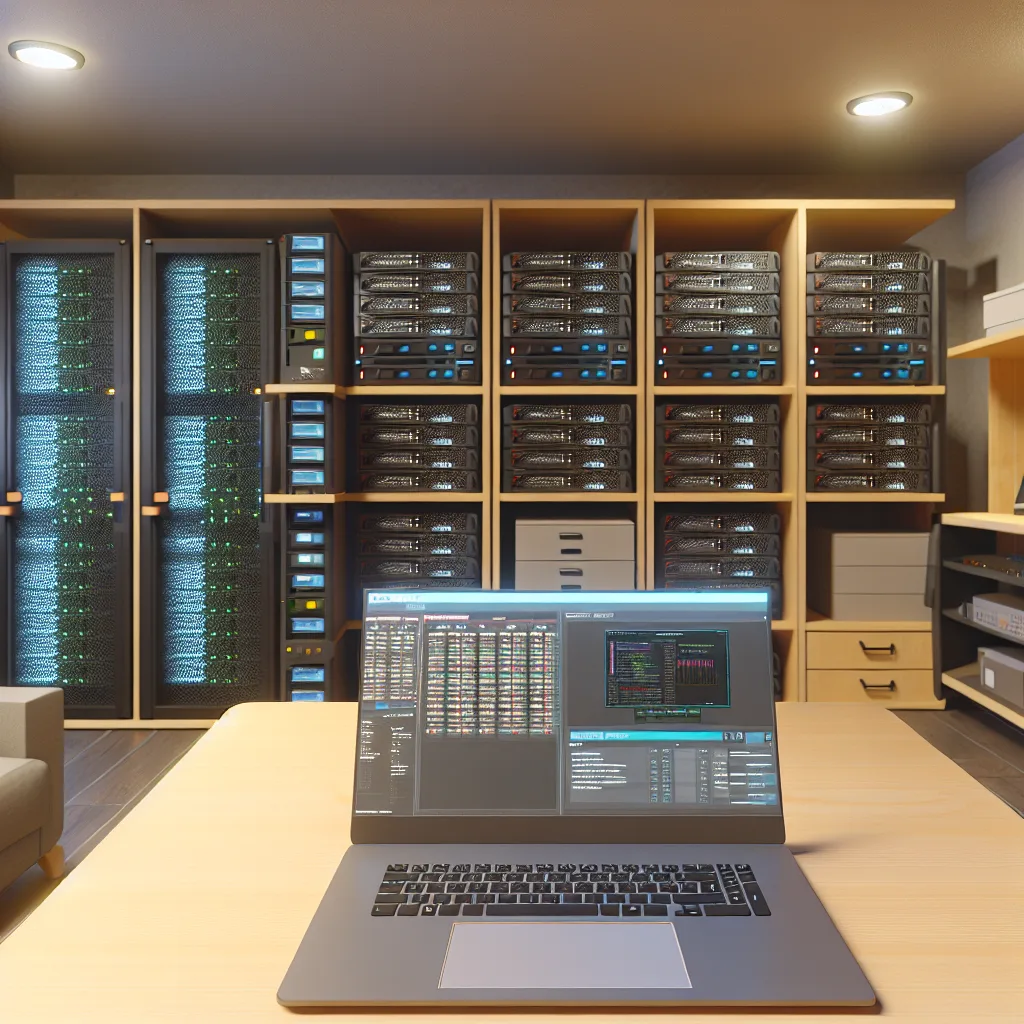
One benefit of a rebuild homelab is that it gives you a chance to adopt newer, more efficient hardware. I chose a compact but powerful server that fits my space while supporting virtualization well. On the software side, I revisited my choice of operating systems and management tools. I leaned towards open-source solutions with strong community support that are flexible for experimentation. Popular options often used in homelabs include Proxmox for virtualization or Unraid for media servers.
Setting up Your Network for the Rebuild Homelab
Networking is the backbone of any homelab. I upgraded my switches and routers to support better speeds and improved VLAN functionality. Segregating traffic between management, storage, and guest networks helps keep things secure and organized. If you want to learn more about network setups and security, check out resources like Cisco’s Networking Basics or Ubiquiti’s community forums.
Tips From My Rebuild Homelab Experience
- Start with clear goals: Know what you want to achieve before buying or configuring.
- Keep it simple: Avoid overcomplicating your setup.
- Document everything: Taking notes on configurations saved me a lot of headaches.
- Backup: Always have backups before making big changes.
Rebuilding a homelab isn’t just about hardware; it’s about restoring your enthusiasm for the tech and learning more along the way. If you’re curious for ideas and inspiration, Tom’s Hardware offers great guides and reviews on homelab hardware and software.
Wrapping Up My Rebuild Homelab Journey
Taking the time to rebuild my homelab was a worthwhile project. It refreshed my interest in home IT projects, gave me a more streamlined, efficient setup, and it actually made me want to experiment more. If you’re feeling that your homelab has grown stale or unwieldy, a rebuild might be just the thing to bring it back to life.
Feel free to reach out or share your own experiences on rebooting your setup. Sometimes, all it takes is a fresh start to make things work better.