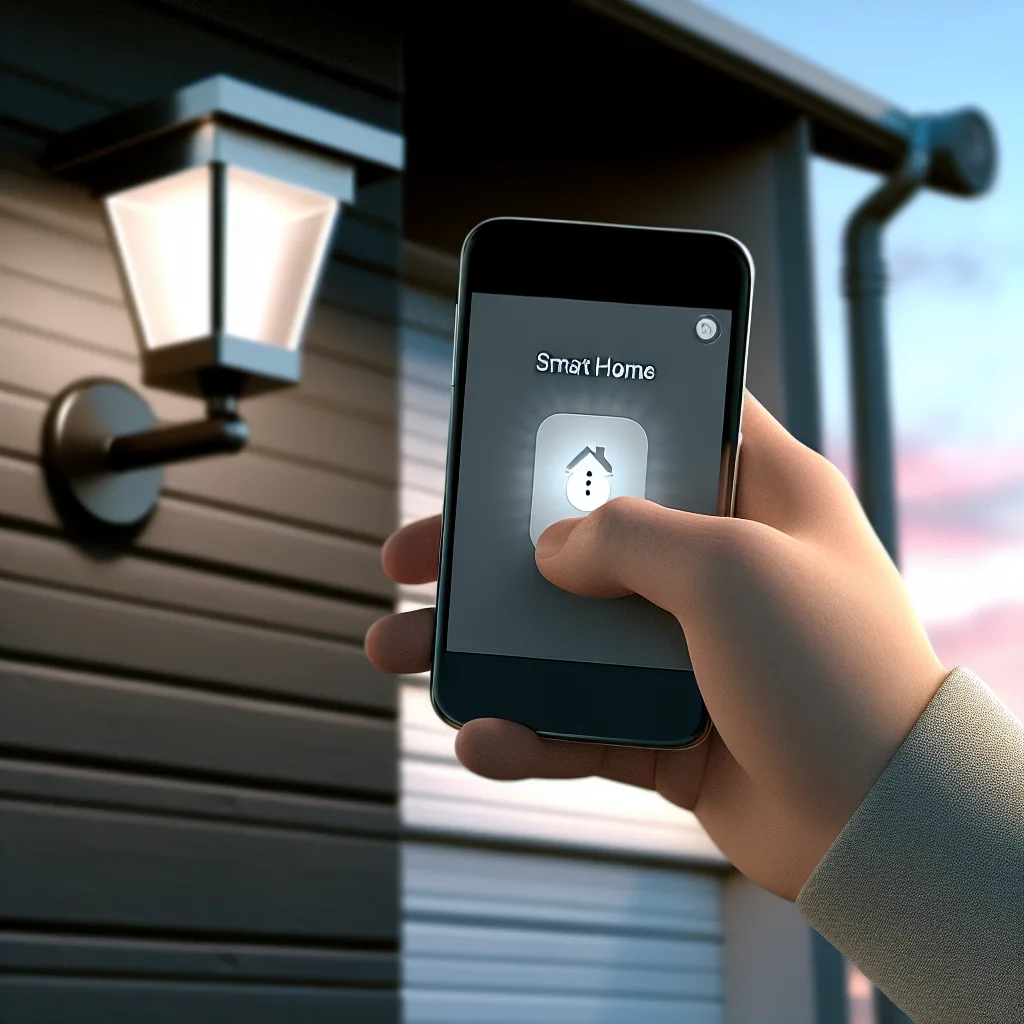
Control your lights from anywhere with this simple, satisfying DIY project.
Have you ever pulled into your driveway late at night, fumbling for your keys in the dark? Or maybe you’re tucked into bed and have that nagging feeling: “Did I leave the garage lights on?” It’s a small annoyance, but it’s a universal one. A while back, a friend was wondering how they could control their outside lights from their phone, and it reminded me just how simple the solution is. The answer is to install a smart light switch, and it’s one of the best and easiest entry points into the world of the smart home.
It sounds complicated, but it’s really not. You’re just swapping the plastic switch on your wall for one that can connect to your home’s Wi-Fi. That’s it.
Why a Smart Light Switch is the Perfect First Project
You don’t need a computer science degree or a box full of complicated gadgets to get started. A smart light switch is a fantastic first step because it solves a real, everyday problem.
- Convenience: The most obvious win. Turn lights on or off from your couch, your bed, or from halfway across the world. No more stumbling into a dark garage or having to get up because you forgot a light.
- Security: This is a big one. You can make it look like someone’s home even when you’re on vacation by setting schedules for your lights. An automated “away” mode can randomize when your lights turn on and off in the evening, which is a great deterrent for potential intruders.
- Energy Savings: While one switch won’t slash your power bill in half, it helps. Scheduling your outdoor lights to turn off automatically at sunrise means you’ll never waste electricity by leaving them on all day by accident.
It’s a simple upgrade that delivers a ton of value for a relatively low cost and minimal effort.
Understanding Your Options for a Smart Light Switch
Before you run to the store, there are a couple of things to know. The most important thing is the wiring in your wall. Most modern homes are fine, but older ones can be tricky.
The key thing you need is a “neutral wire.” In the US, this is typically a white wire that sits in the back of your electrical box. It provides continuous power to the smart switch so it can stay connected to Wi-Fi. If you open your switch and only see two black wires and a bare copper/green one, you might need a special kind of smart switch that doesn’t require a neutral wire, or you’ll need to call an electrician.
Once you’ve confirmed your wiring, you can choose a switch. For beginners, a Wi-Fi switch is the way to go.
- Wi-Fi Switches: These are the simplest. They connect directly to your home’s Wi-Fi network without needing any other hardware. Brands like TP-Link Kasa are super popular, affordable, and easy to set up.
- Hub-Based Switches (Zigbee/Z-Wave): These require a central smart home hub (like a Samsung SmartThings or Hubitat). They are incredibly reliable but add a layer of complexity that you probably don’t need for your first project.
For 99% of people just starting, a simple, well-reviewed Wi-Fi switch is the perfect choice.
Your Quick Guide to Installing a Smart Light Switch
Alright, here’s a basic rundown of the process. But first, a very important disclaimer: Working with electricity can be dangerous. If you are not 100% comfortable, please hire a qualified electrician. It’s a quick job for a pro.
If you’re ready to tackle it yourself, here are the steps:
- Kill the Power! This is the most important step. Go to your circuit breaker and turn off the power to the room you’re working in. Flick the light switch on and off to be absolutely sure it’s dead.
- Remove the Old Switch: Unscrew the faceplate, then unscrew the switch itself from the wall box. Gently pull it out.
- Check the Wires: You’ll likely see a few wires connected to the old switch. Take a picture with your phone so you have a reference! You should see a ground (copper or green), one or two hot/load wires (black or red), and hopefully, a neutral wire (white) tucked in the back.
- Connect the New Switch: Your new smart switch will come with instructions. It’s usually a simple matter of connecting the corresponding wires (black to black, white to white, etc.) using the included wire nuts. The Leviton blog has a great general guide on this process.
- Install and Test: Carefully push the new switch and wires back into the box, screw it in place, and attach the new faceplate. Now, go turn the breaker back on. The switch should light up.
Getting Connected to Your Phone
The physical installation is half the battle; the other half is digital, and it’s the easy part.
You’ll download the manufacturer’s app (like the Kasa app, for example) and it will walk you through connecting the switch to your Wi-Fi network. It usually takes just a couple of minutes.
Once it’s connected, you can:
* Turn the light on and off from the app.
* Set daily or weekly schedules.
* Use timers or countdowns.
* Connect it to Amazon Alexa or Google Assistant to control the lights with your voice.
And that’s it. You’ve just made your home a little bit smarter. That first time you turn on your garage lights from the car using just your phone is a surprisingly satisfying moment. It’s a small change that makes a big difference.
