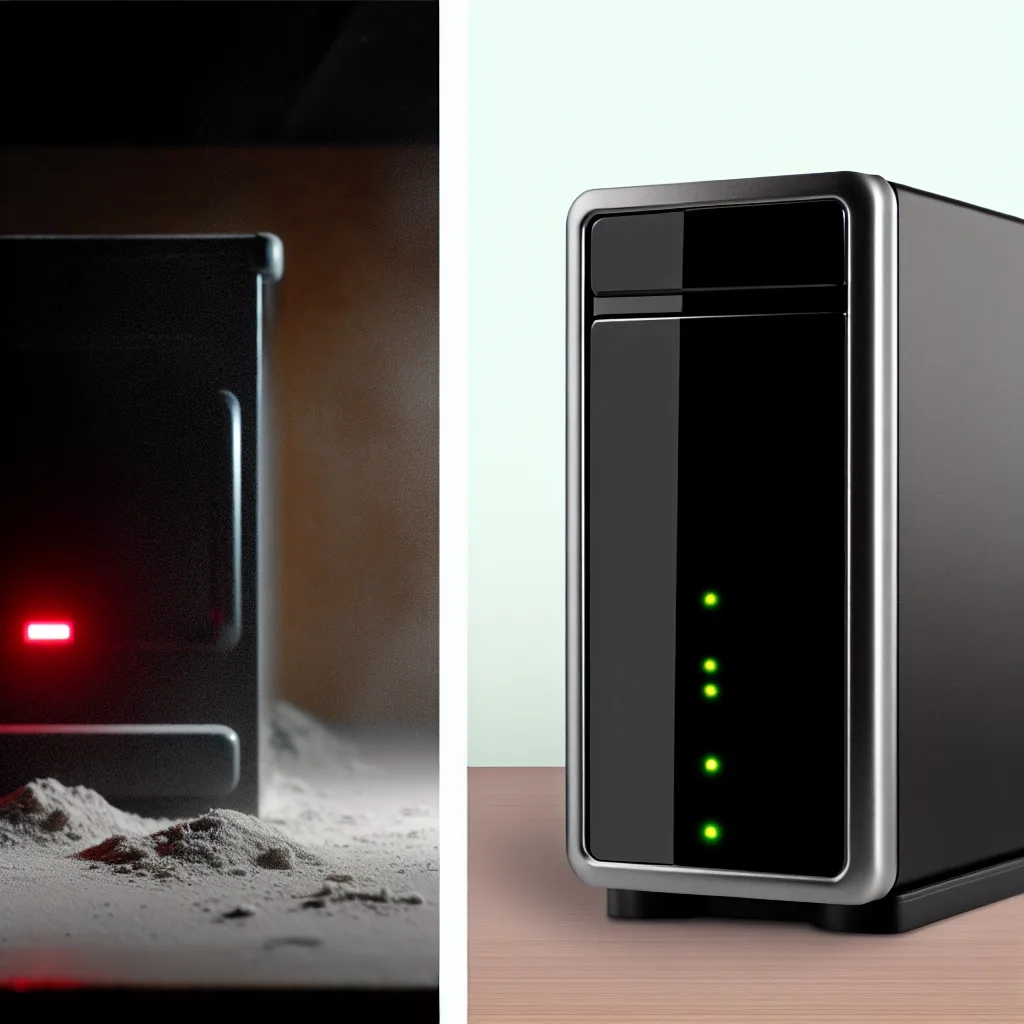
I thought I found a great deal on a Drobo for my homelab. It turned out to be a ticking time bomb that taught me a valuable lesson.
I almost learned a very hard lesson about data storage.
It all started with what I thought was an amazing find on a second-hand marketplace: a Drobo 5D. It was cheap, and I needed a simple Direct-Attached Storage (DAS) unit for my brand new homelab. Without a second thought, I bought it. It felt like the perfect first step for my data storage setup.
The first week was great. It was plug-and-play, Proxmox saw it immediately, and I started loading up my Jellyfin media library. It was almost too easy.
And then, the blinking red lights started.
One of the drive bays went red. Then another. The unit went into a “recovery” mode that, according to the old documentation I dug up, could take days. My heart sank. Thankfully, my homelab was only a week old. The only things on there were a few movies and shows I could easily get back. I was incredibly lucky.
A quick search online confirmed my fears. I had bought a device from a company that went out of business years ago. When a Drobo enclosure dies, your data often dies with it because of its proprietary RAID system. There’s no pulling the drives and putting them in another machine to recover them. You’re just… stuck.
That close call forced me to rethink everything. I didn’t just want a replacement; I wanted a smarter, safer data storage setup.
The Problem with Proprietary “Magic” Boxes
My Drobo experience was a classic case of choosing convenience over control. These all-in-one boxes are tempting because they promise simplicity. You slot in drives, and they just work.
But that simplicity comes at a cost:
- You’re Locked In: The RAID is tied to the hardware. If the enclosure fails (and it will eventually), your only hope is finding the exact same model to access your data.
- No Transparency: You don’t really know what the box is doing behind the scenes.
- Company Graveyard: When the company behind the product disappears, so does all support, firmware updates, and hope for recovery. Drobo is a perfect example, but they aren’t the only ones.
My New Plan: A Better Data Storage Setup with ZFS
After my Drobo scare, I decided to go a different route. I still wanted a DAS, not a full-blown NAS appliance, because I prefer managing my services like SMB file sharing through Proxmox.
So, I bought a simple, “dumb” multi-bay drive enclosure. It does one thing: holds my hard drives and connects them to my server. The magic isn’t in the hardware anymore; it’s in the software.
I decided to build my storage array using ZFS.
If you hang around homelab or data communities, you’ve heard of ZFS. It’s an open-source filesystem and logical volume manager that’s legendary for its reliability and data protection features. Instead of relying on a fragile piece of proprietary hardware, I’m now using a robust, time-tested software solution.
Why ZFS is a Smarter Choice
Switching to a ZFS-based software RAID was the best decision I could have made. Here’s why it gives me peace of mind:
- It Protects Against Data Corruption: ZFS has built-in checksums. It constantly verifies that your data is exactly as you wrote it. It can detect and even automatically repair “bit rot” or silent data corruption, which is a common issue that most basic RAID systems completely ignore.
- Hardware Independence: My RAID array is not tied to my enclosure. If the enclosure’s power supply dies, I can just buy another one, move the drives over, and my ZFS pool will be recognized without any data loss. This is a massive advantage. You can learn more about the platform’s flexibility from the official OpenZFS documentation.
- Incredibly Flexible: Expanding storage, managing snapshots, and configuring different levels of redundancy are all straightforward with ZFS. It’s built for people who are serious about their data. Reputable tech sites like ServeTheHome have countless guides and articles that sing its praises for a reason.
So, what’s my setup now? I have the new multi-bay enclosure connected to my Proxmox server. I passed the disks through to a virtual machine running TrueNAS CORE, which makes managing the ZFS pool through a web interface incredibly simple. My files are shared over the network using SMB, just like before.
The difference is, now I sleep better at night. I know my data storage setup is built on a foundation I can trust—one that doesn’t depend on a single, ticking time-bomb piece of hardware from a defunct company.
If you’re just starting your homelab journey, please, learn from my almost-disaster. That cheap, easy-looking box might be more trouble than it’s worth. Take a little time to research software-defined storage like ZFS. It’s a bit more of a learning curve, but the reliability and peace of mind are absolutely worth it.
