Learn how to build a powerful and affordable home server for under €400. A step-by-step guide to creating your own personal cloud and media server.
I’ve always been tempted by the idea of having my own home server. A little box in the corner that could act as my personal cloud, a media hub for movies, and a central backup spot for all my family’s devices. But then I’d look at the price of off-the-shelf NAS (Network Attached Storage) systems from brands like Synology or QNAP, and my enthusiasm would quickly fade.
But what if you could build something just as powerful, if not more so, for a fraction of the price?
I recently went down this rabbit hole and managed to build a powerful 36TB home server for just around €375. It wasn’t that hard, and honestly, the process was a lot of fun. Here’s a look at how I did it.
The Shopping List: Finding Bargains
The core of this project is about being resourceful. You don’t need brand-new, top-of-the-line components to build a fantastic home server.
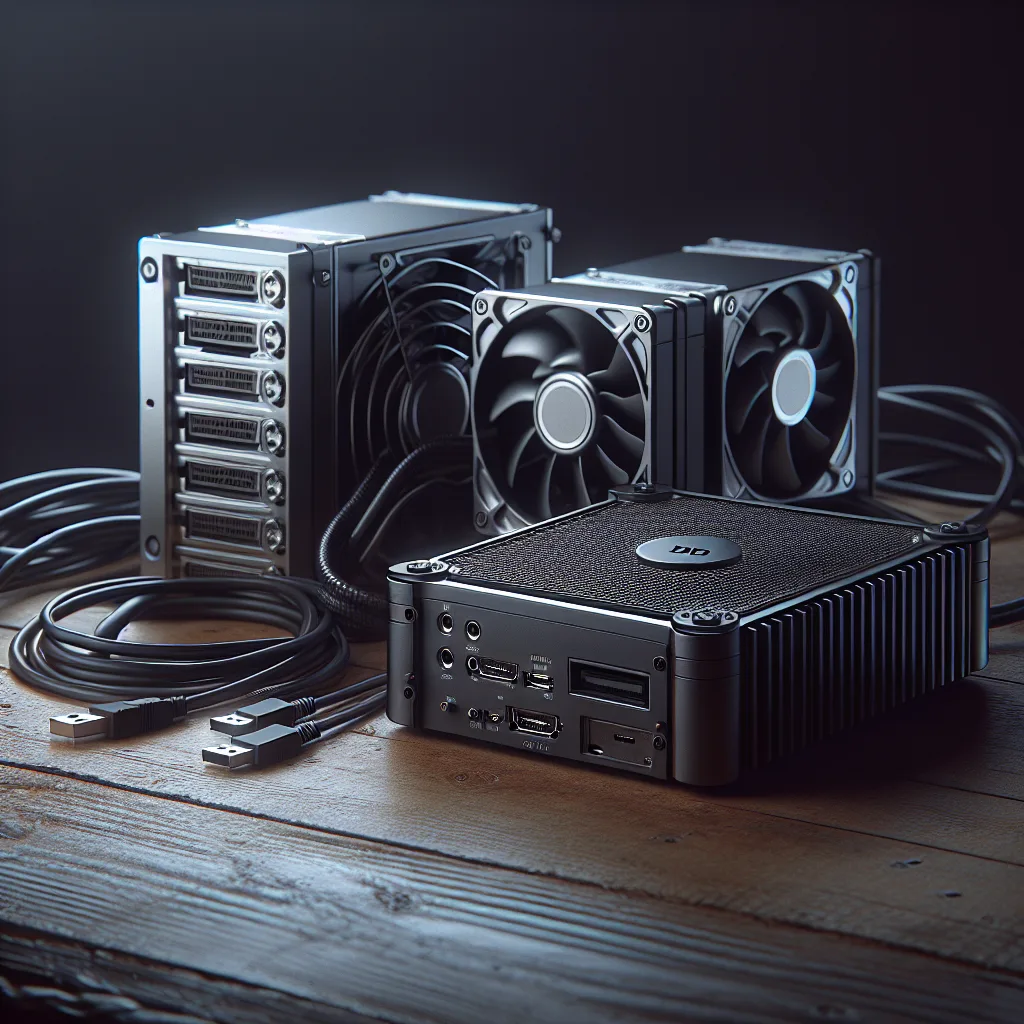
- The Brains: I started by looking for a used mini PC. These things are perfect because they’re small, quiet, and sip power. I found an old Fujitsu Esprimo with an Intel i5-6500T processor for just €50. This CPU is more than capable of handling file transfers, media streaming, and even running a few applications simultaneously.
- The Storage: This is where most of the budget went. I needed a lot of space and, more importantly, I needed it to be reliable. After searching a local online marketplace, I found a great deal on two massive 18TB hard drives for €150 each. Buying used or refurbished enterprise drives is a great way to get a ton of storage without breaking the bank.
- The Little Details: The mini PC came with a 120GB SSD, which is perfect for running the operating system. I didn’t have a proper way to mount it inside the tiny case alongside the big hard drives, so I secured it with a bit of hot glue. It’s not elegant, but it’s secure and it works perfectly. Add in a specific 12V power supply and a buck converter to properly power the hard drives, and the hardware was complete.
The grand total for all the parts came out to around €375. Not bad for a 36TB server.
Putting It All Together
With all the parts in hand, the assembly was pretty straightforward. The real magic happens in the software and setup.
First, I configured the two 18TB hard drives in a “mirrored” setup. This is a form of RAID (Redundant Array of Independent Disks) known as RAID 1. In simple terms, it means the second drive is an exact, real-time copy of the first one. It’s a crucial step for peace of mind. If one hard drive ever fails, all of my data is still safe and sound on the other one. I effectively have 18TB of usable storage, with another 18TB acting as an instant backup.
For the operating system, I went with TrueNAS CORE. It’s a free, open-source, and incredibly powerful OS designed specifically for creating a NAS. It handles the disk mirroring, file sharing, and all the complicated stuff automatically. The installation was as simple as flashing it to a USB drive and booting the mini PC from it.
So, What Can You Actually Do With It?
This is the best part. You’ve built this powerful little box, now what? The original inspiration for this project was someone who built the server but wasn’t sure what to do next. Here are the things I’m most excited about.
- A Private Cloud: Think of it like Dropbox or Google Drive, but you own it completely. Using a service called Nextcloud (which you can run on TrueNAS), you can sync files across your phone, laptop, and desktop. You can access your documents from anywhere in the world, knowing they’re stored safely on your own hardware at home.
- A Media Streaming Powerhouse: This is a big one. By installing Plex or Jellyfin, you can turn your server into a personal Netflix. I’ve been digitizing my old Blu-ray collection, and now I can stream my movies and TV shows to any TV, tablet, or phone in the house (or even outside the house). No more subscription fees.
- The Ultimate Backup Hub: TrueNAS is brilliant at handling backups. You can set it up to automatically back up all the computers in your home. My partner’s MacBook and my Windows PC are now backed up nightly without us having to think about it.
- A Hub for a Smarter Home: If you’re into smart home tech, you can run software like Home Assistant. This lets you control all your smart lights, plugs, and sensors from one private interface, without relying on corporate clouds.
Building your own server sounds intimidating, but it doesn’t have to be. With a bit of patience and some savvy shopping, you can create a powerful and private digital hub for your home. And you get the satisfaction of knowing you built it yourself—even if parts of it are held together with hot glue.