Discover how to install a large consumer GPU like the NVIDIA RTX 4060 into a Dell PowerEdge R740xd server. A simple, no-mod guide for your homelab.
It’s a common story for anyone with a homelab. You get your hands on a powerful, reliable enterprise server—like a Dell PowerEdge R740xd—and it’s fantastic. It’s quiet, efficient, and handles everything you throw at it. But then you get an idea. A little voice whispers, “What if it could do more? What if I could add a real graphics card to this thing?”
You immediately dismiss it. Those rack servers are packed tight. They’re designed for specific, low-profile enterprise cards, not for the massive, triple-fan consumer GPUs we see today. The airflow, the power, the physical space—it’s just not meant to be.
At least, that’s what I thought. But it turns out, it’s not only possible to fit a big, modern GPU into an R740xd, it’s surprisingly straightforward.
The Goal: A Modern GPU in a Workhorse Server
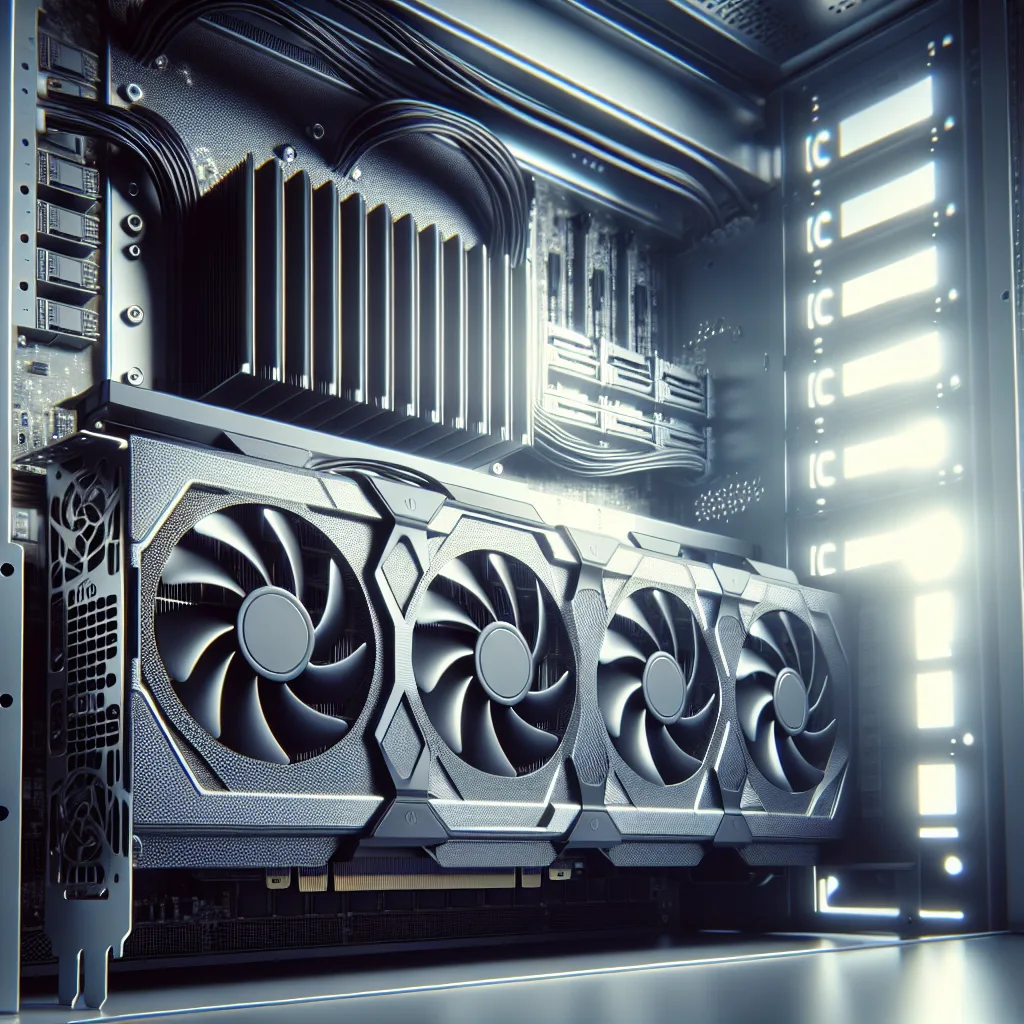
My server is the Dell R740xd, but the version without the mid-bay drive cage. This part is important, as that extra space is crucial. The goal was to install something modern and capable, like an NVIDIA GeForce RTX 4060, to handle tasks like Plex transcoding, run some local AI models, or even power a high-performance virtual machine.
The problem is obvious the moment you look at the card and the server’s internals. The RTX 4060 is long. Way too long for the standard configuration.
The Fix Is In (And It’s Just Four Screws)
Here’s the part that surprised me. You don’t need a Dremel, a saw, or any destructive case mods. All you need is a screwdriver.
Above the power supply unit (PSU), there’s a metal PCI card holder. It’s there to support and secure the cards you install. From the factory, it’s installed in a way that limits the length of the card you can use. But here’s the secret: the bracket is reversible.
I’m not sure if Dell designed it this way on purpose, but it works perfectly. All you have to do is:
- Power down and open up your server.
- Locate the PCI card holder bracket.
- Remove the four screws holding it in place.
- Turn the bracket 180 degrees (flip it around).
- Screw it back in with the same four screws.
That’s it. This simple flip moves the support wall out of the way, giving you the exact amount of extra clearance needed to slide a full-length GPU into the PCIe slot. It’s a clean, simple, and completely reversible modification that takes less than five minutes.
Don’t Forget the Power
The second piece of the puzzle is power. Server power supplies are incredibly robust, but they don’t come with the standard 6-pin or 8-pin PCIe power connectors that consumer GPUs need.
To solve this, you’ll need a special power adapter cable. The cable connects to an 8-pin power port on the server’s power distribution board and provides a standard 8-pin PCIe connector for your graphics card. You can find these online by searching for something like “Dell R-series 8-pin to 8-pin PCIe power cable.” Just make sure it’s compatible with the R740xd. It’s a simple plug-and-play solution.
So, Why Do This?
Putting a card like this in your server unlocks a ton of potential:
- Media Server Powerhouse: Your Plex or Jellyfin server can transcode multiple 4K streams without breaking a sweat.
- AI and Machine Learning at Home: You can start experimenting with large language models (LLMs), Stable Diffusion, or other AI tools without paying for cloud services.
- Beefy Virtual Machines: You can use GPU passthrough to assign the RTX 4060 to a specific VM. This is great for creating a powerful remote desktop, a development environment, or even a cloud gaming machine.
It’s been a fantastic upgrade. I was genuinely expecting a weekend of frustrating modifications, but it ended up being one of the simplest hardware upgrades I’ve ever done. So if you have a similar server and have been dreaming of adding more graphical muscle, don’t be afraid to pop the lid open. The solution might be easier than you think.