Is your computer fan making a racket? Learn the simple reasons why pressing on it makes it quiet and how to fix the noise for good. No tech skills needed!
You know that sound. The one you try to ignore, but it just keeps getting louder. It’s the constant, irritating whir of a computer fan that’s decided to throw a party at the worst possible time. I had this happen with an old PC, and it drove me nuts. The fan was so loud, but if I gently pressed on the case, the noise would die down. What gives?
If this sounds familiar, you’re not alone. A noisy fan is a common problem, and it’s usually a sign that something is a little off-kilter. The good news is you can probably fix it yourself without having to call in a pro or, even worse, buy a new computer.
Let’s walk through why this happens and what you can do about it.
So, Why Does Pressing on It Help?
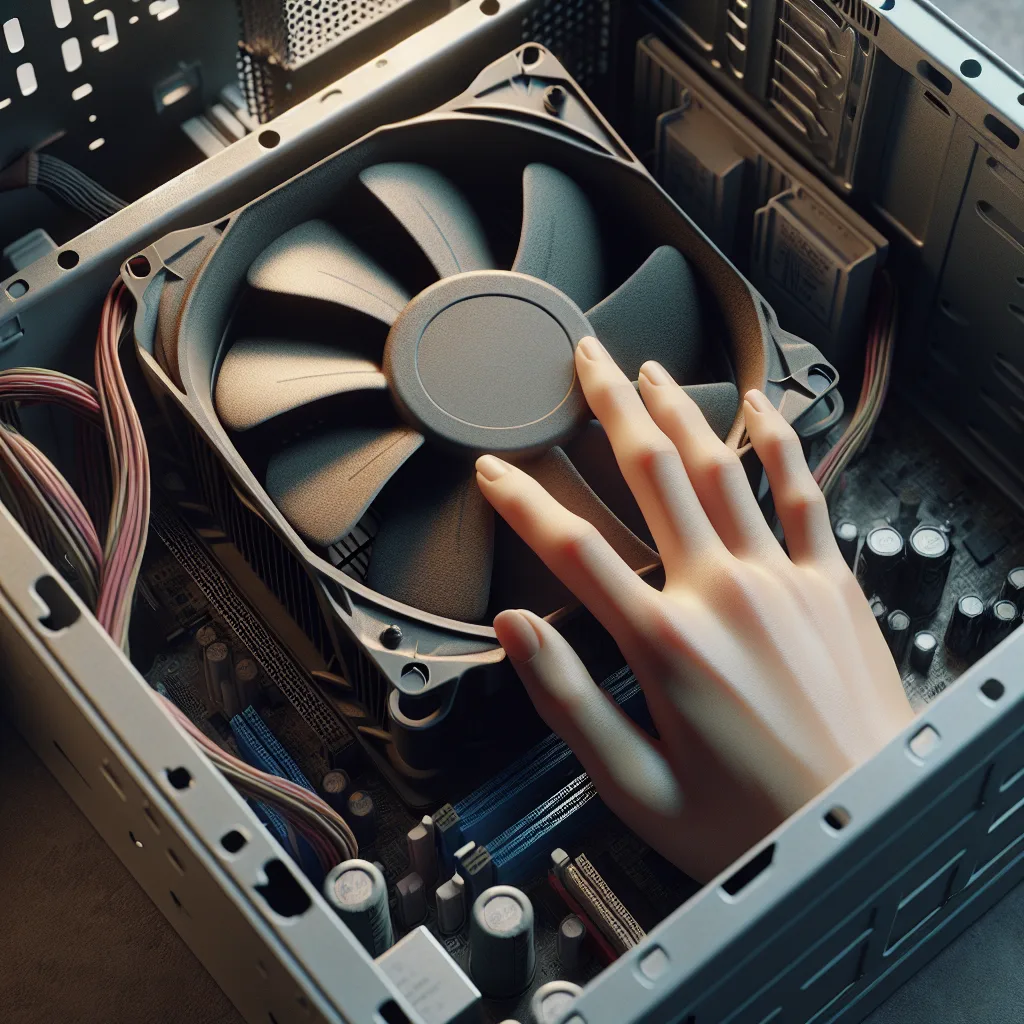
When you press on your computer case and the fan gets quieter, you’re essentially providing temporary stability. The pressure you apply is likely stopping something from vibrating. Think of it like holding a rattling picture frame against the wall—the noise stops because the vibration stops.
This little diagnostic trick points to a couple of likely culprits:
- Worn-Out Fan Bearings: This is the most common cause. Inside the fan’s motor are tiny bearings that allow it to spin smoothly and quietly. Over time, they wear out. When you press on the case, you’re slightly shifting the fan’s position, forcing the bearings into a less-worn groove, which quiets them down for a moment.
- Something is Loose: The fan itself might not be screwed in tightly. The vibrations from its normal operation can cause a loose fan to rattle against the computer case or its own housing. Your hand pressure dampens that vibration.
- Dust and Grime: A fan caked in dust and pet hair is an unbalanced fan. This imbalance can cause vibrations and noise. It can also make the fan work harder and spin faster than it needs to, which only adds to the racket.
How to Actually Fix the Noise
Okay, so we know why it’s happening. Now for the fun part: fixing it. Before you start, a quick word of caution.
Important: Unplug your computer from the wall before you open the case. Don’t just shut it down—unplug it completely. Static electricity is the enemy of computer components, so it’s a good idea to ground yourself by touching a metal part of the case before you start poking around inside.
Here’s a simple plan of attack.
1. The Clean-Up Crew
First things first, let’s get rid of the dust.
- Open the Case: Most desktop computer cases have a side panel that comes off with a couple of thumbscrews on the back.
- Grab Some Canned Air: This is your best friend for computer cleaning. Do not use a vacuum cleaner! Vacuums can create a static charge that can fry your components.
- Blow It Out: Hold the fan blades still with one finger (so they don’t spin like crazy and damage the motor) and use short bursts of canned air to blow the dust off the blades and out of the fan housing. Get the dust off the power supply and any other fans you see in there, too.
Sometimes, a good cleaning is all it takes. If the noise is gone, congratulations! You’re done. If not, on to the next step.
2. The Tighten-Up
While the case is still open, check if the fan is securely mounted.
- Check the Screws: You’ll see a few screws holding the fan to the case. Gently check if they’re tight. If you can turn them easily, they might be the source of your rattle. Just snug them up—don’t overtighten.
- Check the Fan Housing: Some fans are clipped into a plastic housing. Make sure it’s all snapped together properly.
If you’ve cleaned and tightened everything and the noise persists, it’s probably time to face the music. The fan itself is likely the problem.
3. The Last Resort: A New Fan
If the bearings are shot, no amount of cleaning or tightening will be a permanent fix. Replacing a case fan is surprisingly easy and inexpensive.
- Identify Your Fan: Look for a sticker on the fan hub. It will usually have the model number and, most importantly, the size (commonly 80mm, 120mm, or 140mm). Note how it connects to the motherboard (usually a small 3- or 4-pin connector).
- Buy a Replacement: You can find replacement fans online for just a few dollars. It’s a cheap and effective upgrade.
- Swap It Out: Unplug the old fan from the motherboard, unscrew it from the case, and then simply screw the new one in its place and plug it in.
It might sound intimidating, but it’s usually a 10-minute job. And the sweet, sweet sound of a quiet computer is totally worth it. You’ll be able to hear yourself think again.