Thinking about a home server? See how I built a silent, low-power homelab with an N150 CPU, 16GB RAM, and Proxmox. Your perfect starting point.
I always thought getting into home servers meant one thing: a giant, noisy server rack blinking away in a basement. You know, the kind of setup that sounds like a jet engine and sends your power bill into the stratosphere. For a long time, that image kept me from even trying.
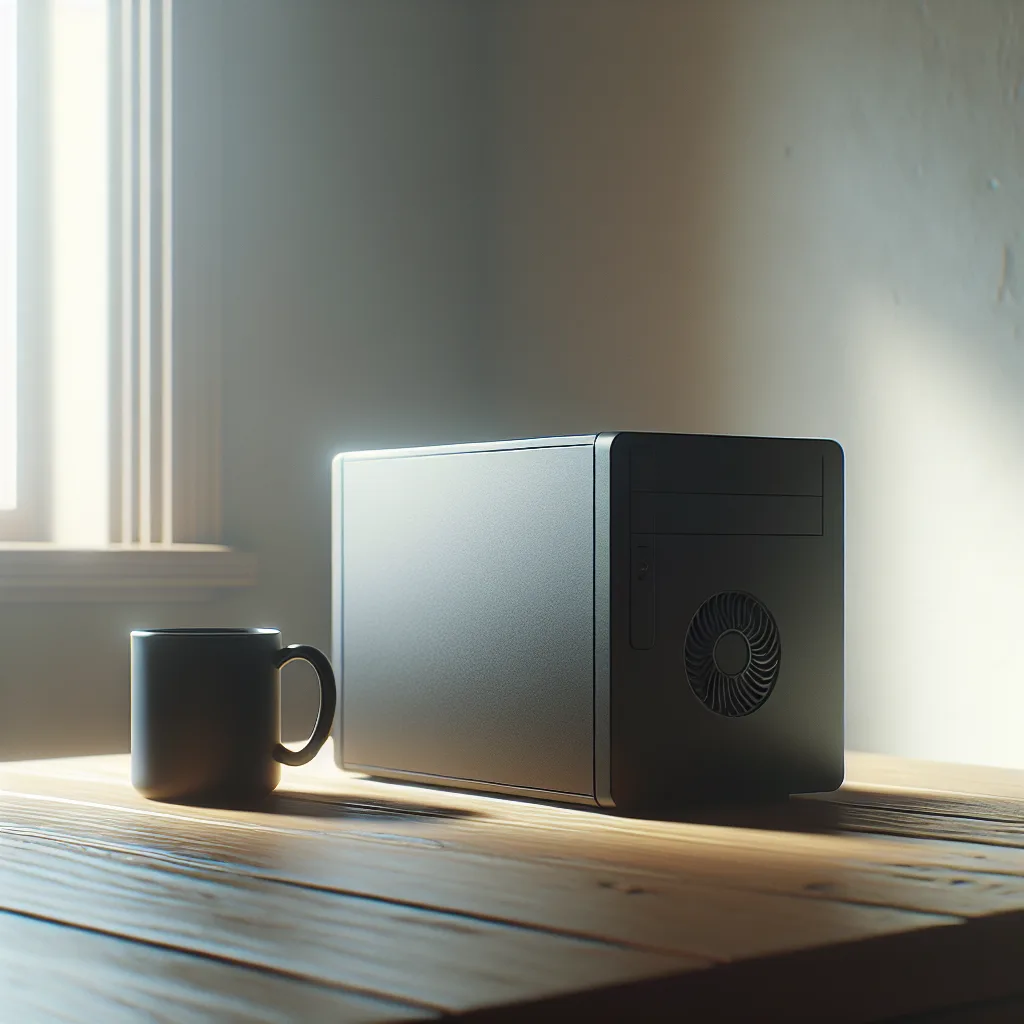
But I recently put together my first real home server, and it’s the exact opposite of that. It’s small, it’s completely silent, and it works flawlessly. It’s a “sleeper” build, and it proves a point I wish I’d learned sooner: we all start somewhere, and that start can be surprisingly simple.
My Goal: A Quiet, Low-Power Hub
My main goal was to create a machine that could run 24/7 without being annoying. I wanted to experiment with virtualization, run a few applications in the background, and have a central place for my files. I didn’t need a supercomputer; I needed a workhorse that wouldn’t make a sound or cost a fortune to run.
So, I didn’t look at enterprise-grade hardware or fancy server chassis. I looked for efficiency and simplicity.
The Hardware: A Peek Inside the Box
The parts list for this build isn’t going to blow anyone’s mind, and that’s the whole point. It’s about getting the job done with smart, affordable components.
Here’s what I used:
- CPU: An Intel N150 processor. This little guy is the heart of the build. It’s not designed for heavy-duty gaming or video editing, but it’s incredibly power-efficient, which is perfect for an always-on server.
- RAM: 16 GB of RAM. This is a sweet spot for a beginner setup. It’s enough memory to run the host operating system and still have plenty left over for a few virtual machines or containers without breaking a sweat.
- Storage: This is where things get a little creative.
- For the main operating system, I’m using a 500 GB M.2 SSD. This keeps the system snappy and responsive.
- My motherboard had a second M.2 slot, which I used for a clever M.2 to SATA adapter. This little card let me connect traditional hard drives without needing extra SATA ports on the motherboard itself. It’s a great trick for small builds.
- For actual file storage, I have a few 2.5″ hard drives totaling 3TB. Full disclosure: right now, one of them is running off USB power. It’s a temporary solution, and my next small project is to get a dedicated power supply for all of them. It’s a work in progress, but it works!
The Software: Proxmox Makes It All Possible
The magic that ties all this hardware together is Proxmox. If you haven’t heard of it, it’s a free, open-source virtualization platform.
In simple terms, it’s an operating system for your server that lets you create and manage other virtual computers on top of it. So, on this one physical machine, I can run a separate virtual machine for my file server, another for a media server, and maybe a third just to test new things out. It’s incredibly powerful and surprisingly easy to get started with.
The Result: Silent, Simple Success
After putting it all together and getting Proxmox installed, I held my breath and powered it on. The result? Silence.
The machine just sits there, doing its job without a single complaint. No fan noise, no drama. It’s everything I wanted. It’s a sleeper build in the truest sense—unassuming on the outside, but fully functional and capable on the inside.
This little box is my starting point. It’s not the most powerful server in the world, but it’s mine. It’s teaching me about virtualization, storage, and networking, all while serving a practical purpose. And it does it all without me even noticing it’s there.
So if you’ve been on the fence about building your own home server because you thought it had to be big, loud, and expensive, maybe it’s time to reconsider. Your starting point can be simple, quiet, and incredibly rewarding.