I accidentally bought the wrong smart plugs. It led me to a fun project that gave me more speed, privacy, and control over my smart home.
It all started with a simple mistake.
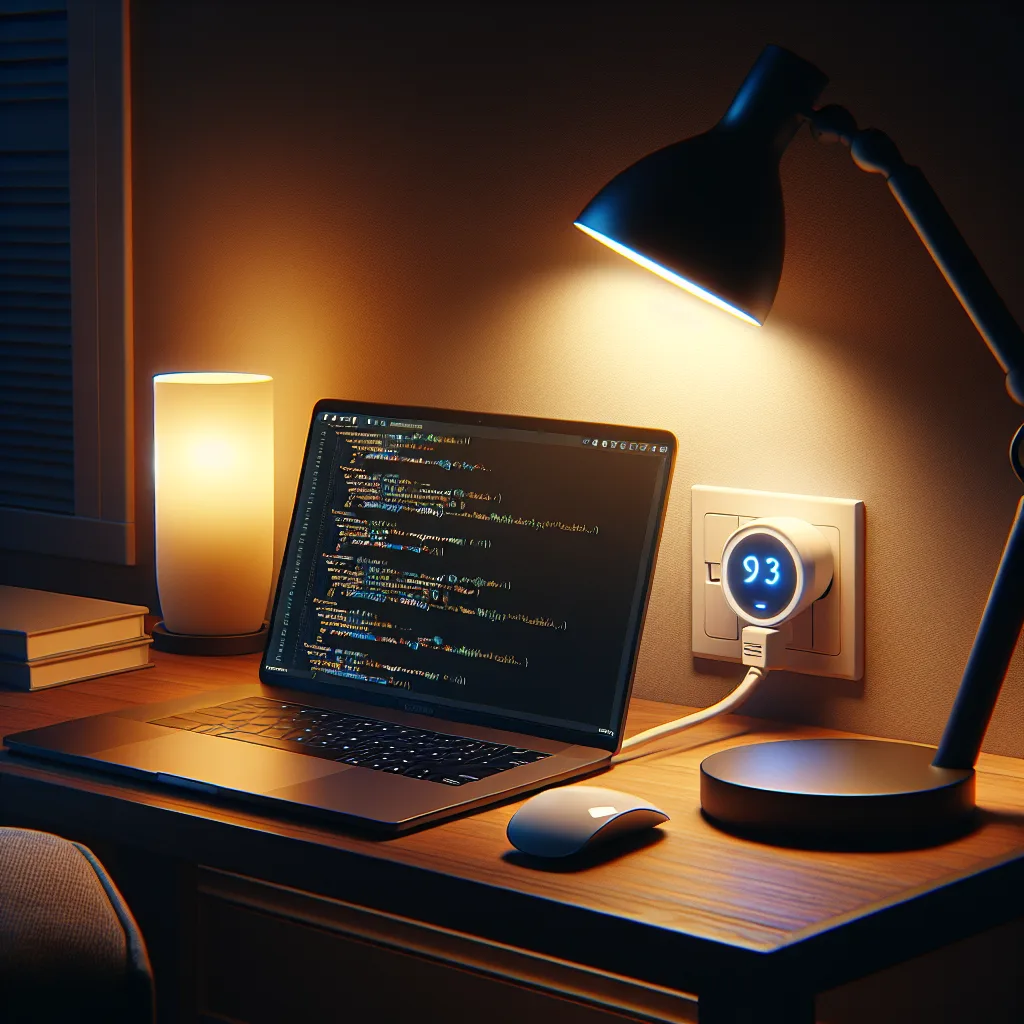
I was diving deeper into my smart home setup, and I thought I was making a smart purchase. I ordered a handful of WiFi power sockets, excited to automate a few more gadgets around the house. The problem? I meant to buy Zigbee sockets to integrate with my existing system. By the time I realized my error, it was too late to return them. So, I was stuck with these Tuya WiFi plugs that didn’t talk to my other gear. My main goal was to find a way to control Tuya devices locally, without relying on their cloud service or app.
I wanted to control a floor lamp and a fan with physical switches, but have it all work seamlessly. After a bit of research and some head-scratching, I landed on a fun little project: I’d build my own simple web server to manage them. It sounded intimidating at first, but it turned out to be a surprisingly rewarding weekend project.
Why Bother trying to Control Tuya Devices Locally?
You might be wondering, “Why not just use the Tuya app?” And that’s a fair question. The app works perfectly fine for most situations. But I had a few reasons for wanting a different solution:
- Speed and Reliability: When you control a device through the app, your command usually travels from your phone, to your router, out to the internet to Tuya’s servers, and then back to the device in your home. By controlling them locally, the command goes directly from my computer to the device over my home network. It’s faster and it works even if my internet connection goes down.
- Privacy: I’m becoming more mindful of how much of my data lives on company servers. A local setup means fewer pings to external servers and more control over my own home’s data.
- Integration: The biggest reason for me was integration. I wanted my Zigbee wall switch to control a WiFi-only lamp. The only way to bridge that gap was to create a central point of control on my own network that could speak to both.
This project was a workaround for my purchasing mistake, but it opened my eyes to the benefits of a more robust, local-first smart home.
The Simple Toolkit for Local Tuya Control
The heart of this project is a fantastic open-source Python library called tinytuya. It does the heavy lifting of communicating with Tuya-based devices directly. My little web server is essentially just a user-friendly wrapper around this library, allowing me to send simple web commands (HTTP requests) to turn my devices on or off.
So, what do you need?
* A computer that can be on 24/7 (a Raspberry Pi is perfect for this)
* Basic knowledge of Python
* The device ID for each of your Tuya products
* The “local key” for each device (this is the tricky part)
This isn’t a plug-and-play solution, but if you’re comfortable with a bit of tinkering, it’s incredibly satisfying.
The Hardest Part: Finding the Local Key to Control Tuya Devices
Here’s the biggest hurdle: getting the localKey for each device. This key is a unique secret that your Tuya device uses to verify commands sent over your local network. For security reasons, Tuya doesn’t make this easy to find.
The process is a bit fiddly, as I discovered. It involves using specific tools to intercept the communication between your smartphone and the device during the setup process. It feels a bit like being a detective, but it’s essential for making this whole thing work. The tinytuya GitHub page has a great wiki with instructions on a few methods to accomplish this. Be prepared to spend a little time on this step – it requires patience, but it’s a one-time effort for each device.
Once you have the device ID and the local key, you’re on the home stretch. You just need to list them in a configuration file for the server, and you’re ready to go.
Bringing It All Together
With the keys in hand, I wrote a small web server script. Now, I can turn my floor lamp on by simply visiting a URL like `http://my-server-ip:port/device/lampon` from any browser on my network. I’ve integrated this into my existing smart home dashboard and even created desktop shortcuts. Now my “mistake” plugs are some of the most reliable and responsive devices I own.
What started as a frustrating accident turned into a valuable learning experience. It gave me a much deeper understanding of how my smart devices work and handed me the keys to my own smart home kingdom. If you’ve ever felt limited by a manufacturer’s app, maybe it’s time to build your own door. For more advanced control and integration with hundreds of other devices, you might eventually want to look into a full-fledged platform like Home Assistant, which also leverages local control. But for a simple, direct solution, this little project was perfect.