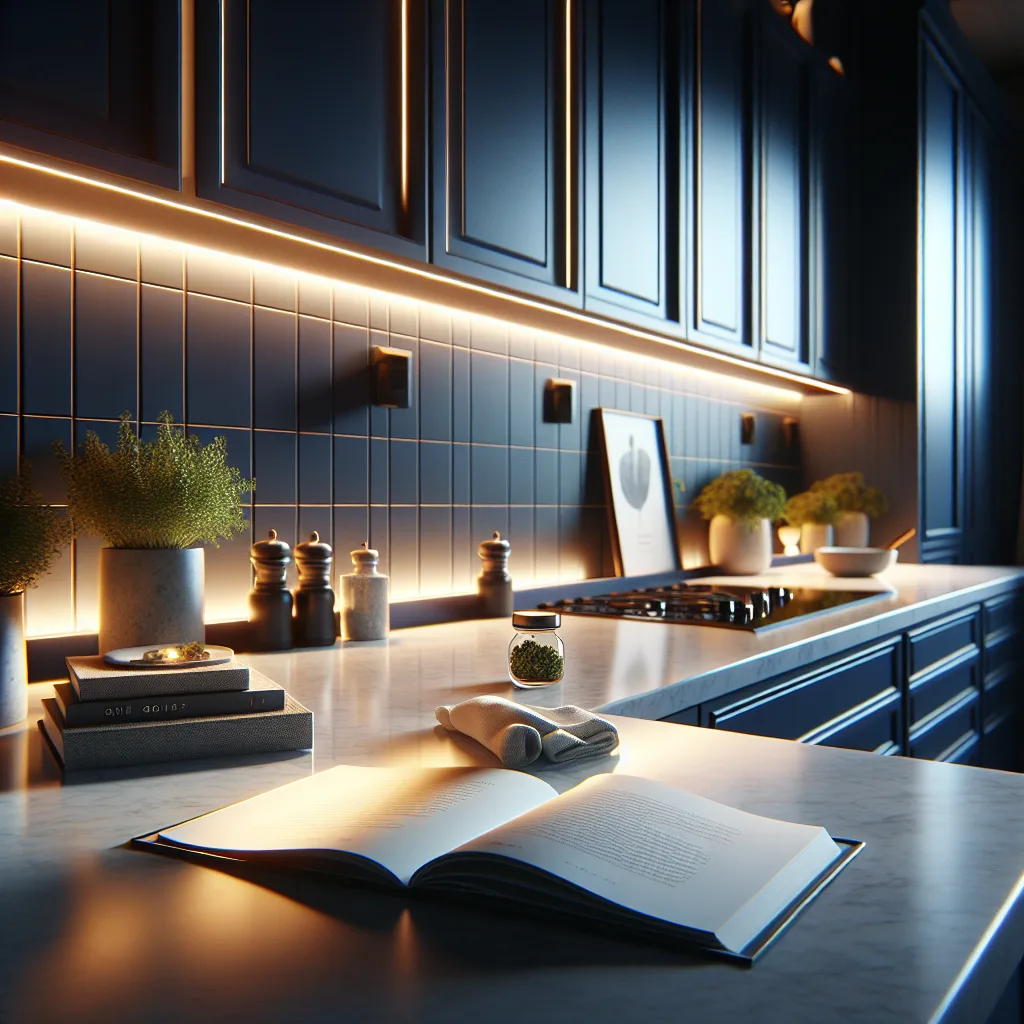
Feeling lost in a sea of LED strips and diffusers? I get it. Let’s break down your under-cabinet LED lighting project into simple, manageable steps.
So, you’re standing in your kitchen, dreaming of that perfect, warm glow under your cabinets. You hop online, ready to make it happen, and are immediately hit with a tidal wave of terms like “drivers,” “diffusers,” “Kelvin scales,” and “LED density.” Sound familiar? It’s easy to get overwhelmed. But I promise, installing beautiful and functional under-cabinet LED lighting is much easier than it seems when you break it down.
I’ve been there, staring at diagrams and product pages, feeling more confused with every click. The good news is that you don’t need an engineering degree to achieve a high-end look. You just need a solid plan and the right components. Let’s walk through it, step by step, and get you that amazing kitchen lighting you’re picturing.
First Things First: Planning Your Under-Cabinet LED Lighting
Before you add a single thing to your cart, let’s map it out. A little planning now saves a ton of headaches later.
- Measure Everything: Grab a tape measure and figure out the exact length of the cabinet sections you want to light. If you have sections broken up by a microwave or a window, measure each one individually. Jot these numbers down. This determines how much LED stripping you’ll need.
- Find Your Power Source: The person who inspired this post was smart—they had already pulled power from a nearby light switch. This is a great, clean way to do it. You can also use a standard wall outlet. The key is knowing where the power will come from, as this dictates how you’ll run your wiring. For a hardwired setup like the one from the switch, you’ll need a power supply (often called a “driver”) that can be safely tucked away in a cabinet or another hidden spot.
- Plan the Route: Think about how the LED strips will connect. If you have multiple cabinet sections, you’ll likely need to run a small wire between them. This often means drilling a small, discreet hole in the bottom or side of the cabinet partitions. It sounds scarier than it is! A half-inch hole is usually more than enough to pass the low-voltage wire through.
The “Big Three”: Choosing Your Lighting Gear
Okay, this is where the research can get intense, but it really boils down to three main components.
- The LED Strips: This is the fun part. For that smooth, diffused light without visible dots, look for a strip with a density of at least 60 LEDs per meter. The Reddit user was spot on with this. An even better option for a truly seamless glow is a “COB” (Chip on Board) LED strip, which has no visible dots at all.
- Color Temperature (Kelvin): You mentioned wanting to control the Kelvin scale. This is a fantastic feature! It means you can change the light from a cool, bright white (great for food prep) to a warm, cozy yellow (perfect for relaxing in the evening). Look for “Tunable White,” “CCT,” or “Variable White” LED strips.
- The “Easy Button”: You can make your life a lot easier by choosing an LED strip that comes pre-installed in an aluminum channel with a diffuser. These all-in-one units take the guesswork out of matching components and are incredibly simple to mount.
- The Power Supply (Driver): The LED strips run on low-voltage DC power (usually 12V or 24V), so you need a power supply to convert your home’s 120V AC power. Don’t let this intimidate you. The product description for your LED strip will tell you what voltage it requires. To calculate the size, you just need to know the watts per foot/meter of the strip and multiply that by the total length you’re installing. It’s always a good rule to get a power supply with about 20% more wattage capacity than you need, just to be safe.
- The Controller and Dimmer: To control both the brightness and the color temperature, you’ll need a compatible controller and wall switch. Companies like Lutron offer fantastic, reliable dimmer switches that work with many LED systems. You’ll install a small receiver between the power supply and the LED strip, which then “talks” to your wall switch. This gives you that slick, professional control right from the wall.
The Final Step: A Simple Guide to Installing Your Under-Cabinet LED Lighting
Once you have your gear, the installation is pretty straightforward.
- Safety First: Turn off the power at the breaker. Always. If you are not 100% comfortable with wiring, please hire an electrician for the high-voltage connections. It’s worth the peace of mind. For more on this, a trusted resource like This Old House is a great read.
- Mount Your Channels: Clean the underside of your cabinets thoroughly. Then, screw the aluminum channels directly into the wood.
- Install the Strips: Peel the adhesive backing off your LED strips and press them firmly into the channels.
- Connect the Sections: Run your low-voltage connector wires through the small holes you drilled earlier to link the different cabinet sections. Most kits from places like Armacost Lighting come with easy-to-use connectors.
- Wire It Up: Connect the strips to the controller/receiver, and then connect the receiver to the power supply. Finally, have your electrician (or yourself, if you’re qualified) connect the power supply to the main power line from your switch.
- The Grand Finale: Snap the plastic diffusers onto the front of the aluminum channels.
Now, flip the breaker back on, and turn on your new lights. You did it. That overwhelming project is now a gorgeous, practical upgrade that you’ll enjoy every single day. See? Not so bad when you take it one step at a time.
