Expanding your setup from one server to two? Here’s how to handle your home lab networking without the headache.
So, your home lab is starting to feel a little cramped. That single server, once the pride of your setup, is now begging for a friend. You’re thinking of getting a second host, maybe for more complex projects or just to have a failover. But then it hits you: your entire network is virtualized, running as a VM on that first machine. This is a common growing pain for many of us in the tech community and a crucial moment in your home lab networking journey. When you add a second host, you need a network that lives outside both of them.
It’s a classic problem. Your current setup, likely with a virtual router like VyOS or pfSense running on ESXi, has been perfect. It’s efficient and self-contained. But the moment you introduce a second physical server, that elegant solution becomes a single point of failure. If your first host goes down for maintenance (or just for fun), your entire lab, including the new server, gets cut off from the network.
It’s time to move your networking from the virtual world to the physical one. It might sound intimidating, especially if you’re more of a software person, but I promise it’s a logical and rewarding next step.
Why Your Virtual Router Can’t Scale to Two Hosts
Think of your virtual router as an apartment building’s intercom system that’s wired to the superintendent’s apartment. It works great for buzzing people in, but if the super goes on vacation and turns off their power, nobody in the building can talk to each other or let guests in.
When your router is a VM on a single host, that host is the superintendent. Adding a second server is like building a second apartment building next door. You need an independent, standalone intercom system—a physical network—that can serve both buildings equally. This ensures that all your VMs and services can communicate with each other, and the internet, regardless of the status of a single host.
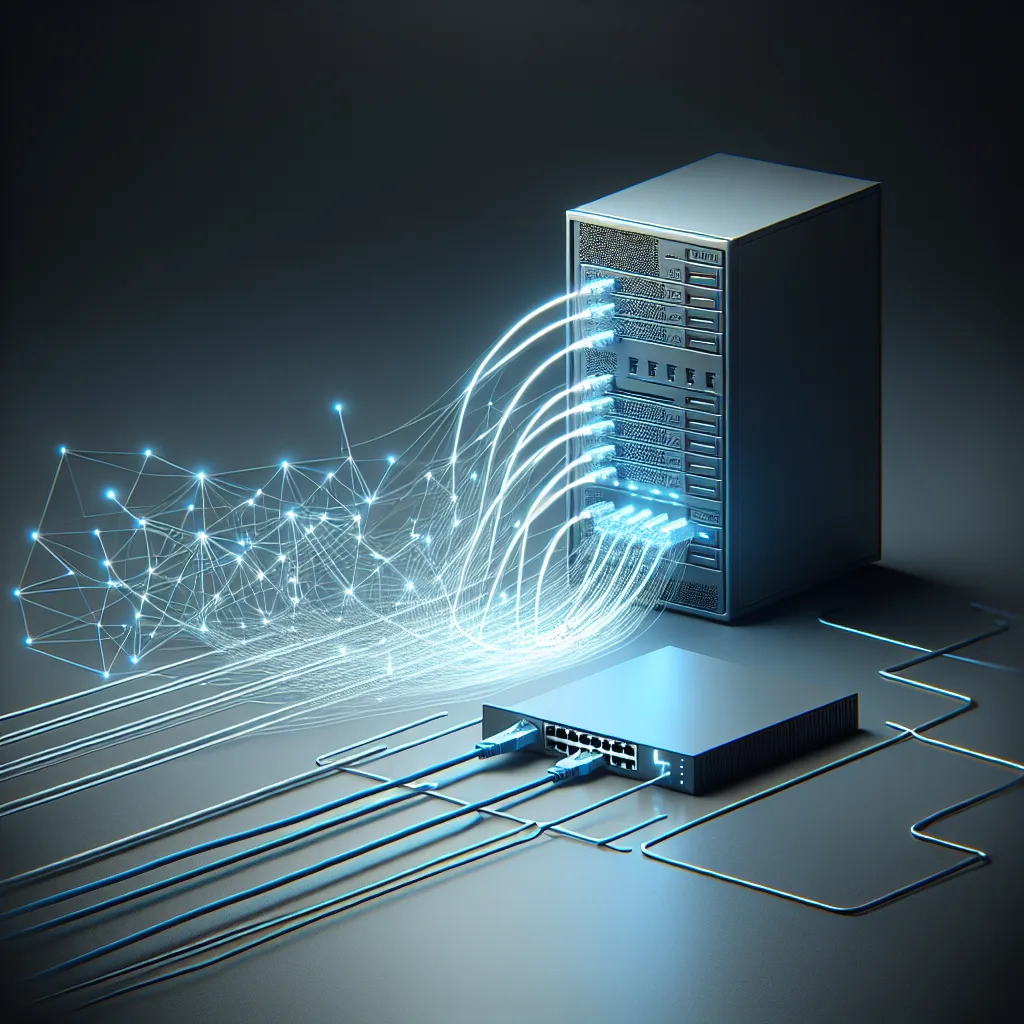
Your First Step into Physical Home Lab Networking
The heart of your new physical network will be a managed switch. You might be tempted by a cheap, simple “unmanaged” switch from a big-box store, but that would be a step backward.
- Unmanaged Switches: These are simple plug-and-play devices. They’re great for extending your home Wi-Fi to a TV and a game console, but they don’t understand complex concepts like VLANs (Virtual LANs). Since your lab is already using VLANs within VyOS, you need a switch that can handle them.
- Managed Switches: This is what you need. A “managed” switch is a smart switch that you can configure. Its most important feature for a home lab is support for VLANs. This lets you keep your lab traffic separate from your home traffic, or create different network segments for different projects (e.g., a “dev” network and a “testing” network).
For those new to physical gear, I’d strongly recommend looking into the Ubiquiti UniFi or TP-Link Omada ecosystems. They offer powerful managed switches that are configured through a clean, user-friendly web interface. You don’t need to be a command-line wizard to get started. You can find their product lines on their official websites, which are great places to compare models.
Finding a Router to Replace Your Virtual One
With a physical switch in place, you still need a router to manage the traffic between your VLANs and connect everything to the internet. You have a couple of great options here.
- An All-in-One “Prosumer” Router: The easiest transition is to get a router from the same ecosystem as your switch. The UniFi Dream Machine (UDM) or a TP-Link Omada Router are fantastic all-in-one solutions. They act as a router, a firewall, and a controller for your switches and access points. It’s a seamless experience and the perfect entry point.
- A Dedicated Router Appliance: If you love the power and flexibility you had with VyOS, you might prefer a dedicated router box. You can buy a small, low-power PC and install open-source routing software like pfSense or OPNsense. This gives you incredible control and is a direct, more powerful successor to a virtualized router. It’s a bit more hands-on but is the gold standard for many advanced home labs.
A Simple Home Lab Networking Setup to Get Started
Don’t overthink it at the beginning. Your goal is to get a stable, physical foundation built. Here’s a simple, reliable blueprint for your new home lab networking configuration:
- Connect your Internet Modem to the WAN (internet) port of your new physical router (like a UniFi Dream Machine or your pfSense box).
- Connect a LAN port from your new router to your new managed switch.
- Connect your two ESXi hosts, your desktop computer, and any other wired devices to the managed switch.
That’s it for the physical connections! From there, you’ll log into your router and switch’s web interfaces to configure your VLANs, firewall rules, and IP address ranges. It’s the same logic you used in VyOS, just applied to physical hardware. For a visual guide, you can find excellent tutorials on YouTube or tech sites like ServeTheHome, which provides in-depth reviews and guides for this kind of hardware.
Taking the leap from a virtual to a physical network is a right of passage for any home lab enthusiast. It opens the door to more resilient, complex, and powerful setups. It might seem like a big jump, but by choosing beginner-friendly gear and starting with a simple layout, you’ll build a rock-solid foundation for whatever project comes next. Welcome to the next level of your lab!