How I built a massive 60TB, low-power home server with a single-board computer, some aluminum, and a 3D printer.
I have a confession to make: I’m a digital hoarder. High-resolution photos, a growing movie collection, backups of every important file… it all adds up. My cloud storage was bursting at the seams, and the thought of paying ever-increasing monthly fees was getting old. Off-the-shelf Network Attached Storage (NAS) devices from big brands are great, but they can be pricey. So, I decided to take on my first DIY NAS build, and I ended up with a massive 60TB of storage that sips power and didn’t break the bank.
It all started with a couple of simple goals. I wanted to see how cheaply I could build a serious home server, and I wanted it to be as power-efficient as possible. After all, a server that’s on 24/7 can quickly add up on your electricity bill.
My Goals for This DIY NAS Build
- Keep Costs Low: The main driver was to get the most storage for my money. This meant sourcing parts carefully and getting creative with the construction.
- Low Power Consumption: Instead of using an old desktop or power-hungry server parts, I wanted a brain for the operation that used just a few watts.
This led me to the heart of my project: a Rock5B single-board computer (SBC). It’s a tiny powerhouse with an ARM processor, 8GB of RAM, and crucially, 2.5Gb Ethernet. It’s more than capable of handling file transfers without becoming a bottleneck.
Why I Chose SnapRAID for My DIY NAS Build
The choice of an ARM-based SBC immediately ruled out some popular storage solutions. Software like UnRAID and the ZFS file system are fantastic, but they work best with more powerful, traditional computer processors (x86 architecture). I needed something that would run happily on my low-power setup.
After a bit of research, I landed on SnapRAID. It’s a clever program that provides protection against disk failure, but with a twist. Instead of checking file integrity in real-time (which requires more processing power), SnapRAID runs on a schedule to calculate and store parity data.
What does that mean in simple terms? It’s like an automated insurance policy for your data. I have it set to run overnight. It checks all the files, notes the changes, and updates its parity file—a special file that can be used to rebuild a failed drive. For my needs, which are mostly storing large media files that don’t change often, this is a perfect and resource-friendly compromise. It gives me peace of mind without needing a beastly processor.
The Hardware: Aluminum, 3D Prints, and a Clever Adapter
This is where the “DIY” in DIY NAS build really comes to life. I didn’t want a standard computer case. I wanted something custom, open, and easy to work with.
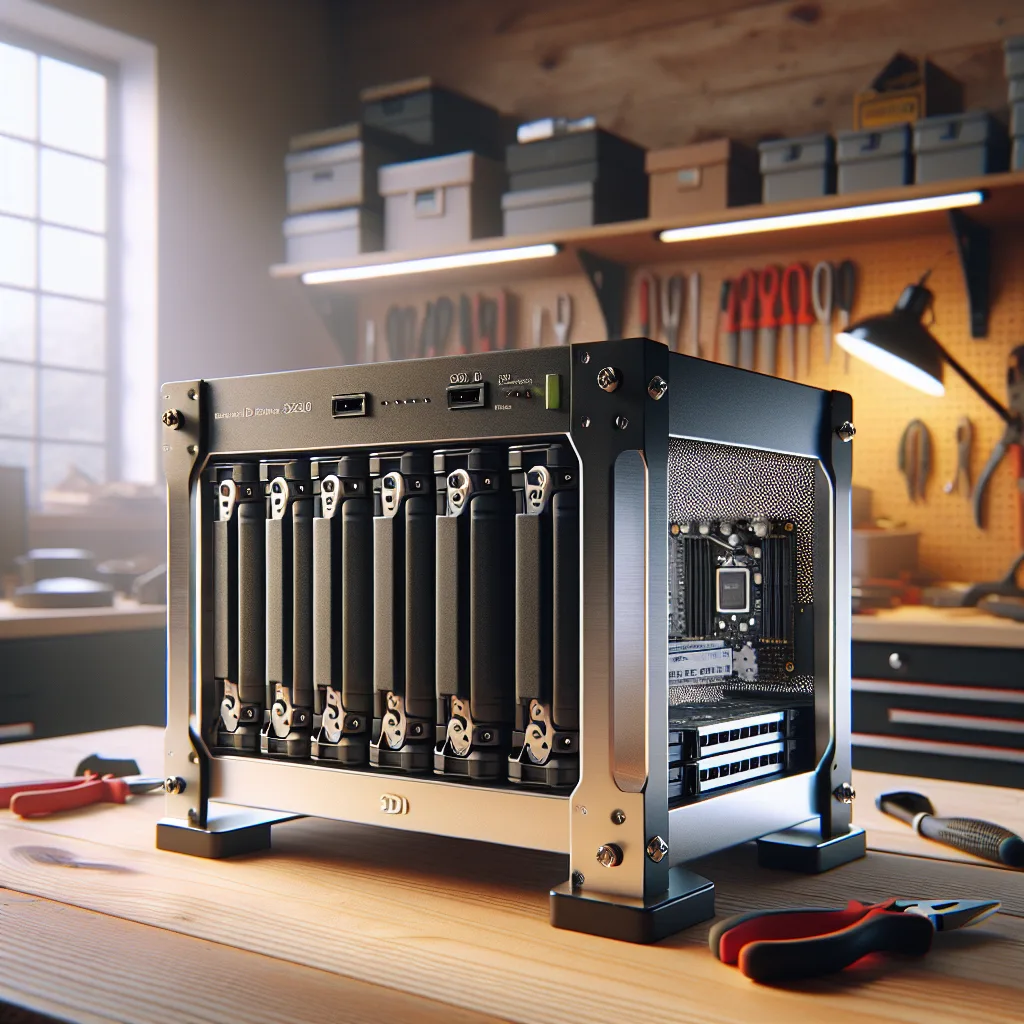
- The Frame: The skeleton of the server is just four pieces of 15mm angle aluminum from a hardware store. I cut them to length, drilled a few holes, and that was it. It’s a rigid and incredibly cheap way to mount the six 10TB hard drives.
- The Case: For the top and bottom plates, I turned to my 3D printer. I designed some simple, functional plates in Autodesk Fusion 360 and printed them in black PLA plastic. It gives the whole build a clean, finished look.
- The Connectivity: You might be wondering how I connected six SATA hard drives to a tiny single-board computer. The magic comes from a special M.2 to 6-port SATA adapter. The Rock5B board has an M.2 slot (normally for a fast SSD), but with this adapter, I could convert that single slot into six data ports for my hard drives. It’s a brilliant piece of hardware that makes a compact build like this possible.
After assembling the hardware, I installed the operating system on the Rock5B, configured SnapRAID and MergerFS (to pool the drives into one big volume), and started copying my files over. The 2.5GbE network connection is fantastic, ensuring that file transfers are limited by the hard drive’s speed, not the network.
The result is a 60TB home server that idles at just a handful of watts. It’s quiet, compact, and holds everything I could possibly need for years to come. Best of all, building it myself was not only cost-effective but also incredibly satisfying. If you’re feeling a bit adventurous and need a lot of storage, don’t overlook the possibility of your own custom build. You might be surprised at what you can create.