If you’re struggling with a blank screen in your KVM switch docking station setup, you’re not alone. Let’s figure this out together.
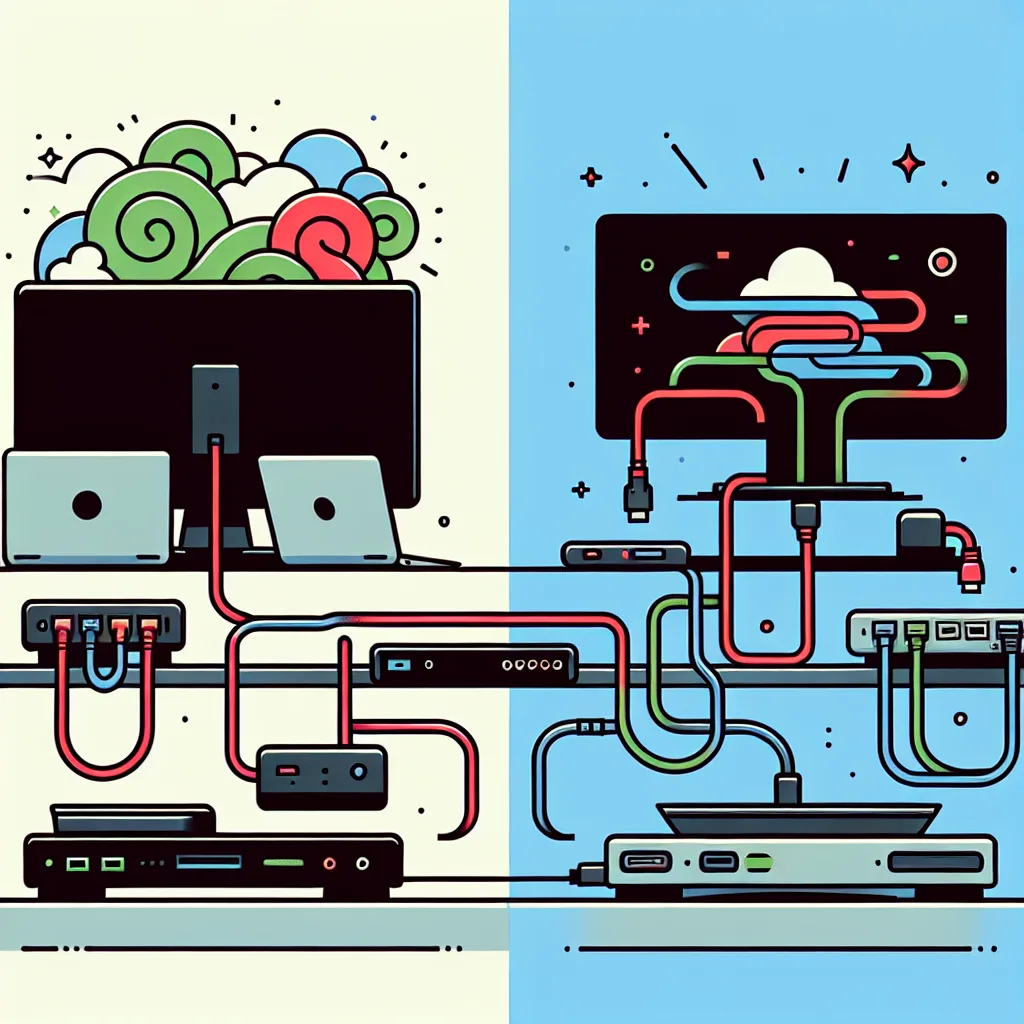
I was so close to the perfect home office setup. I had my trusty Thinkpad for work, my powerful desktop for everything else, and two beautiful monitors ready to go. The dream was to share my keyboard, mouse, and at least one of those monitors between both machines with the simple press of a button. That’s where the KVM switch came in. But when I tried to connect my laptop through its docking station, I hit a wall. A black, screen-sized wall. If you’re struggling with a KVM switch docking station setup that isn’t playing nice, trust me, you’re not alone.
It’s a super common headache. You’ve got all this great tech that’s supposed to make life easier, but getting it all to talk to each other feels like a puzzle. You test every piece individually, and it all works perfectly. Laptop to monitor? Fine. Laptop to dock to monitor? No problem. Laptop to KVM to monitor? Golden. But the moment you try to chain them all together in the most logical way—Laptop -> Docking Station -> KVM -> Monitor—it all falls apart.
So, what’s actually going on? Let’s break it down.
Why Your KVM Switch and Docking Station Aren’t Friends
Think of your video signal as a message being passed down a line of people. When you connect your laptop directly to a monitor, it’s a simple, direct conversation. Easy.
When you add a docking station, especially a modern USB-C one, you’re adding a translator. The dock takes a complex signal from the USB-C port that includes video, data for your USB ports, and sometimes power, and splits it all up. This process is surprisingly complex, relying on something called DisplayPort Alt Mode to work its magic.
Now, add the KVM switch. It’s another person in the line, but its job is simpler: it’s a traffic cop, designed to quickly switch a clean, standard video signal (like HDMI or DisplayPort) from one source to another.
The problem arises when the “translated” signal coming out of the docking station isn’t clean enough for the KVM to understand. The KVM is expecting a simple message, but it’s getting a complicated, re-packaged one from the dock. This is the most common reason a KVM switch docking station combination fails. The KVM switch just gets confused and gives up, leaving you with a blank screen.
How to Fix Your KVM Switch Docking Station Connection
Before you throw any hardware out the window, let’s try a few things. We’ll start with the basics and move to the most likely solution.
- Check Your Cables: I know, I know—it’s the oldest trick in the book. But in a complex chain like this, cable quality matters immensely. A cheap cable that works fine in a direct connection might not have the bandwidth or shielding to handle being passed through two separate devices. Make sure you’re using high-quality, certified cables that match the resolution and refresh rate you need.
- Update Your Drivers and Firmware: This is a big one. Manufacturers are constantly releasing updates that fix compatibility issues.
- Update your laptop’s graphics drivers.
- Check for firmware updates for your docking station. This is critical. Manufacturers like Lenovo and Dell regularly post these on their support websites.
- Check if your KVM switch has any available firmware updates.
- Power Cycle Everything: Unplug everything from the wall. Yes, everything. The monitors, the dock, the KVM, and the computers. Plug it all back in, but turn things on in a specific order:
- Monitors
- KVM Switch
- Docking Station
- Computers
Sometimes, this forces all the devices to perform a new “handshake” and recognize each other properly.
The Real Solution: Simplifying the Signal Path
If you’ve tried all of the above and are still staring at a black screen, it’s time to accept the hard truth: your dock and KVM probably won’t work when daisy-chained for video. But don’t worry, there’s a different way to connect everything that usually works perfectly.
The goal is to simplify the video signal’s journey. Instead of forcing it through both the dock and the KVM, we’re going to separate the connections.
Here’s the new plan:
- Video Goes Directly to the KVM: Connect your laptop’s video output directly to one of the KVM’s inputs. If your laptop only has USB-C, you might need a simple USB-C to DisplayPort or HDMI adapter. Do the same for your desktop. This ensures the KVM gets a clean, simple video signal from each source.
- Peripherals Connect to the Dock: Use your docking station for everything else! Plug your mouse, keyboard, webcam, and external hard drives into the dock.
- Connect the Dock’s USB to the Laptop: Connect the dock to your laptop with its main USB-C cable as usual. This handles all your peripherals and charging.
With this setup, when you switch the KVM, only the video signal and the USB devices plugged directly into the KVM’s console ports will switch. Your laptop will remain connected to all its other accessories through the dock. It’s a slightly different wiring setup, but it’s far more stable and reliable.
Building the perfect desk setup is a journey of trial and error. This little hiccup with the KVM switch docking station is a classic rite of passage. By understanding why it happens, you can rethink your connections and build a setup that’s not just powerful, but also reliable. Happy connecting!