Author: homenode

  • That One Little Screw: A Simple Guide to Server Rack Hardware

    That One Little Screw: A Simple Guide to Server Rack Hardware

    It’s a familiar feeling for anyone who loves tinkering with tech.

    You’ve got the new gear, the rack to put it in, and a free afternoon. You’re ready to finally get that server, switch, or patch panel mounted and tidy up your setup. You slide the equipment into the rack, line up the holes, and reach for a screw.

    And it doesn’t fit.

    Maybe it’s too big. Maybe it’s too small and just spins in the hole. Suddenly, your whole project grinds to a halt, all because of a tiny piece of metal. I’ve been there. It’s the kind of roadblock that’s more than a little frustrating. You have this heavy, expensive piece of equipment and you’re stuck on step one.

    So, let’s talk about rack screws. What size do you actually need?

    The Short Answer You’re Probably Looking For

    For most modern server racks with square holes—like the HP one that inspired this post, or anything from Dell, APC, or a dozen other brands—you almost certainly need M6 cage nuts and screws.

    That’s it. That’s the magic formula.

    But wait, what’s a cage nut? If you’ve only ever dealt with pre-threaded holes, this is a key piece of the puzzle. A cage nut is a little square nut with spring steel wings on it. You simply squeeze the wings and pop it into the square hole on your rack rail from the back. It clicks into place, and now you have a threaded M6 hole right where you need it. You then mount your equipment by driving an M6 screw into it from the front.

    This system is brilliant because if you ever strip a thread, you don’t have to re-tap the hole or replace the whole rack. You just pop out the old cage nut and snap in a new one.

    But What If It’s Not M6? The Rack Screw Decoder

    While M6 is the king of the modern data center (and home lab), you might run into a couple of other standards, especially with older or US-made equipment.

    Here’s the full lineup:

    • M6: This is the metric standard. It has a thread diameter of 6mm. As we said, it’s used with cage nuts in square-hole racks. If your rack has unthreaded square holes, this is your guy.
    • 10-32: This is a common standard in the US, especially for racks with pre-threaded round holes. The “10” refers to the size and the “32” refers to the thread count. These are a bit thinner than M6 screws. If you try to put a 10-32 screw in an M6 cage nut, it will feel very loose.
    • 12-24: This is an older, beefier standard, also typically used in pre-threaded racks. It’s less common now, but you’ll still find it in the wild. These screws are visibly thicker than 10-32 screws.

    So how can you tell for sure?

    1. Check the Holes: Are they square or round? If they’re square, you need cage nuts, which almost always means you need M6 screws. If they’re round, they are pre-threaded, so you likely need 10-32 or 12-24 screws.
    2. The Eyeball Test: If you have a few screws lying around, a 12-24 is noticeably thicker than a 10-32. The M6 is very close in size to the 10-32, but the threading is different (metric vs. imperial).
    3. The Wiggle Test: Try threading the screw with your fingers. Never force it. If a screw feels loose or won’t engage, it’s the wrong one. A 10-32 screw will feel sloppy inside an M6 nut, and you risk damaging the threads if you try to tighten it.

    My Pro Tip: Just Buy a Kit

    If you’re just starting a home lab or find yourself racking gear more than once a year, do yourself a huge favor: buy a rack screw and cage nut kit. For a small investment, you can get a container with a hundred M6 cage nuts and the matching screws.

    Toss it in a drawer. The next time you get a new piece of gear that doesn’t come with its own hardware (and it happens more often than you’d think), you won’t have to stop. You can just grab a handful and get the job done.

    It turns a moment of potential frustration into a non-issue. And that, more than anything, is what a smooth project is all about. Happy racking.

  • Beyond the Key: Finding Your Perfect Smart Lock

    Beyond the Key: Finding Your Perfect Smart Lock

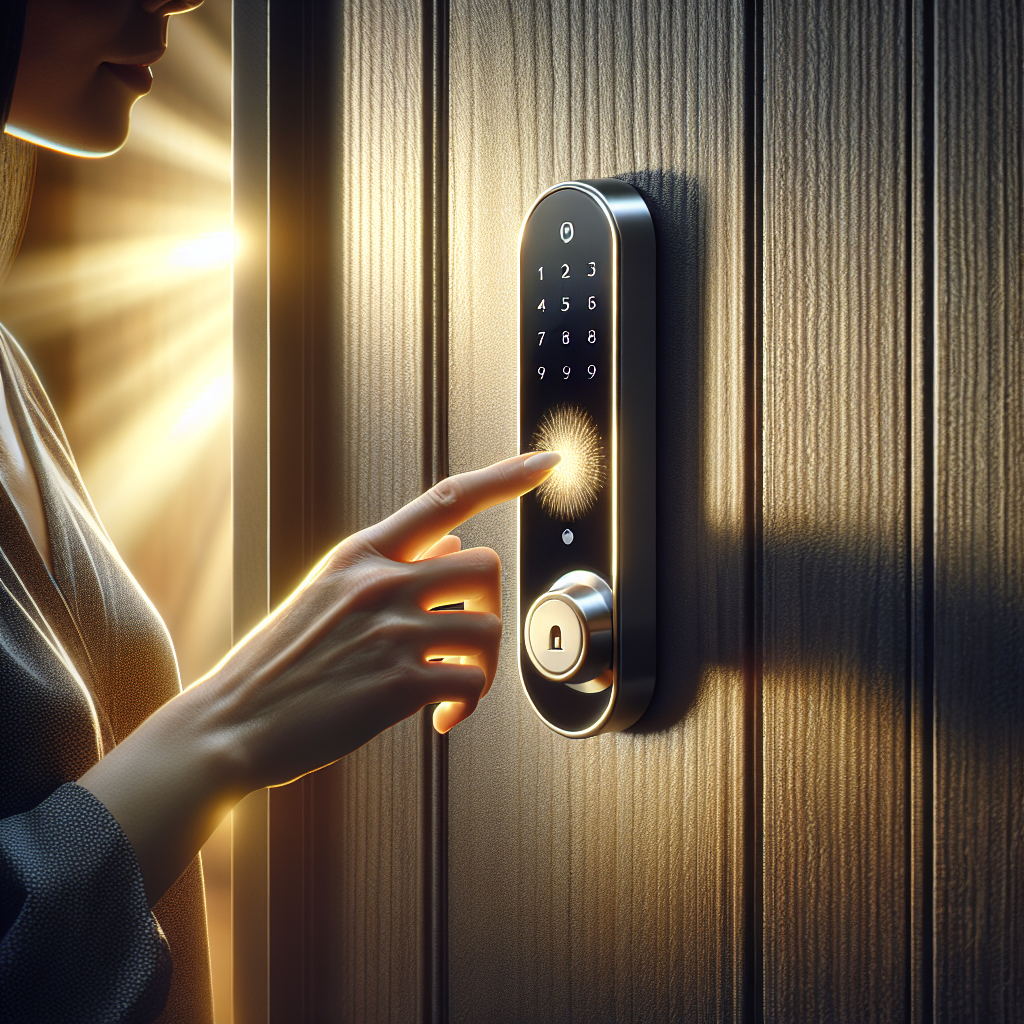
    Hey there! Have you ever stood outside your door, fumbling for keys, maybe with your hands full of groceries or a squirmy kid? Or perhaps you’ve worried about whether you locked the door after rushing out? I know I have! It’s those little moments that make you think, “There has to be a better way.” And guess what? There is! We’re talking about smart locks, and if you’ve been feeling a bit overwhelmed by all the choices out there, you’re definitely not alone. It feels like there’s a new gadget every day, right?

    Why Smart Locks Are Totally Worth It

    So, why are so many people ditching traditional keys for something smarter? Well, it boils down to a few big wins. First off, convenience. Imagine sending a temporary code to a pet sitter or a repair person without ever having to be home to hand over a physical key. Or, getting a notification on your phone that your teenager just got home from school. Beyond that, there’s a real sense of peace of mind. No more “did I lock the door?” nagging thoughts – a quick check on your phone usually tells you everything you need to know.

    What to Consider When You’re Choosing

    Okay, so you’re on board with the idea. But then you start looking, and suddenly it’s like a sea of options. Bluetooth, Wi-Fi, Z-Wave, touchscreens, keypads, no keypads… where do you even begin? Let’s break down a few key things to think about.

    • How it Connects (and Communicates): This is probably the biggest differentiator.
      • Bluetooth: Great for close-range control. You need to be within a certain distance to lock or unlock your door with your phone. They’re usually simpler and often more battery-efficient.
      • Wi-Fi: This is the big kahuna for remote access. Connects directly to your home Wi-Fi, letting you control your lock from anywhere with an internet connection. Super convenient, but it can be a bit more battery-intensive.
      • Z-Wave/Zigbee: These are often found in more complex smart home setups. They create their own mesh network, meaning devices can talk to each other to extend range. You usually need a separate smart home hub for these, but they integrate really well with a whole system. Think of them as team players in a larger smart home ecosystem.
    • Power Source: Almost all smart locks run on batteries. Look for models that give you plenty of warning when the batteries are low and have a backup plan (like a physical key override or a way to jump-start it with a 9V battery). Trust me, getting locked out because of dead batteries is no fun!

    • Installation: Are you handy? Some smart locks are pretty straightforward to install, basically replacing your existing deadbolt. Others might require a bit more DIY prowess or even a professional. Always check if it’s compatible with your current door setup.

    • Integration with Your Smart Home: If you already have an Alexa, Google Home, or Apple HomeKit setup, you’ll want a lock that plays nicely with it. This allows for voice commands and seamless automation. “Alexa, lock the front door!” – it’s pretty cool.

    • Security Features: This is about more than just convenience. Look for strong encryption, tamper alerts, and auto-locking features. Some locks even have a built-in alarm. And, of course, the physical construction should be robust.

    • Entry Methods: How do you want to get in?

      • Keypad: Punch in a code. Great for guests or when you don’t have your phone.
      • Fingerprint/Biometric: Super fast, but sometimes less reliable depending on conditions.
      • Smartphone App: The most common way.
      • Physical Key: A good backup to have, just in case.

    Popular Approaches People Are Using

    When it comes to what people are actually using, it often falls into a few categories:

    • The Full Replacement: These locks completely replace your existing deadbolt, offering a sleek, integrated look and often the most features. Many popular brands fall into this category, giving you keypad entry, app control, and sometimes even fingerprint options. They’re popular because they’re a complete solution.
    • The Smart Add-On: Some locks are designed to work with your existing deadbolt. Think of them as a smart “brain” that attaches to the inside of your door, allowing you to use your phone to unlock it, but keeping the outside appearance (and your existing key) the same. This is often a good option if you’re renting or just prefer the look of your current hardware.
    • Keypad-First Designs: Many people love the simplicity of a keypad-only smart lock. They might not have all the bells and whistles of app control, but for easy access codes for family or friends, they’re incredibly popular and reliable.

    Making Your Choice: What’s Right For You?

    So, how do you pick your perfect smart lock? It really comes down to your priorities.

    • Are you tech-savvy and want all the bells and whistles? A Wi-Fi enabled lock with full smart home integration might be your jam.
    • Do you just want to ditch keys and let people in easily? A simple keypad lock or a Bluetooth-only model could be ideal.
    • Are you looking to blend security with smart features? Prioritize strong physical construction and advanced digital security.

    Think about how you live, who needs access to your home, and what level of smart home integration you desire. Start there, and you’ll narrow down the field considerably.

    Ready to Unlock Your Home’s Potential?

    Smart locks aren’t just a fancy gadget; they’re genuinely making our lives a little easier and our homes a bit more secure. It’s about more than just a locked door; it’s about control, convenience, and that lovely feeling of peace of mind. So, whether you’re swapping out every lock in your house, including the garage, or just dipping your toe in with one front door lock, there’s definitely a smart lock out there that’s perfect for you. Happy locking (and unlocking)!