A friendly guide to picking your first server and diving into the world of self-hosting, inspired by a question I see all the time.
So, you’ve got that itch. That little voice in the back of your head wondering if you could take a bit more control over your digital life. Maybe you want to host your own media, run a private game server for your friends, or just create a safe space to tinker and learn. If that sounds like you, you’re in the perfect place to start your very own beginner home lab. It sounds intimidating, I know, but trust me, it’s more accessible than you think.
I see questions all the time from people who are right where you are. They have a list of cool things they want to do—run a Minecraft server, stream media with Jellyfin, automate their smart home with Home Assistant—but they get stuck on the first big question: what kind of computer do I even need?
Let’s break it down, coffee in hand, and figure it out together.
What Is a Beginner Home Lab, Really?
Forget the images of massive, humming data centers you see in movies. A home lab is simply one or more computers at your home that you use to run your own services. It’s your personal sandbox. It can be an old laptop, a tiny Raspberry Pi, or, if you want a bit more power, a dedicated server.
The goal isn’t to replicate Google. It’s to learn, to have fun, and to host useful applications that give you more privacy, control, and features than off-the-shelf solutions. It’s about the satisfaction of building something yourself.
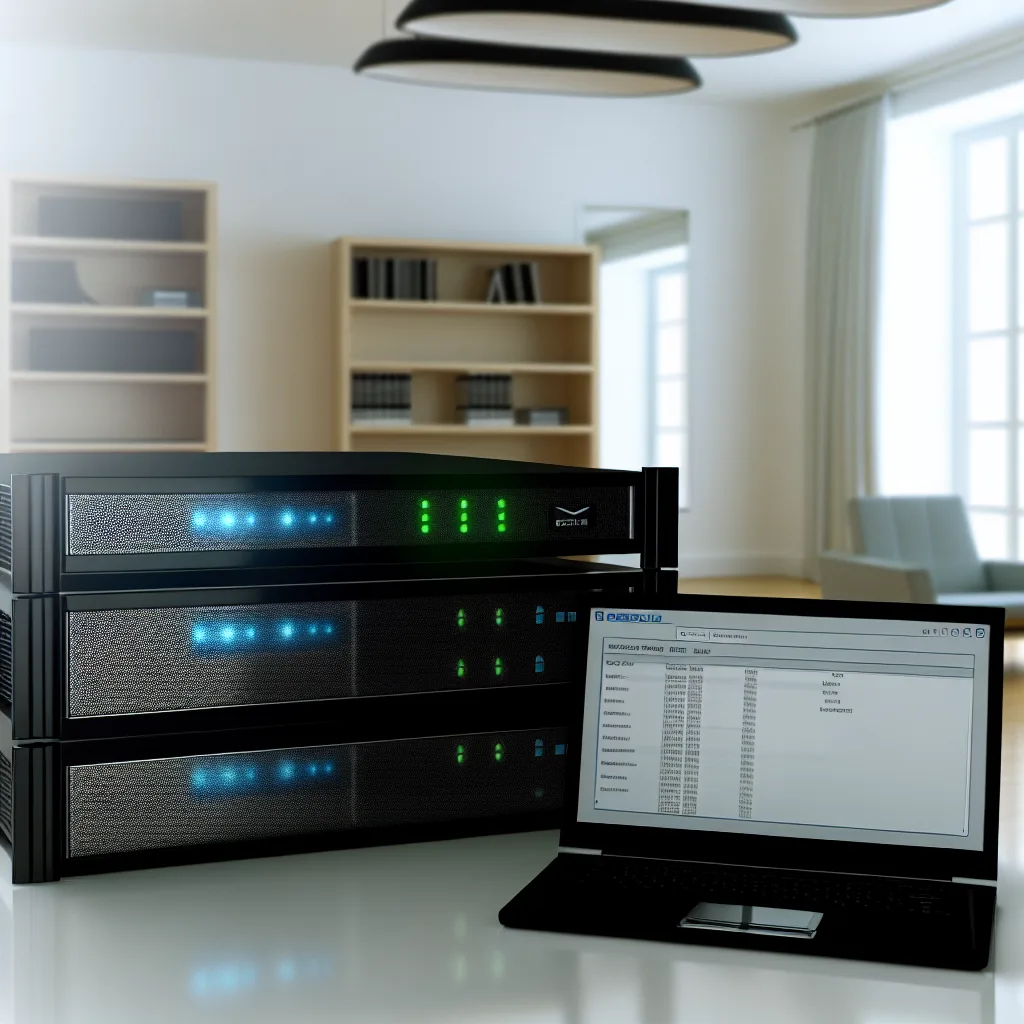
Choosing Your First Beginner Home Lab Server
The most common starting point, and my personal recommendation for anyone serious about running multiple services, is to look at used enterprise gear. Companies are constantly upgrading their IT infrastructure, which means you can get incredibly powerful and reliable hardware for a fraction of its original cost.
Here’s what to look for, based on the kind of setup that can handle a whole lot of projects:
- The Server: Look for brands like Dell PowerEdge (e.g., R720, R730) or HP ProLiant on sites like eBay or dedicated IT reseller shops. These are workhorses built to run 24/7.
- Form Factor: Many people like “rack-mounted” servers because they are compact and can be neatly organized. They are measured in “U’s” (1U, 2U, etc.). A 2U server usually gives you a good balance of space and power.
- Storage: A server with at least six 3.5″ hot-swap bays is a fantastic starting point. This lets you easily add or replace hard drives for mass storage (for all those media files!). Crucially, you’ll also want a separate, smaller slot for an SSD. This SSD will run your operating system, making everything feel fast and responsive.
- RAM: This is where the magic happens for running multiple things at once. Start with at least 32GB of RAM. It sounds like a lot, but you’ll be glad you have it.
- CPU: You don’t need the absolute latest and greatest. A server with a decent Intel Xeon processor with a good number of cores and threads will be more than enough to run a dozen applications without breaking a sweat.
What Can You Do With Your First Server?
Okay, you’ve got the hardware. Now for the fun part. A setup like the one described above can easily handle a whole suite of applications. Here are a few ideas to get you started:
- Build a Media Empire: Install Jellyfin or Emby. These are free, open-source alternatives to Plex. You can organize all your movies, TV shows, and music and stream them to any device, anywhere.
- Automate Your Media: Tools like Sonarr, Radarr, and Lidarr work with newsgroups and torrents to automatically find and download content for your media server.
- Host a Game Night: A Minecraft server for 10 people is a classic home lab project. It’s relatively lightweight and a great way to have fun with friends on a server you control completely.
- Supercharge Your Smart Home: If you’re tired of being locked into Google or Amazon’s ecosystem, Home Assistant is your answer. It’s an incredibly powerful open-source platform that puts all your smart devices under one roof, with a focus on local control and privacy.
- Secure Your Network: You can run your own VPN client to route your traffic securely or even set up services like Pi-hole to block ads for every device on your network.
Your First Steps in the Beginner Home Lab World
Ready to dive in? Here’s the high-level game plan.
- Choose a Hypervisor: Instead of installing a regular operating system like Windows or Ubuntu, you’ll want to use a “hypervisor.” Think of it as a base operating system designed specifically to run multiple other operating systems inside of it as virtual machines (VMs). Proxmox VE is the undisputed champion here. It’s free, powerful, and has a great web-based interface that makes managing everything a breeze.
- Install the OS: Install Proxmox directly onto that internal SSD we talked about. This keeps your main hard drive bays free for data storage.
- Create and Experiment: From the Proxmox dashboard, you can now create your first VM or container. Start with something simple, like an Ubuntu Server VM. From there, you can install Docker and start deploying applications like Jellyfin or Home Assistant.
- Have Fun and Be Patient: You will run into problems. Things will break. But every challenge is a learning opportunity. The home lab community is huge and incredibly helpful.
Starting a beginner home lab is one of the most rewarding projects you can take on. It’s a journey that starts with a single server and quickly turns into a fascinating hobby that teaches you invaluable skills about networking, storage, and computing. So go ahead, find that first server, and start building. You’ll be surprised at what you can create.