How I built a quiet, efficient, and surprisingly capable beginner home server without going broke.
You Don’t Need a Supercomputer: My Humble Beginner Home Server Build
It’s easy to get intimidated. You browse online forums and see pictures of massive server racks, blinking lights, and enough networking gear to run a small country. It’s cool, for sure, but it also feels a million miles away from something you could have in your own home. I get it. For a long time, I thought a home lab was out of my reach. But I’m here to tell you it’s not. My journey into the world of self-hosting started with a beginner home server that’s so quiet, I sometimes forget it’s on.
It all started with a simple idea: I wanted a small, dedicated machine to tinker with. A place to learn about virtualization, run a few applications, and maybe manage my own files without relying on a cloud subscription. The problem was, I didn’t want a jet engine in my office or an electricity bill that would make me weep.
The “Why” Behind My Beginner Home Server
Before buying a single part, I had to figure out what I actually wanted to do. This is the most important step! For me, the goals were simple:
- Learn: I wanted to understand virtualization. The idea of running multiple operating systems on a single piece of hardware was fascinating.
- Host a few services: Maybe a network-wide ad-blocker, a personal file cloud, or a media server. Nothing too demanding, at least not at first.
- Keep it quiet and low-power: This was non-negotiable. The server would live in my workspace, so it needed to be a silent partner.
These goals meant I could skip the decommissioned enterprise gear and focus on something much more practical and budget-friendly.
The Parts: Keeping It Simple (and Quiet)
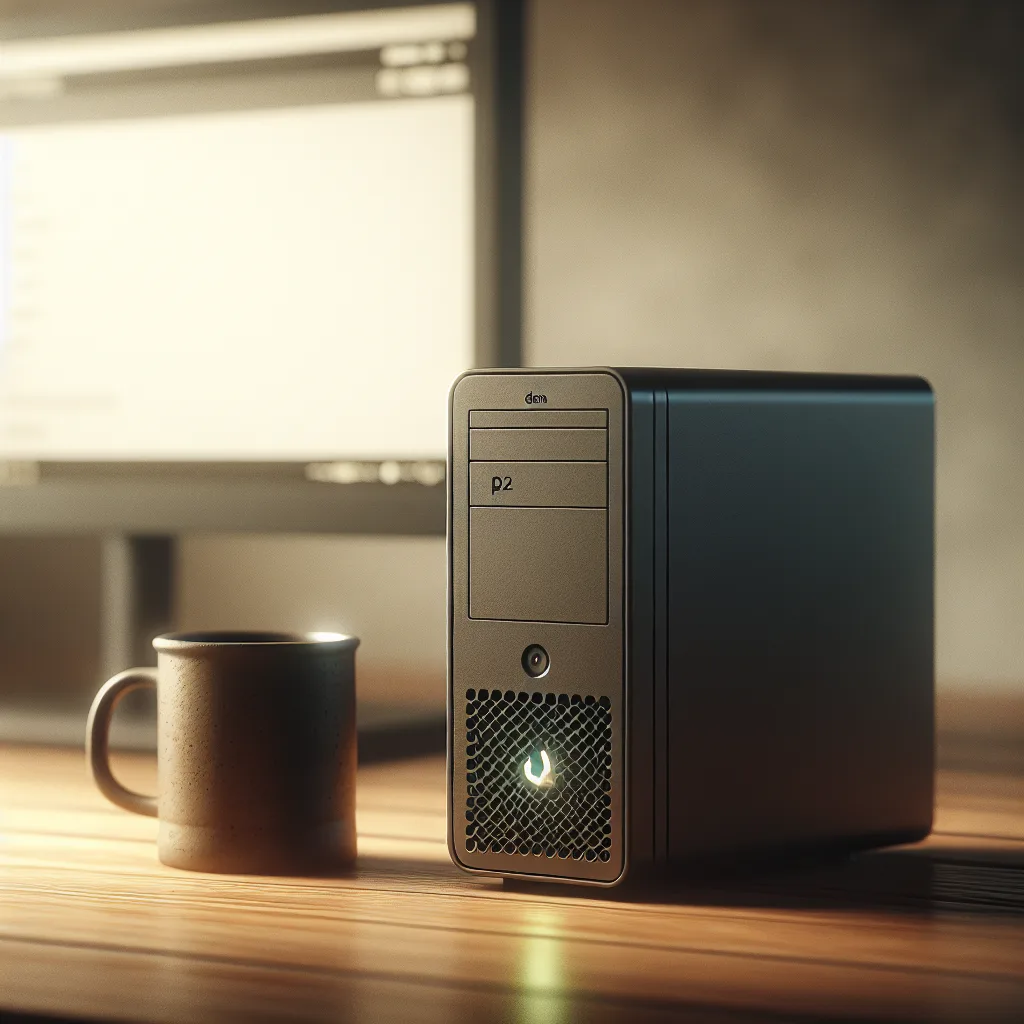
This is where the magic happens. A “sleeper” build is all about creating something that looks unassuming on the outside but has some serious capability on the inside. Here’s what my simple setup looks like.
My build is centered around a low-power Intel N150 CPU. These chips are fantastic because they sip electricity and don’t require massive, noisy fans to stay cool. It’s the perfect foundation for a silent build. I paired it with 16GB of RAM, which is a generous amount for getting started with virtualization. It allows me to run a handful of virtual machines (VMs) without the system breaking a sweat.
For storage, I got a little creative. The operating system lives on a speedy 500GB M.2 SSD. This makes the whole system feel incredibly responsive. But for actual data storage, SSDs get expensive fast. So, I repurposed a few 2.5″ HDDs I had lying around, giving me about 3TB of space for files and media. To connect them all, I even used a clever M.2 to SATA adapter, which lets you add more SATA drives to a compact motherboard. It’s a great way to maximize a small build.
My Proxmox Setup: The Brains of the Operation
Hardware is only half the story. The software is what brings it all to life. For my beginner home server, I chose to install Proxmox Virtual Environment.
If you’ve never heard of it, Proxmox is a free, open-source platform that lets you manage virtual machines and containers. Think of it as a control panel for your entire server. From a simple web browser on my main computer, I can create, start, stop, and configure different “computers” that all share the same physical hardware.
It was surprisingly easy to install, and within an hour, I had my first Linux VM up and running. This is where the learning really began. I could experiment with different operating systems and software without any risk to my main desktop computer. It’s the ultimate digital sandbox.
What I’ve Learned From This Humble Server Build
Building this small server has been one of the most rewarding tech projects I’ve ever done. It taught me that you don’t need the best of everything to get started.
- Start small, dream big: My initial setup is modest, but it’s a foundation. I can easily add more storage or upgrade components later as my needs grow.
- Embrace the “good enough”: The N150 processor isn’t a performance beast, but for my use case, it’s perfect. It’s all about matching the hardware to the job.
- The community is your friend: While I figured this out on my own, there are incredible resources online. Websites like ServeTheHome are filled with inspiration for builds of all sizes, from tiny boxes to full-blown enterprise setups.
So, if you’ve been on the fence about building your own home server, I hope my little story gives you a nudge. You don’t need a four-figure budget or a dedicated server closet. You just need a bit of curiosity and a willingness to start simple. Trust me, the journey is worth it.