Got a spare computer and a bit of curiosity? Here’s how to turn it into a powerful and fun home server without getting overwhelmed.
It often starts with a spare part. Maybe a friend gave you an old PC, or you stumbled upon a sturdy computer case and thought, “I could do something with that.” If you’re reading this, you’ve probably fallen down the rabbit hole of tech projects and are wondering how to get started with your own beginner homelab setup. And you know what? It’s not nearly as complicated as it sounds.
Think of it less like building a corporate data center and more like setting up a personal tech playground. It’s a space to learn, experiment, and host some genuinely useful services for your own home. Let’s walk through it together, coffee in hand.
So, What Exactly is a Homelab?
In the simplest terms, a homelab is a server (or a collection of servers and networking gear) that you run at home for personal projects and learning. Forget the blinking lights and freezing rooms you see in movies. Your first homelab might just be a single, quiet computer humming away in a corner.
The real magic is what you can do with it:
- Create your own private cloud: Host your own files and photos, like a personal Dropbox or Google Drive.
- Run a media server: Organize your movies and music with software like Plex or Jellyfin and stream them to any device.
- Block ads for your entire network: Set up Pi-hole to get rid of ads on every device in your house, no browser extension needed.
- Automate your smart home: Use tools like Home Assistant to be the central brain for all your smart devices.
It’s a sandbox where you are the architect, and the goal is to learn by doing.
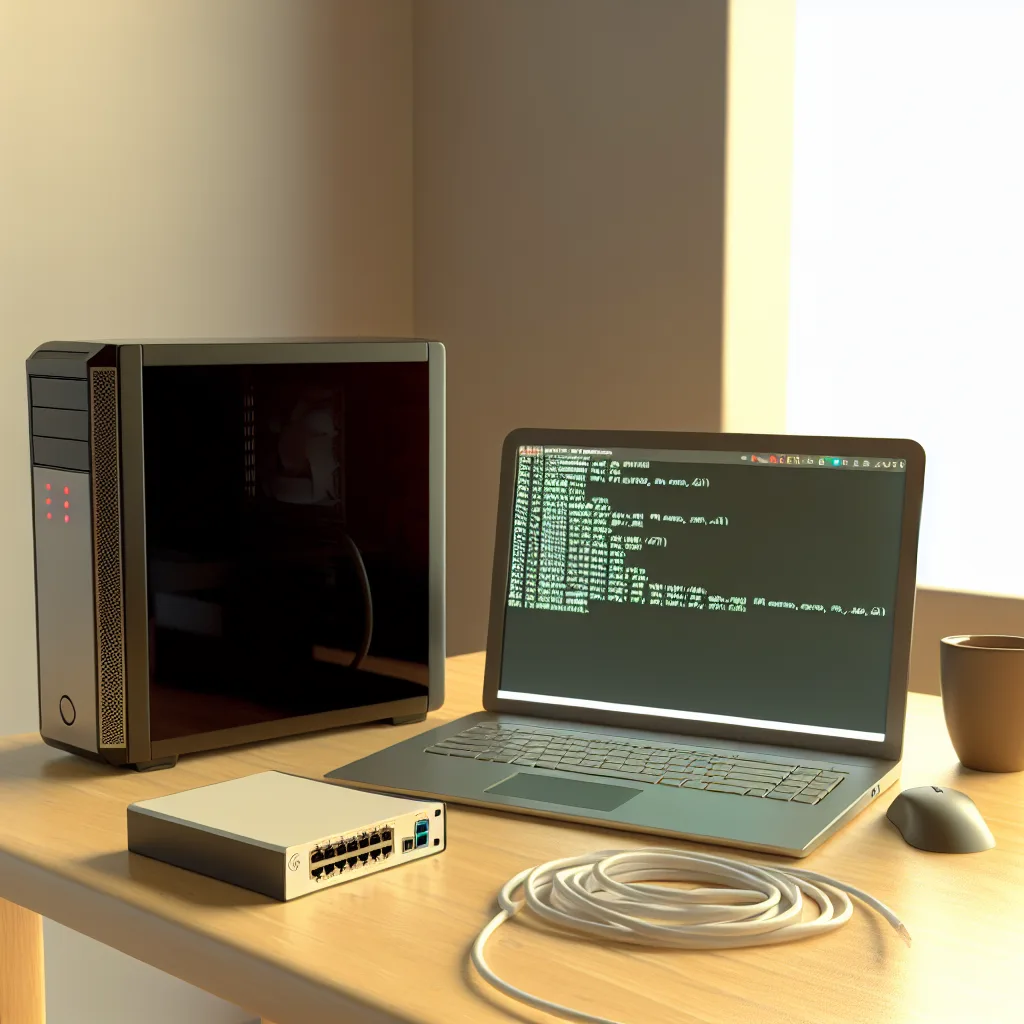
The Hardware for Your Beginner Homelab Setup
The best hardware for your first homelab is the hardware you already have. Seriously. That old desktop computer collecting dust in the closet is a perfect candidate. You don’t need to spend a fortune on enterprise-grade equipment to get started.
Here’s a breakdown of the core components:
- The Computer: An old office desktop works wonders. Look for something with at least a quad-core processor (like an Intel i5 from the last 5-7 years) and at least 8GB of RAM. If you can stretch to 16GB, even better, as it gives you more room to play.
- Storage: This is where you have options. A great starting point is using a small, fast Solid State Drive (SSD) for the operating system and a larger, cheaper Hard Disk Drive (HDD) for storing files, media, or backups. The SSD makes the server feel snappy, while the HDD gives you bulk storage. For deep dives into server hardware, ServeTheHome is a fantastic resource full of reviews and guides.
- Networking: You don’t need anything fancy. The built-in Ethernet port on the computer is perfect. You’ll plug it directly into your home router.
You’ve got a case, which is a great start! Just make sure the power supply unit (PSU) inside it is from a reputable brand. A stable power supply is key to a happy server.
Choosing Your First Operating System
Now for the software that will run your new server. The two most common paths for a beginner homelab setup are either a standard Linux distribution or a hypervisor.
- Ubuntu Server: This is my top recommendation for anyone starting out. It’s a version of Linux without a graphical desktop, which forces you to learn the command line—an essential skill in the tech world. It’s free, incredibly stable, and has a massive community, so answers to your questions are just a quick search away. You can grab the latest version directly from the official Ubuntu website.
- Proxmox VE: This is a slightly more advanced option, but it’s amazing. Proxmox is a hypervisor, which is an operating system designed to run other operating systems in virtual machines (VMs). You could have one VM for your file server, another for a media server, and a third for testing new things, all on the same physical computer. It’s a fantastic tool once you get the hang of the basics. You can learn more about it on the Proxmox VE page.
My advice? Start with Ubuntu Server. Get comfortable with the command line, set up your first project, and then you can always wipe it and install Proxmox later when you feel more confident.
Your First Project: Make it Useful!
The best way to learn is to build something you’ll actually use. Start with a simple, high-value project. A great first step is creating a network file share (often called a NAS). Using a tool called Samba, you can create a folder on your server that appears on your other computers just like any other drive. It’s the perfect place to store shared family documents or back up your important files.
Once you’ve done that, you’ll have the confidence to tackle something new. The journey of building a homelab is all about those small wins. It’s a marathon, not a sprint. So start with that old case, install an OS, and make it do one simple thing. You’ll be amazed at where you go from there.