Discover how a free PowerEdge T330 transformed my home server setup and opened doors to local AI for Home Assistant.
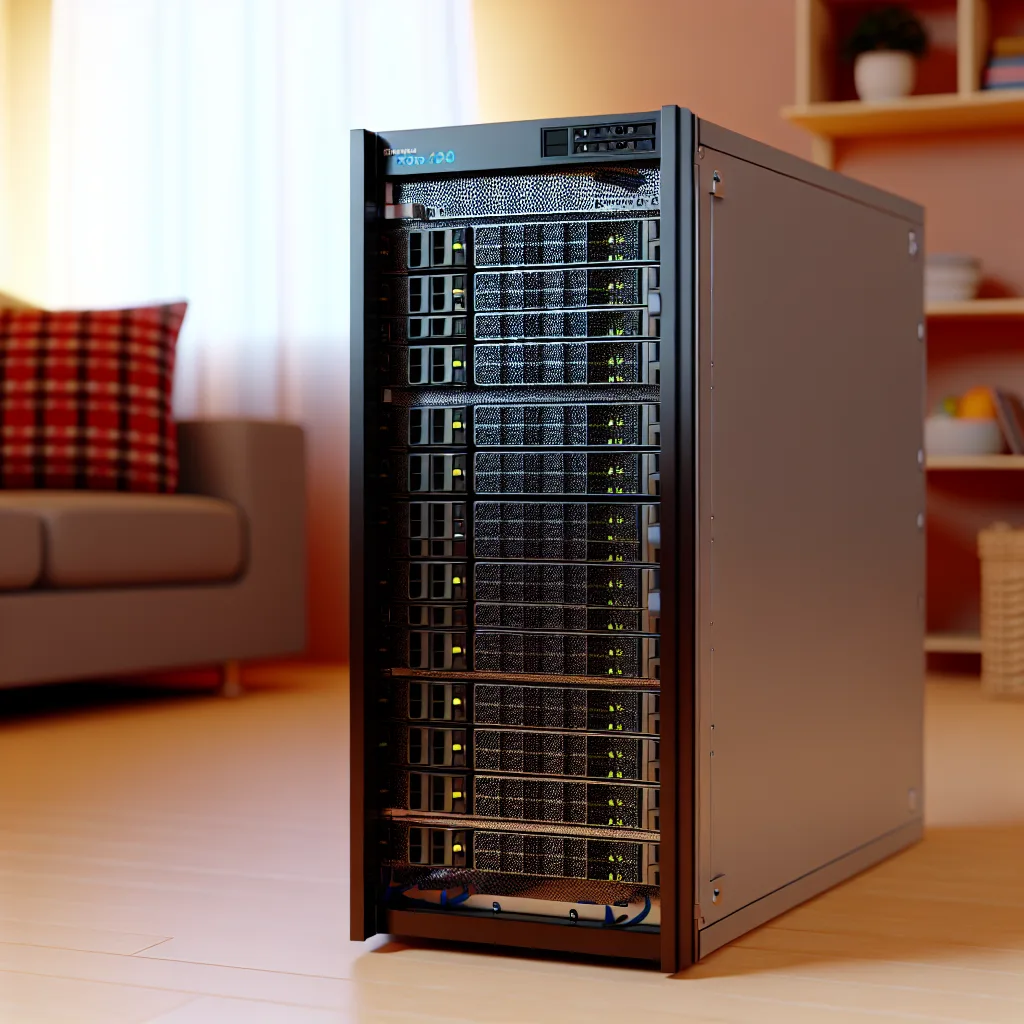
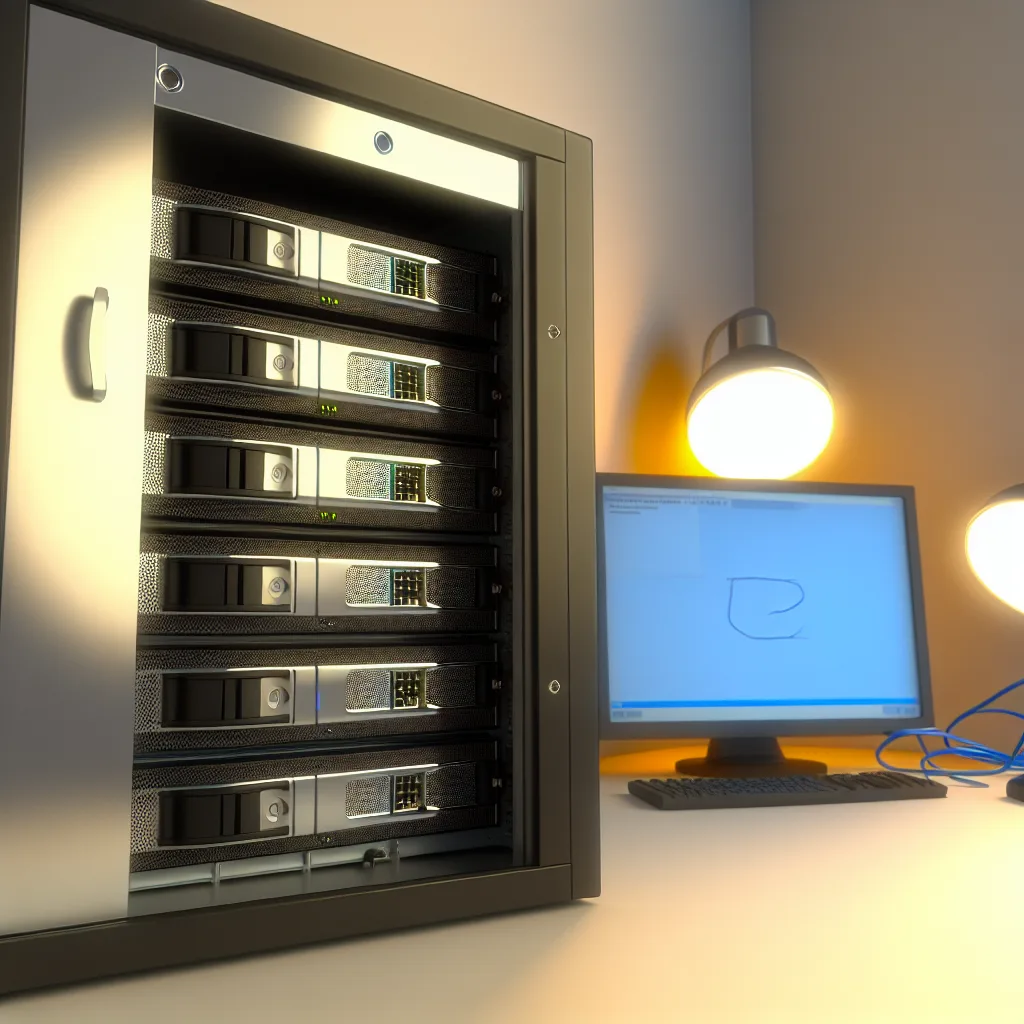
If you’ve ever toyed with the idea of upgrading your home tech, you might relate to my recent adventure with a home server setup. It all started when a friend gave me a PowerEdge T330 server — a solid machine, with 2 enterprise 1TB drives already installed. This was a big step up from my old, tired laptop that had been running Home Assistant.
I know, some might raise an eyebrow about running a server on the carpet (yep, I get it, it’s not ideal), but hey, we’re all figuring this stuff out as we go. My previous experience was pretty limited—mainly just tinkering with Home Assistant on a low-power laptop. This PowerEdge gave me a chance to dive deeper into the world of servers.
Why Upgrade Your Home Server Setup?
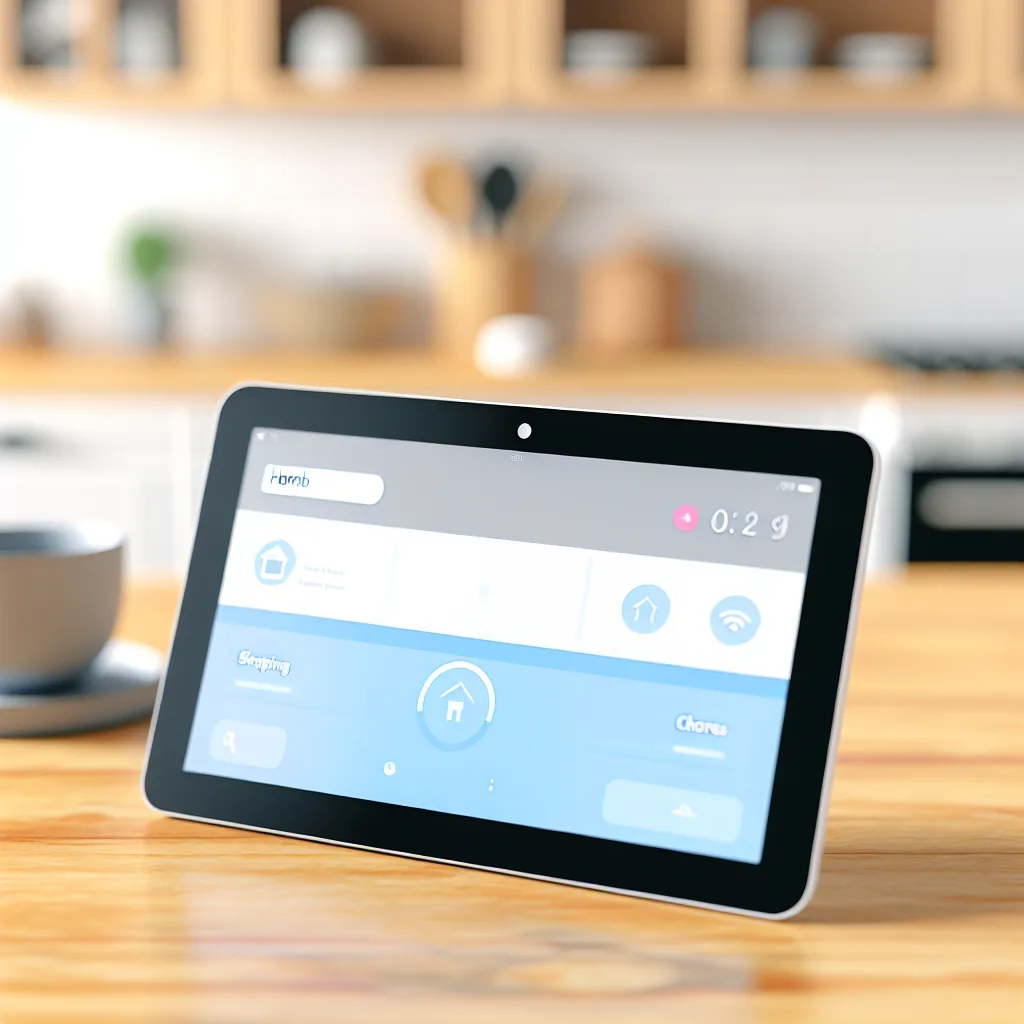
Switching from a laptop to a dedicated home server setup like the PowerEdge T330 means more power, better reliability, and the ability to run more complex tasks. For me, it meant I could finally explore running local large language models (LLMs) or AI for Home Assistant voice commands — something I couldn’t even dream of on the old setup.
Getting Hands-On: Flashing the RAID Controller
One of the trickiest parts was flashing the server’s RAID controller firmware from H330 to HBA330 IT firmware. It took hours of trial, error, and coffee, but it was worth it. This step is crucial if you want your drives to behave as simple HBAs rather than RAID arrays, especially when using software like Proxmox for virtualization.
If you want to learn more about flashing RAID controllers and what it entails, check out Broadcom’s official HBA330 documentation.
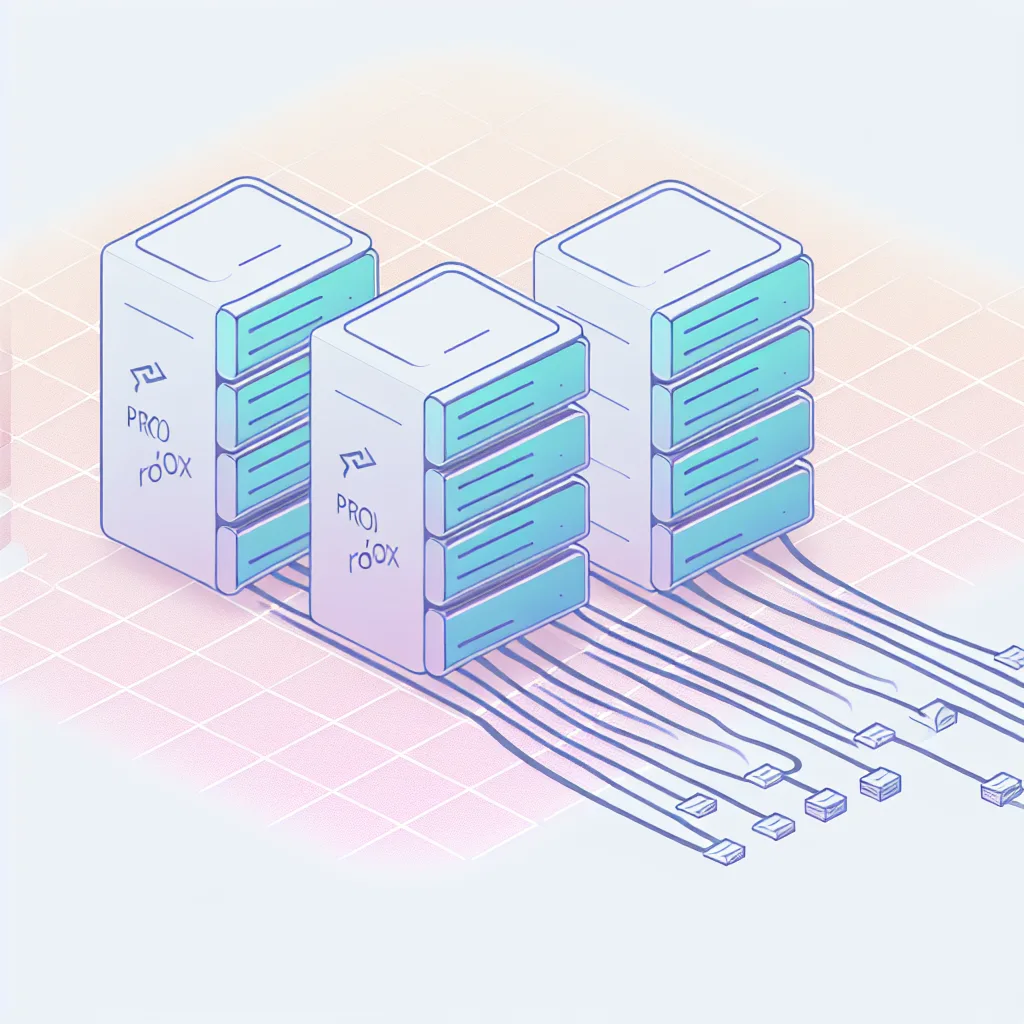
Why Proxmox?
I installed Proxmox as the hypervisor on this server because it’s free, stable, and well-suited for managing multiple virtual machines or containers. It makes running not just Home Assistant, but also other services like local AI models or media servers, much more manageable.
If you’re new to Proxmox, the official Proxmox documentation is a fantastic resource.
Exploring Local AI for Home Assistant
With the new setup, I’m excited about running local AI models. Using local LLMs for voice commands can boost privacy (since data stays home) and reduce latency compared to cloud services. There’s a growing community experimenting with projects like Mycroft AI or even deploying smaller versions of open-source language models locally, which can be a fun challenge.
Tips for Anyone Looking to Build a Similar Setup
- Expect some learning curves: flashing firmware or setting up a hypervisor isn’t always straightforward.
- Keep an eye on cooling: Servers aren’t always designed for home environments, so good airflow matters.
- Don’t hesitate to tap into online forums and communities — there’s tons of shared wisdom out there.
Upgrading your home server setup is rewarding. Whether it’s for smart home projects, local AI, or just having a dedicated box to experiment with, the PowerEdge T330 is a great platform once you get it running right. And for those of us stepping up from minimal setups, well, the journey’s half the fun.
I’m looking forward to what I can build next — maybe a custom voice assistant that actually understands me!