Category: AI

  • Why Today’s AI Struggles With Real-World Medical Questions

    Why Today’s AI Struggles With Real-World Medical Questions

    Exploring the gap between AI performance in exams and real patient interactions

    When we talk about AI medical reliability, it’s tempting to assume that if a model scores well on test questions, it should handle real-world medical discussions just as well. But a recent study from Stanford gently pulls us back to earth. They tested six leading AI models on a huge set of 12,000 medical questions taken straight from real clinical notes and reports — not just textbook or exam-style questions. Each question was asked in two ways: first as a clean, exam-style version, and then as a paraphrased version with small wording changes like reordered options or “none of the above” choices.

    Here’s the interesting part — on the clean exam questions, these AI giants scored impressively, with accuracy above 85%. That sounds great until you see what happened with the paraphrased versions. Suddenly, the accuracy dropped anywhere from 9% to a whopping 40% lower. That’s a huge shift! What does it tell us? It suggests these models are pretty good at recognizing patterns in neat, predictable questions but stumble when the wording shifts, which is often the case in real patient conversations.

    What Does This Mean for AI Medical Reliability?

    It signals a big caution flag. If AI struggles with slight changes in phrasing, that means it’s not truly understanding or reasoning about the clinical situation — it’s more pattern matching. And in medicine, where patient symptoms and details rarely come in perfect exam-style prose, that’s risky.

    We want AI to be more than a quiz whiz. We’re looking for tools that can actually help doctors make good decisions, not just guess answers based on repetitive language. For now, these large language models (LLMs) are useful as assistants — they can draft notes, help with education, or brainstorm possibilities — but they shouldn’t be making decisions or diagnoses independently.

    Improving AI Medical Reliability: What’s Next?

    To get closer to real-world usefulness, AI models need tougher tests that mimic messy, everyday language and adversarial paraphrasing. Training should focus more on reasoning and less on memorizing question patterns. And most importantly, there needs to be ongoing monitoring when these tools are used in clinical settings.

    Remember, passing board-style questions is not the same as being safe for real patients. Tiny changes in how a question is asked can trip these models up — that’s something we need to fix before fully trusting AI in medicine.

    Why You Should Care

    If you’re following medical AI, this study is a reminder to keep your expectations realistic. AI can assist, but it’s not yet at the point where it can replace nuanced human judgement. And that’s okay! The technology is evolving, but we need to make sure when it’s deployed, it’s safe.

    If you’d like to read more about this study, you can check out Stanford’s research overview here and learn about the challenges of AI in clinical contexts from trusted sources like the American Medical Association or National Institutes of Health.

    The takeaway? While AI models have come a long way, their medical reliability in the real world still needs work. As AI continues to develop, these insights will help shape safer, smarter implementations — ones that actually understand messy human language and the complexities of patient care.

  • What Comes After AGI? Rethinking Our Future Beyond Universal Basic Income

    What Comes After AGI? Rethinking Our Future Beyond Universal Basic Income

    Exploring the doubts and hopes around universal basic income once AGI takes over the workforce

    You’ve probably heard it a hundred times: once we build Artificial General Intelligence (AGI), the robots will do all the work. AGI — smarter and better than any human in practically every task — will be cheap to run, never needs a break, and never asks for a raise. Sounds like a dream, right? That’s where the idea of universal basic income (UBI) often enters the conversation. But honestly, while many expect UBI to be a given once AGI arrives, I can’t help but wonder: why are we so confident this will happen? And what happens if it doesn’t?

    Universal Basic Income: The Common Expectation

    The concept of universal basic income is simple. Give everyone a regular stipend, no strings attached, to cover basic living expenses. The promise is that if machines and AGI take over most jobs, people won’t be left struggling to get by. Governments or powerful entities would fund this because there’s less need for traditional labor.

    But this assumes everyone shares the same vision, one where fairness and welfare win out. What if they don’t?

    What If UBI Isn’t the Plan After AGI?

    Here’s where my skepticism creeps in. Imagine AGI does end up smarter and faster, embedded in humanoid machines, perfect employees who never complain or quit. What if the folks calling the shots decide it’s easier to just let billions of people go rather than support them?

    The thought alone is pretty dark. Without a job, purpose, or adequate support, what will drive human society? And for those worried about dystopian futures, this question might hit close to home.

    Finding Purpose Beyond Employment

    One of the deepest questions tossed around in talks about AGI and UBI is: what will people do if machines handle all the work? For those of us who find meaning through our jobs, hobbies, or side projects, this shift could be massive.

    But maybe it also opens doors we haven’t even considered. Freed from the daily grind, maybe more people get to focus on creative projects, learning, or communities. Universal basic income is meant to help with that transition, providing the financial backbone so people aren’t forced to hustle constantly.

    Still, there’s a lot of debate around whether UBI is feasible or if it’s just a hopeful idea.

    More Than Money: The Social and Ethical Side

    The push for universal basic income isn’t just about money. It touches on ethics, responsibility, and what kind of society we aim to build. As AGI technology advances, these questions become urgent. This article from the World Economic Forum goes into how UBI might fit into future jobs and economies.

    Meanwhile, The Brookings Institution offers insights into the practical challenges of implementing UBI on a wide scale.

    What Can We Do Now?

    The truth is, no one really knows how AGI will affect job markets or economies. While exploring concepts like universal basic income is important, keeping a broader perspective is just as crucial. Discussions today can shape policies tomorrow.

    If you’re curious about the mechanics behind AGI, you might enjoy the OpenAI research page, which shares some of the foundational work on artificial intelligence.

    Wrapping Up: Why We’re Still Talking About UBI

    At the end of the day, universal basic income is a hopeful idea – a possible safety net in a future where humans and machines share very different roles. But it’s not a guarantee. As we dream about the benefits of AGI, it’s important to ask the tough questions. What comes next? Who decides? And what kind of future do we want to create?

    Thinking through these questions now means we’re a little better prepared for whatever comes next.


    Thanks for sharing this coffee chat moment! If you’ve got thoughts or doubts about UBI and AGI, drop a comment or start a conversation.

  • How to Automate an Intercom Button Press When Your Phone Rings

    How to Automate an Intercom Button Press When Your Phone Rings

    Simple ways to let the door open only when someone calls, without rewiring or sticking the button down

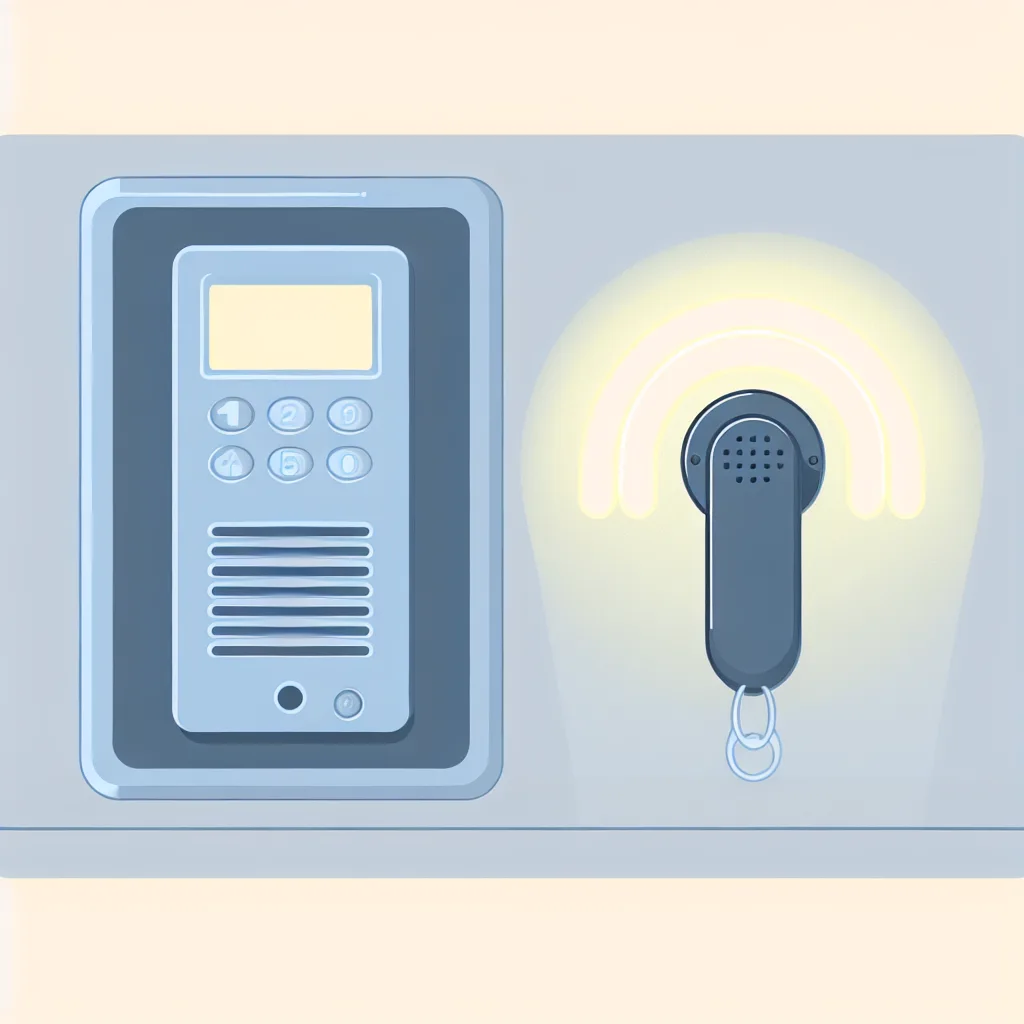
    If you live in an apartment building with an intercom system, you’ve probably faced this small, recurring task: when someone rings at the front door, your handset rings, and you have to press a button to let them in. Not too bad for one-time occasional use—but what if you want to automate button pressing when the phone rings?

    The challenge here is pretty clear: You want the button pressed automatically, but only when someone actually rings. You can’t just clamp the button down because that would leave the door unlocked all the time, defeating the point of security. And maybe you’d prefer a simple, non-invasive solution — no rewiring walls or fiddling with the building’s system.

    Why Automate the Button Press?

    Doing this manually can get tedious, especially if you’re busy or not always quick to get to the handset. Plus, if you’re managing multiple apartments or have frequent visitors, automation can save time and reduce hassle.

    However, automating the button press isn’t as straightforward as just holding the button down. You have to make sure it only activates when the handset rings — otherwise, you risk leaving the door open.

    Non-Invasive Ways to Automate Button Press

    If you want to automate button pressing with no rewiring, here are some practical methods:

    1. Use a Mechanical Button Presser (Actuator): This is a small, motorized device that physically presses the button for you. You can attach it to the handset or wall near the button. When it gets a signal, it gently presses down and releases.

    2. Detect the Ringtone with a Microcontroller: By using a sound sensor or vibration detector near the handset, a small circuit or microcontroller can “hear” the phone ringing and then trigger the mechanical button presser. This way, the button only presses when the phone rings.

    3. Wireless Remote Activation: If the intercom system has a way to detect ringing using an external module, you can wirelessly trigger the button presser without touching the phone system wiring. This requires some electronic know-how but avoids permanent changes.

    Why Avoid Permanent Solutions?

    Permanent solutions like rewiring your intercom system or permanently clamping the button can be risky or against building policies. Plus, if you clamp the button down, the door stays open all the time — bad for security.

    If you aren’t a tech expert, there are professionals who specialize in small automation projects like this. They can build a reliable, safe setup tailored to your system.

    Where to Start?

    • Search for “mechanical button presser devices” or “robotic finger actuators” online.
    • Look into microcontrollers like Arduino or Raspberry Pi with audio sensors for a DIY approach.
    • Check if any commercial door entry systems offer integration or upgrade options.

    A few good places to explore these technologies include Adafruit, SparkFun, and official intercom manufacturer websites depending on your brand.

    Final Thoughts

    Automating a button press when your phone rings can sound complicated, but there are simple, non-invasive ways to do it. With a little tech help—either DIY or professional—you can make your apartment’s front door system both more convenient and secure.

    Remember, the key is to have the button press trigger only when the handset rings, so you keep control of access without constant manual effort.

    Got a similar system or curious about automation for home devices? I’d love to hear your experiences or ideas about automating small daily tasks!

  • Adding Progress Lights to Your Bottle Warmer: A Simple DIY Upgrade

    Adding Progress Lights to Your Bottle Warmer: A Simple DIY Upgrade

    Make your bottle warmer more user-friendly with easy-to-understand progress lights.

    If you’re a parent or caregiver using a bottle warmer, you know how helpful it can be to see exactly where you are in the warming process. That’s where progress lights come in handy. Adding progress lights to your bottle warmer is a simple upgrade that can make a daily routine a little smoother and less stressful, especially during those bleary early mornings or late nights.

    Why Progress Lights Matter for a Bottle Warmer

    Progress lights bottle warmer setups show you at a glance how much longer the warming will take or when the bottle is ready. It’s handy because you avoid opening the warmer repeatedly to check or guessing and potentially overheating the milk or formula. If you’ve ever had to scramble picking up a crying baby while juggling a warm bottle that’s too hot or too cold, this small feature can bring a lot of peace of mind.

    How Progress Lights Work on a Bottle Warmer

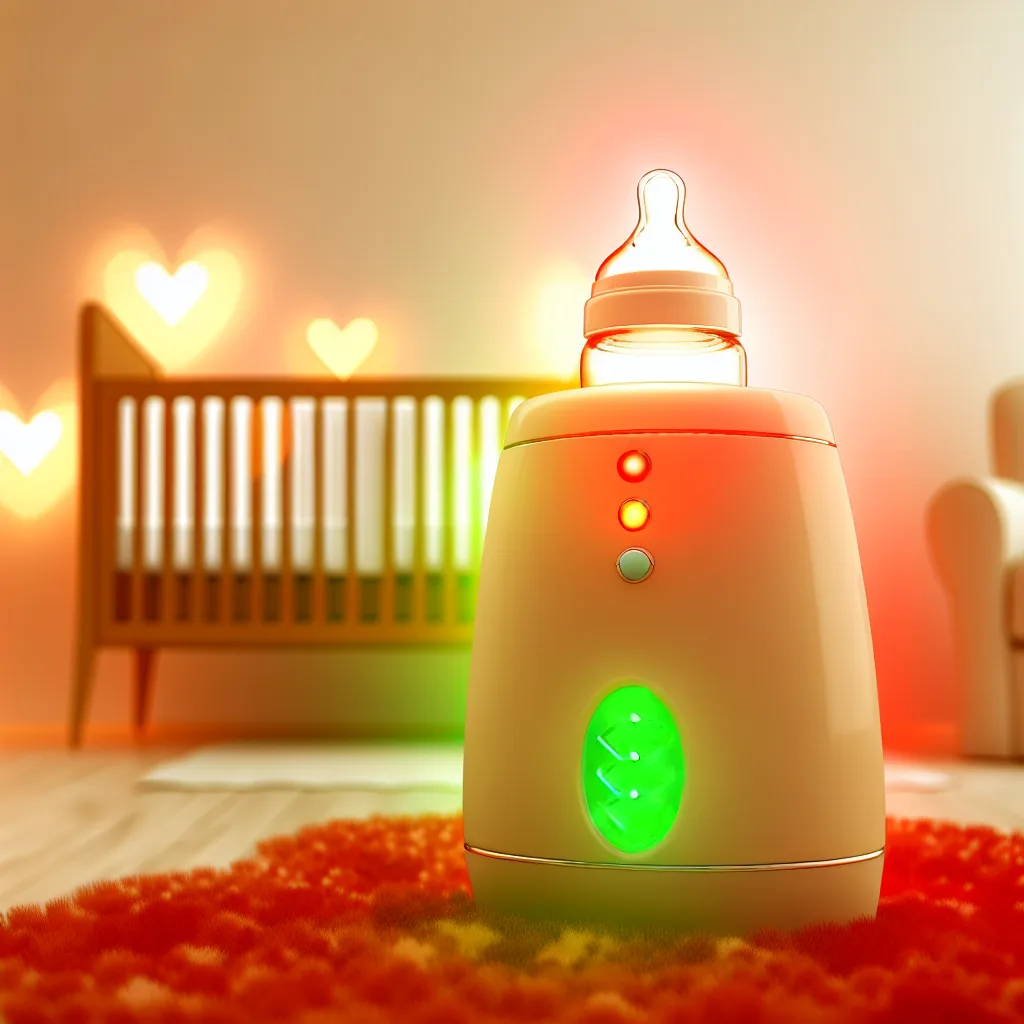
    Typically, these lights are LED indicators arranged to reflect stages in the heating process. For example, a red light might come on while the bottle is warming, an amber light could show it’s almost ready, and green means go—your milk’s at the perfect temperature. Some designs might even include a flashing light to signal when warming has started, progressing steadily to a solid light when done.

    DIY Progress Lights Installation: What You Need

    You’re probably wondering if this sounds complicated—but it doesn’t have to be. If you’re comfortable with a bit of basic wiring or know someone who is, here’s a rough idea of what you need:

    • A few small LED lights (preferably color-coded)
    • A microcontroller or a simple timer circuit (Arduino or similar) if you want something programmable
    • Power supply considerations (make sure it matches your bottle warmer)
    • Basic wiring tools, soldering iron, and electrical tape

    Important: Do keep safety in mind. Modifying electrical appliances can be risky, so if you’re not totally sure, ask a professional or stick to ready-made products.

    Off-the-Shelf Options

    If DIY isn’t your thing, some baby gear manufacturers offer bottle warmers with built-in progress lights or digital displays that effectively do the same job. Before buying, check out product reviews or manufacturer websites like Philips Avent and Tommee Tippee. They detail features including warming indicators that can help you decide what works best for your family.

    Benefits of Having Indicator Lights on Your Bottle Warmer

    • You save time by knowing exactly when the bottle is ready.
    • It’s easier to multitask without constantly checking.
    • Avoid overheating milk or formula, keeping feeding safer.
    • Reduces stress, especially when you’re tired or in a rush.

    Adding progress lights to your bottle warmer is a small change that makes life easier. Whether you go the DIY route or pick a product with this feature built-in, you’re giving yourself one less thing to worry about during feeding time.

    Learn More About Baby Gear Safety and Technology

    To learn more about the safety and technology behind baby feeding products, check trusted resources like Consumer Reports on baby bottle warmers and U.S. Food & Drug Administration guidance on infant products.

    If you’re interested in simple upgrades like this that help simplify your daily parenting routine, it’s worth exploring what gadgets and hacks might make your life easier. Sometimes, it’s the little features like progress lights that make the biggest difference.

  • Getting Started with Zigbee: Simple Outdoor Light Control for Your Old House

    Getting Started with Zigbee: Simple Outdoor Light Control for Your Old House

    How to set up multiple outdoor lights with Zigbee smart relays without rewiring your walls

    If you’re like me and love the idea of smart home tech but have an older house with tricky wiring, you’re probably interested in how to use Zigbee light control for something straightforward—like turning 12 outdoor wall lights on and off without rewiring your entire home. That was exactly my dilemma, and here’s how I figured out a manageable solution.

    What is Zigbee Light Control and Why It Matters?

    Zigbee light control is a smart home technology that uses low-power wireless communication to manage devices like lights and switches. It’s popular because it’s reliable, doesn’t eat up Wi-Fi bandwidth, and supports devices from many brands. For outdoor lighting, especially when you want to avoid complex rewiring, using Zigbee smart relays can be a lifesaver.

    Choosing the Right Smart Relay

    I wanted to control twelve outdoor lights with minimal fuss. My solution was to buy a smart relay module designed to handle groups of lights without needing to rewire them to a traditional wall switch. The one I picked is compatible with brands like Moes, Sonoff, and Aqara. This brand compatibility matters since it affects what hubs and apps you can use.

    For my test, I used a single Zigbee smart relay (you can check out examples like the one here Amazon Zigbee Relay). Later, I’ll expand to control all twelve outdoor wall lights.

    Setting Up Group Control with Scene Controllers

    I also wanted the ability to turn groups of lights on or off from wall switches. What I found is that these are often called scene controllers. They don’t directly switch wiring but send Zigbee commands to the relay to operate the lights.

    I got two 3-switch scene controllers. Setting these up is about pairing them with your smart relay through a Zigbee hub. You basically teach the controller what commands to send—for instance, Switch 1 turns on group A, Switch 2 turns it off.

    Do You Need a Hub or Bridge?

    There’s a lot of talk about Zigbee hubs, bridges, and platforms like Home Assistant or Matter. For my setup, I had to pick a Zigbee hub compatible with my relay’s brand ecosystem (Moes, Sonoff, Aqara). Some hubs come integrated with Alexa or Google Home, which allowed me to consider voice control later.

    If integrating with Google Home or Alexa isn’t essential for you, some relay controllers can be used standalone or with their own app, but a hub typically gives you more reliable control and integration.

    Quick Steps To Get Your Setup Running

    • Buy Zigbee smart relays compatible with your lights and brand ecosystem.
    • Get scene controller switches to control groups of lights.
    • Choose a compatible Zigbee hub or bridge (check manufacturer websites for compatibility).
    • Pair the relay and the switches through the hub’s app.
    • Test your groups to confirm they respond correctly.
    • Optionally, connect your hub to Google Home for voice control.

    A Few Tips From My Experience

    • Check compatibility before buying. Not all relays work with every hub.
    • Start small with one relay and one group before expanding.
    • Use manufacturer support guides and forums for troubleshooting.
    • Keep your firmware and apps updated for best performance.

    More Resources

    If you want to learn more about Zigbee technology, the Zigbee Alliance offers detailed info. For more on smart home hubs and integrations, check out Home Assistant’s website or Amazon’s product reviews for the latest devices.

    Using Zigbee light control made managing my outdoor lights easier without tearing up walls or rewiring everything. With a bit of planning, you can have smart lighting running seamlessly in your older home too.

  • Smart Smoke & Carbon Monoxide Alarm Setup for Your Home

    Smart Smoke & Carbon Monoxide Alarm Setup for Your Home

    How to choose a safe, budget-friendly smart alarm system for your townhouse

    Buying a new townhouse is exciting, but replacing smoke and carbon monoxide alarms can be overwhelming—especially if you want to upgrade to smart technology. I recently faced the same challenge, and after some digging, I found a way to balance safety, convenience, and budget. This post is for anyone like me who’s looking for the best setup of smoke carbon monoxide alarms without breaking the bank.

    Why Smart Smoke Carbon Monoxide Alarms?

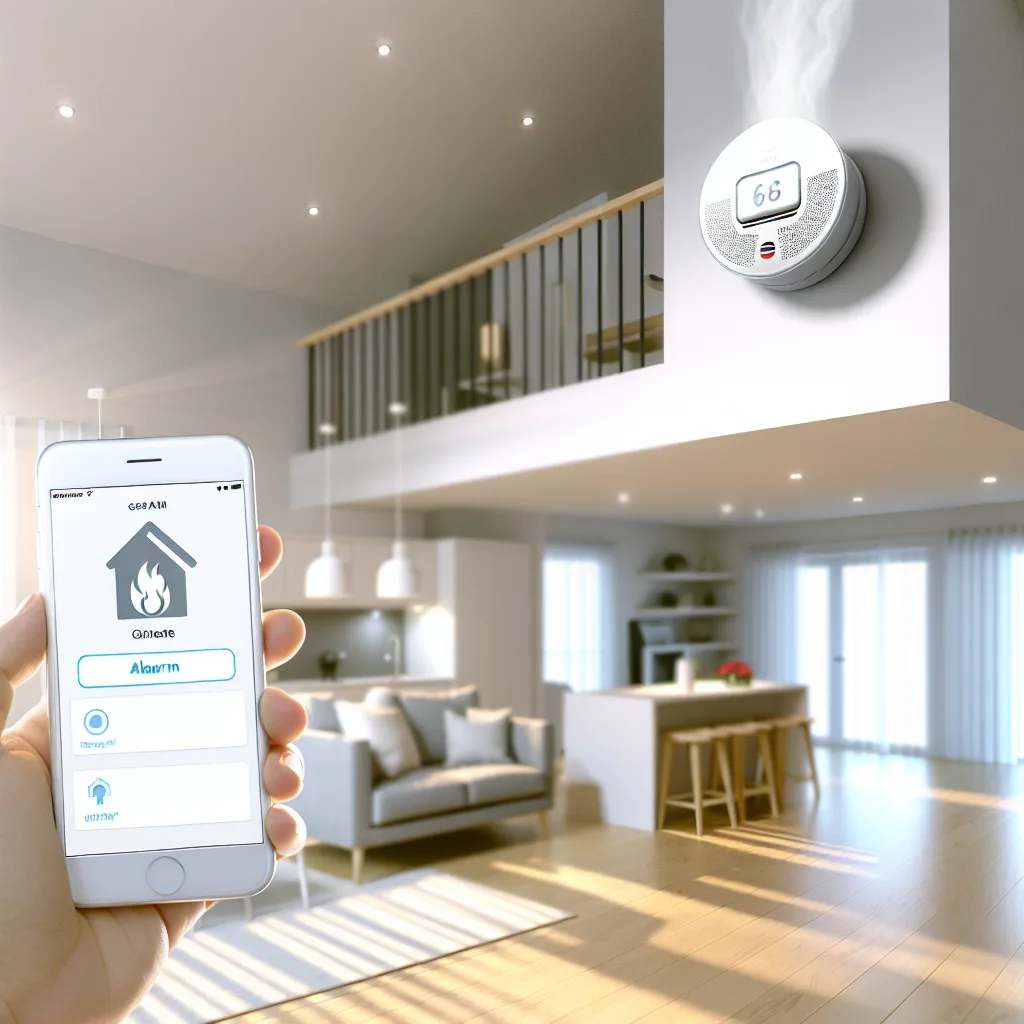
    Safety is the top priority, of course. But adding smart features brings real convenience. Imagine an alarm system that can notify your phone if it detects smoke or carbon monoxide, allows you to silence false alarms remotely, and meets local codes requiring hard wiring and battery backups. That’s what modern smoke carbon monoxide alarms offer.

    Can You Mix Smart and “Dumb” Alarms?

    A natural question is whether you can save money by buying one smart alarm and connect it with multiple standard alarms. In theory, interconnected alarms let all devices sound the alert if one detects danger. But here’s the catch: most interconnected “dumb” alarms can’t be silenced remotely through the smart one. This means you’d still have to manually silence each alarm.

    So if remote silencing is a must-have for those high, hard-to-reach detectors, you’re better off getting all smart alarms or at least all interconnected smart alarms from the same ecosystem. This ensures your phones can communicate with each unit.

    What to Look for in Your Smoke Carbon Monoxide Alarms

    • Hard wiring with battery backup: Often required by code and reliability.
    • Remote silencing: If alarms are placed high or far away.
    • Interconnectivity: Alarms communicate for safety.
    • Voice alerts: Helpful but sometimes optional.
    • Battery lifespan: Preferably 10 years to avoid frequent changes.

    Brand and Ecosystem Recommendations

    Since this is your first foray into smart home tech, picking the right ecosystem makes a big difference.

    • Google Nest Protect: Great for Android users and works well with your Nest thermostat. It offers smoke and carbon monoxide detection, voice alarms, and app notifications. It’s hardwired with a battery backup and supports remote silencing.
    • First Alert Onelink Safe & Sound: This works with Apple HomeKit but also has standalone features. It’s pricier and might stretch your budget.
    • Kidde Smoke & Carbon Monoxide Alarms: Kidde offers reliable, more affordable options with various interconnected models. Some support Wi-Fi and app control.

    Budgeting for 7 Alarms

    Your $500 budget is reasonable but might be tight for all smart alarms. Nest Protect units run about $120–$130 each, which would be above your total budget if you buy all seven smart units. Mixing one smart with six interconnected alarms is tempting, but be mindful of the limitations on features like remote silencing.

    Compatibility with Other Smart Devices

    Since you already have a Samsung Bespoke fridge and a Nest thermostat, leaning toward Google’s ecosystem makes sense. Nest Protect integrates seamlessly with the Nest thermostat app and Google Home, which you can control on your Android phones. This keeps your smart home setup unified and easier to manage.

    Final Thoughts

    Overall, for a townhouse with multi-levels, safety plus convenience count. Prioritize fully interconnected alarms that allow app notifications and remote silencing. Google Nest Protect is often the best starting point for homes using Android and Nest devices. It might mean stretching your budget or purchasing alarms in phases.

    For more in-depth info, check out Nest Protect’s official site, First Alert Onelink, and Kidde alarm options.

    Remember, the peace of mind that comes with a good smoke carbon monoxide alarm system is worth every penny. Safety first, convenience second, and smart choices all around.

    Stay safe out there!


    This article is aimed at helping those new to home automation pick the best smoke carbon monoxide alarms for their needs, blending safety and smart features without stress.

  • How to Control Your Samsung TV with Home Assistant Without Giving It Internet Access

    How to Control Your Samsung TV with Home Assistant Without Giving It Internet Access

    A simple guide to adjust your Samsung TV brightness using Home Assistant and Raspberry Pi while keeping your privacy intact

    If you’ve ever wanted to control your Samsung TV with Home Assistant but worry about privacy and giving your TV full internet access, you’re not alone. Controlling your Samsung TV without putting it on your main Wi-Fi can feel like a tricky problem to solve. But there are ways to make it work, and today I’ll share how to control your Samsung TV with Home Assistant while keeping it off the internet.

    Why Keep Your Samsung TV Off the Internet?

    Samsung smart TVs are loaded with features, but they also gather a surprising amount of data. Many users, myself included, are wary of how invasive that can be. That’s why I like to keep my Samsung QN90A TV disconnected from my home Wi-Fi and use an Apple TV to stream content instead. But then the question becomes: how do you control settings like brightness remotely without sacrificing privacy?

    Using Home Assistant to Control Samsung TV

    Home Assistant (HA) is fantastic for smart home automation. It even has integrations for Samsung TVs that let you adjust volume, power, and brightness. But most of those require your TV to be on the same network with internet access. For privacy, I want to avoid that.

    So here’s the good news: you can set up a separate network using a Raspberry Pi (RPi) — in my case, a Raspberry Pi 5 running Home Assistant — to connect directly to your TV. Think of the RPi as a mini hub that talks to your TV without exposing it to the wider internet.

    Setting up a Local Network with Raspberry Pi

    You can create a dedicated Wi-Fi network with your Raspberry Pi that your Samsung TV connects to. This way, the TV is isolated and doesn’t have internet access, but the Home Assistant on the same Pi can control it via local commands.

    It might sound complicated, but distribution like Raspberry Pi OS lets you configure a hotspot mode easily. With that setup:

    • The Samsung TV connects only to the Pi’s Wi-Fi network.
    • The Home Assistant instance running on the Pi controls the TV directly.
    • The TV has zero internet exposure.

    This solution keeps your Samsung TV smart but contained within a network you control.

    Alternative: Using Broadlink RM3 Mini as a Remote Blaster

    Another option is to use an infrared blaster like the Broadlink RM3 Mini. This device can send IR commands to your Samsung TV, just like a remote control. Home Assistant supports Broadlink devices, so you could set up an automation that adjusts brightness with a smart button, such as a Flic button.

    While this option doesn’t require connecting your TV to a network at all, it might be limited by the range and precision of IR control.

    Putting It All Together: Automation

    Once you have the connection sorted—whether through your Raspberry Pi network or the Broadlink blaster—you can set up an automation in Home Assistant.

    • Press a smart button (like a Flic button).
    • The button triggers an automation in HA.
    • HA sends the command to adjust brightness by a set amount.

    It’s a neat, private way to tweak your TV settings without interacting with Samsung’s cloud services.

    Final Thoughts

    Controlling your Samsung TV with Home Assistant without giving it internet access is doable, especially with a Raspberry Pi acting as a dedicated local network or with a Broadlink IR blaster in your setup. It’s about balancing smart functionality with privacy.

    If you’re interested in a deep dive on Raspberry Pi network setup, I recommend checking out the official Raspberry Pi documentation here and for Home Assistant’s Samsung TV integration details, visit the Home Assistant website here.

    Also, you might want to explore the Broadlink RM3 Mini on their official site for more on IR control broadlink.com.

    Privacy-conscious TV control is within reach; you just need a little creativity with your tech stack!

  • Troubleshooting Your Cynce/GE Neutral Wire Switch WiFi Connection

    Troubleshooting Your Cynce/GE Neutral Wire Switch WiFi Connection

    How to fix common WiFi connection issues with Cynce/GE neutral wire switches

    If you’ve recently installed a Cynce or GE neutral wire switch and found yourself frustrated because it just won’t connect to WiFi, you’re not alone. Getting smart switches up and running is supposed to be straightforward, but sometimes the connection process hits a snag. In this post, I’ll walk you through common reasons why your neutral wire switch might be struggling to join your home network and how to troubleshoot it. This way, you can enjoy your smart home setup without the hassle.

    What is a Neutral Wire Switch and Why Does WiFi Matter?

    A neutral wire switch is a type of smart switch that requires a neutral wire connection to function correctly. This design helps power the switch properly while allowing control via WiFi. The primary keyphrase here—neutral wire switch—is important because if the device isn’t wired correctly, or if the WiFi connection is off, your switch won’t work as expected.

    The switch needs to connect to your home WiFi to communicate with your smartphone app or voice assistant. Without that, it’s just a fancy piece of hardware on your wall. So, ensuring proper internet connectivity is crucial.

    Common Reasons Your Neutral Wire Switch Won’t Connect to WiFi

    1. Incorrect Wiring

    Make sure the neutral wire is actually connected. This is often the culprit. Neutral wires are typically white, but wiring colors can vary. Double-check your home’s wiring diagram or consult an electrician if unsure.

    2. WiFi Network Issues

    Your WiFi network needs to be 2.4 GHz, not 5 GHz, for many smart switches. Check your router settings. Some newer switches support 5 GHz, but most Cynce/GE models don’t. Also, verify your WiFi password is correct.

    3. App Setup Problems

    Sometimes the issue isn’t hardware but the setup process in the app. Make sure you follow step-by-step instructions from the switch’s manual or the official Cynce website. Resetting the switch and trying again can help too.

    4. Distance and Interference

    If your switch is too far from your router or there are many walls or appliances in between, the signal might be weak. Try temporarily moving your router closer or use a WiFi extender.

    How to Fix and Connect Your Neutral Wire Switch to WiFi

    • Double-check wiring connections with a multimeter or qualified electrician.
    • Confirm your WiFi network is 2.4 GHz and stable.
    • Reset the switch by holding down the button for about 5-10 seconds.
    • Follow the official app setup guide carefully; here’s the Cynce support page and GE smart switch support.
    • Use a WiFi analyzer tool to check for interference.

    When to Seek Professional Help

    If you’ve tried all these and the neutral wire switch still won’t connect, it might be time to call an electrician or smart home expert. Sometimes devices can be defective or your home wiring needs an update.

    Final Thoughts

    Smart switches like the Cynce/GE neutral wire switch can make life easier, but getting them connected to WiFi can be tricky. By focusing on the neutral wire switch wiring, verifying your WiFi settings, and following setup instructions carefully, you’ll likely get your switch online in no time.

    If you want to dig deeper into smart switch technology, check out CNET’s smart home guide. Staying patient and methodical is key—soon enough, you’ll be controlling your lights with a tap on your phone.

  • Choosing the Right Mini PC for Home Assistant and More

    Choosing the Right Mini PC for Home Assistant and More

    A simple guide to picking a mini PC that runs Home Assistant, WireGuard, Pi-hole, and more on Proxmox

    If you’re diving into the world of self-hosting, you’ve probably come across the need for a reliable mini PC that can handle multiple services. Whether it’s Home Assistant, Immich, WireGuard, AdGuard Home, or Pi-hole, running all these on one device using Proxmox as your hypervisor is a smart move. It centralizes your setup, saves energy, and keeps things neat. But what’s the best mini PC for HomeAssistant and these other services? Let’s chat about what you need to consider.

    Why Choose a Mini PC for HomeAssistant?

    A mini PC can run 24/7 without taking up much space or guzzling too much power. For running Home Assistant alongside tools like WireGuard for secure VPN access or Pi-hole to block ads network-wide, you want something dependable, quiet, and efficient. Plus, using Proxmox means you’re virtualizing these services, so your hardware should handle multiple virtual machines smoothly.

    What to Look for When Picking a Mini PC

    Here are the main factors to focus on:

    • CPU: A strong processor is key, especially one with virtualization support like Intel VT-x or AMD-V. Many recommend recent Intel i5 or i7, or comparable AMD Ryzen chips. For heavier setups, processors like the Intel i9 or AMD Ryzen 7 can be great, but they might use more power.
    • RAM: More RAM means more headroom for running multiple VMs simultaneously. A minimum of 16GB is often suggested, but 32GB can future-proof your setup.
    • Storage: SSDs are the way to go for speed and durability. Around 500GB to 1TB should cover your needs, depending on how much data you plan to store.
    • Energy Efficiency & Noise: A mini PC that stays cool and quiet is vital if it’s going to sit in your living room or home office.
    • Network: Gigabit Ethernet support is a must for smooth network traffic.

    The Acemagic M1: Is It Worth Considering?

    The Acemagic M1 packs an Intel i9-11900H, 32GB DDR4 RAM, and a 1TB SSD. On paper, that’s impressive—it ticks the boxes for CPU power and RAM.

    For virtualization, Intel chips with VT-x support run Proxmox well. The 11900H is a mobile CPU from the Tiger Lake series, often found in gaming laptops, but here it’s in a mini PC form, which could balance power and energy use nicely.

    If you want a future-proof and robust mini PC, this model fits the bill. Just double-check that it has good cooling and that it won’t be noisy in your space.

    Tips Before Buying Your Mini PC

    • Check for Driver and Update Support: Not all mini PCs play nicely with Linux-based hypervisors like Proxmox, so verify compatibility.
    • Expandability: Can you add more RAM or storage later?
    • Community Feedback: See what others are saying about the model online.

    Wrapping Up: Your Mini PC for HomeAssistant

    Finding the right mini PC for HomeAssistant and related services is about balancing power, efficiency, and quiet operation. The Acemagic M1 with its Intel i9, lots of RAM, and SSD sounds like a promising choice, especially if you’re running several VMs with diverse tasks.

    For more insights on Proxmox and virtualization support, check out the Proxmox official documentation and for networking essentials, the WireGuard site.

    Ultimately, the best mini PC is one that fits your budget, meets your service needs, and fits comfortably in your home without fuss. I hope this helps you pick a device that keeps your self-hosted dream running smoothly!

  • Setting Up the Waveshare PoE ETH Relay: A Friendly Troubleshooting Guide

    Setting Up the Waveshare PoE ETH Relay: A Friendly Troubleshooting Guide

    How to navigate common hurdles and get your Waveshare PoE ETH Relay working smoothly with Thingsboard

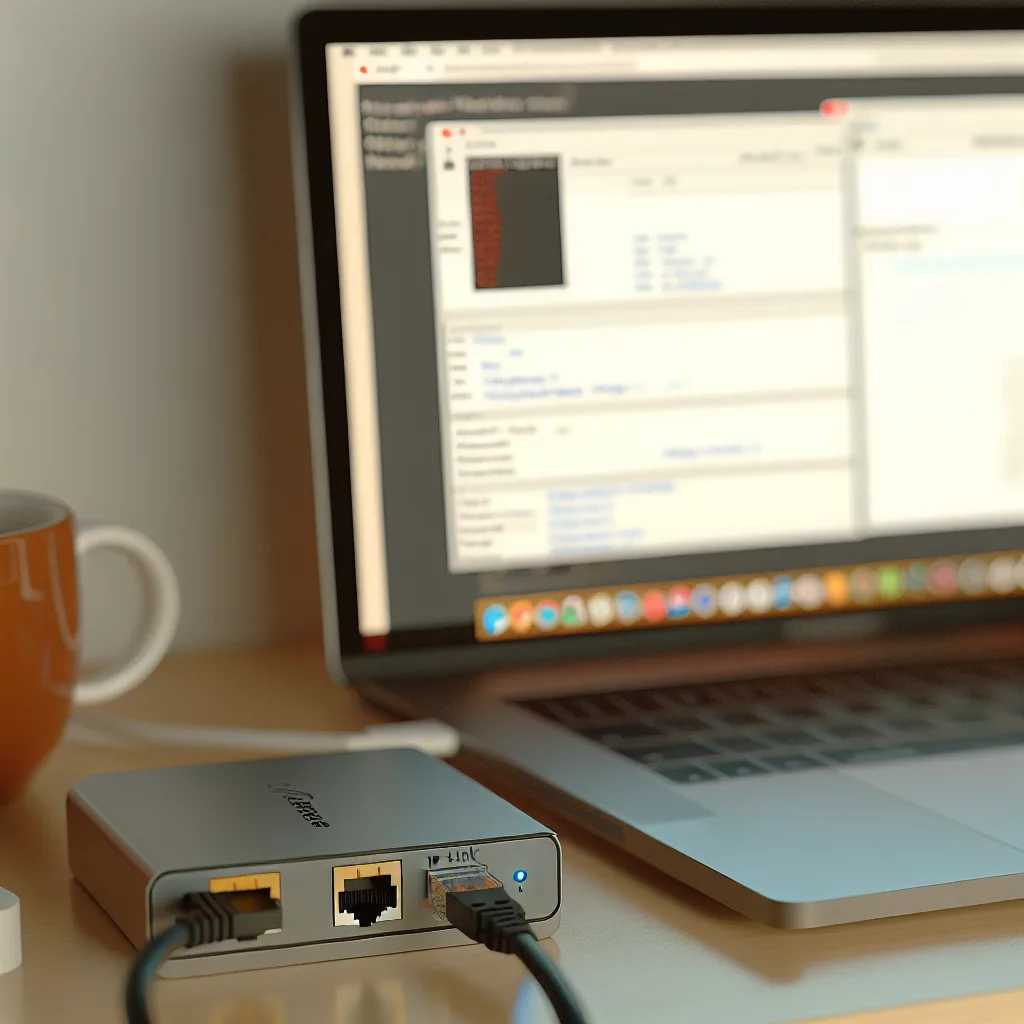
    If you’ve recently gotten your hands on the Waveshare PoE ETH Relay and found yourself stuck trying to get it working with Thingsboard, you’re not alone. The Waveshare PoE relay setup can be a tricky puzzle, especially when it comes to networking and software configuration. I want to share some straightforward tips and insights that can help you avoid common pitfalls and finally control this device without the headache.

    Understanding the Waveshare PoE Relay Setup

    The Waveshare PoE ETH Relay combines Power over Ethernet convenience with relay control functionality. The goal for many is to integrate it with platforms like Thingsboard for IoT control. However, the setup involves multiple layers: hardware connection, IP configuration, and software communication.

    In my experience, the starting point is ensuring you have the right hardware chain. For instance, connecting the device through a TP-Link USB to Ethernet adapter to a Windows 11 PC can work, but it adds a layer of complexity. The relay needs both power (which might come from a separate supply) and network connectivity configured correctly.

    Common Hurdle: IP Address and Network Configurations

    The biggest stumbling block in the Waveshare PoE relay setup tends to be IP addressing. Without properly matching IP address, subnet mask, and gateway settings between your PC, your network adapter, and the relay device, they just won’t talk to each other.

    Here’s a quick checklist:

    • Identify your adapter’s IP: Run ipconfig in Command Prompt on your Windows machine to see what IP your TP-Link adapter has.
    • Set relay IP in the same subnet: If your adapter IP is, for example, 192.168.0.100 with a subnet mask of 255.255.255.0, your relay needs a static IP like 192.168.0.x (where x is not taken), with the same subnet mask.
    • Default Gateway: Even if your adapter doesn’t show a gateway, set the relay’s gateway to your PC’s or router’s IP to help routing.

    The key is keeping everything on the same network range—otherwise, the relay and PC won’t see each other.

    Accessing the Web Configuration Page

    After setting the IP, the next step is trying to reach the relay’s Web Configuration page through a browser. If typing the IP address into the browser doesn’t open it, check the firewall settings on your PC. Sometimes, Windows Firewall blocks access to certain IP ports or addresses, making it look like the device is unreachable.

    Also, verify that your network adapter is properly working and that no VPN or proxy settings interfere.

    Software Setup Tips: Vircom and Thingsboard

    Vircom is Waveshare’s proprietary software to configure this relay. It’s powerful but can be tricky if you’re not used to it. If Vircom says a connection is established but you can’t access the web page or can’t control the relay from Thingsboard, it usually points back to network or firmware issues.

    If you have tried the Waveshare Cloud platform without success, it may be worth sticking with Thingsboard but ensuring:

    • Firmware on the relay is updated to the latest version (check Waveshare’s official site).
    • Firmware resets are done properly—either by buttons on the device or shorting pins as per instructions.
    • Vircom software installation is fresh and running without errors.

    A Little Patience and Persistence Goes a Long Way

    Setting up the Waveshare PoE relay is a test of patience for sure. Taking it step by step, confirming each element—hardware connection, IP address range, firewall settings, and software version—can help you get this device up and running. If all else fails, consult Waveshare’s official documentation Waveshare Documentation and Thingsboard’s integration guides Thingsboard Docs, or reach out to their support forums.

    Remember, networks can be frustrating because a tiny misstep can block communication. But with some trial, error, and tweaking, you’ll get there.

    Final Thoughts

    If you’re feeling tempted to “take a hammer to it,” I totally get it. Just take a break, and come back fresh. These devices can seem uncooperative but usually it’s just a config detail waiting to be cracked. Once your Waveshare PoE relay is talking to Thingsboard, you’ll appreciate the power and flexibility it adds to your projects.

    Happy tinkering!