Category: AI

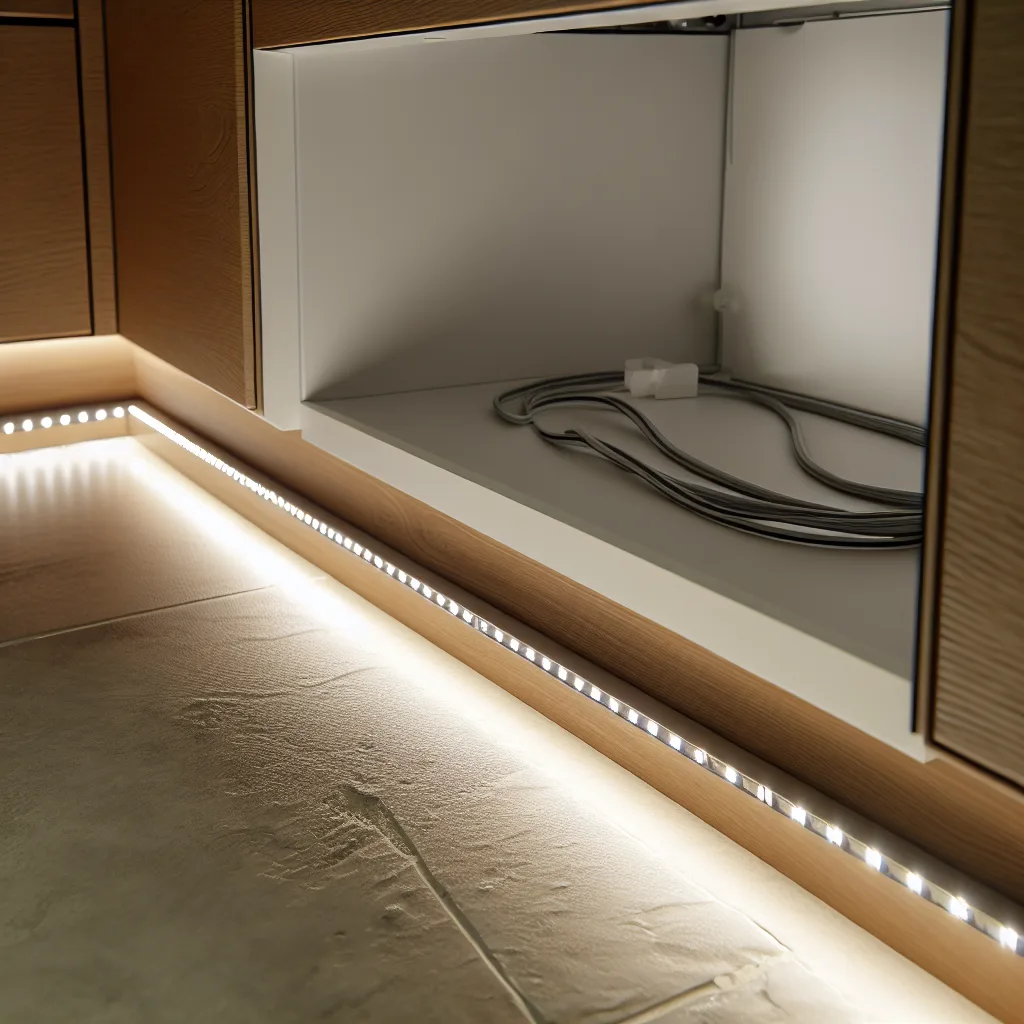
  • Under Cabinet Lighting: Tips for a Seamless, Stylish Setup

    Under Cabinet Lighting: Tips for a Seamless, Stylish Setup

    How to choose reliable LED strips and extensions for perfect under cabinet lighting

    If you’ve ever thought about adding a warm, stylish glow to your kitchen or workspace, under cabinet lighting is one of those upgrades that can really elevate the vibe—and it’s generally easier than you might expect. I recently dug into the world of under cabinet lighting myself and learned a few things worth sharing, especially about picking the right LED strips and making sure the wiring stays out of sight but still works flawlessly.

    Why Under Cabinet Lighting?

    Under cabinet lighting is not just about aesthetics. It brightens your countertop, making cooking or working so much easier and safer. Plus, it adds a cozy, inviting vibe to your space without harsh overhead lights. But with all the choices out there, it can get a bit overwhelming.

    Choosing the Right LED Strips for Your Setup

    When it comes to under cabinet lighting, the LED strips you pick really matter. Not all strips and connectors play nice together, especially if you want to run them a long way or hide the wiring under areas like grout between tiles.

    One common issue is signal loss toward the end of longer strips. Some LED setups might flicker or not light up correctly if the signal can’t travel perfectly along the length. This is particularly tricky if you’re trying to span an entire set of cabinets and bridge gaps with wiring hidden under grout or trim.

    Tips for Reliable Extensions and Connectors

    Here’s what I found after some trial and error:

    • Look for kits designed for longer runs. Some brands offer LED strip kits specifically meant for spanning long distances with reliable connectors.
    • Avoid generic connectors when possible. It’s tempting to grab the cheapest extensions or 5-pin connectors, but they sometimes don’t maintain signal strength well.
    • Consider reinforced or amplified signal extensions. Some advanced LED strips have built-in boosters or come with extension cables that help keep the power consistent.

    Recommended Brands and Solutions

    After some research, a few brands consistently get good reviews for under cabinet lighting:

    • Philips Hue Lightstrip Plus: These are smart LED strips with great build quality, and their extensions work seamlessly to cover longer distances.
    • LIFX Lightstrip: Another smart, flexible option that’s known for brightness and color quality, with accessories designed for clean setups.
    • HitLights LED Strips: They offer high-quality, reliable strips and connectors aimed at DIY installations, including some with reinforced signals.

    For connectors, it’s best to buy directly from the LED strip manufacturer or look for ones specifically compatible with your brand. Mixing and matching can sometimes cause issues.

    Planning Your Wiring

    When hiding wiring under grout or in tight spaces, keep these in mind:

    • Make sure the cables are properly insulated and rated for the environment.
    • Plan your wiring path before installation to avoid having to cut strips unnecessarily.
    • Test each segment as you go to catch any signal or power issues early.

    Final Thoughts

    Under cabinet lighting really can make a big difference in your kitchen or workspace. The key is picking the right LED strips and extensions so everything works smoothly together and the wires stay hidden. It might take a bit of research and a few tests, but the results are usually worth it. If you want to dive deeper, check out the official Philips Hue website or LIFX lighting docs for inspiration and product details.

    Have fun lighting up your space!
  • How Smart Radiator Valves and a Central Thermostat Work Together

    How Smart Radiator Valves and a Central Thermostat Work Together

    Understanding the interaction between smart valves and a smart thermostat for optimal home heating

    If you’ve ever wondered how smart radiator valves work together with a central smart thermostat, you’re not alone. I found myself in the same boat recently, trying to get the best setup for efficient heating across my home. So let’s break down how these devices interact and how you can plan their operation for the coziest, most energy-efficient environment.

    What Are Smart Radiator Valves and a Central Thermostat?

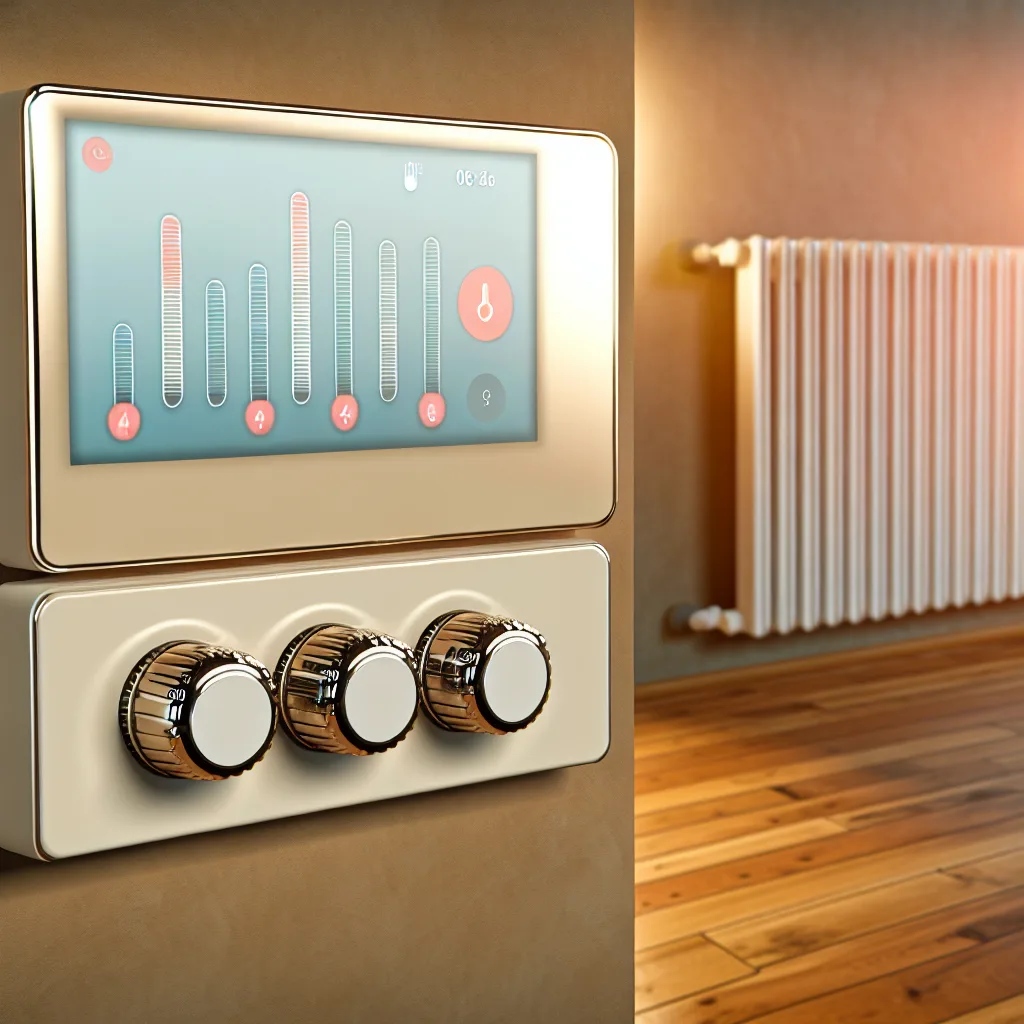
    A central smart thermostat controls your entire heating system, setting a general temperature for your whole home. Smart radiator valves are little devices attached to each radiator. They adjust the heat output in each room individually by opening or closing the radiator valve based on the temperature setting for that specific room.

    How Do They Interact?

    Here’s where it gets interesting. Suppose you set your central thermostat to 20°C and you have three smart radiator valves, each set differently—say 21°C in the bedroom, 19°C in the living room, and 20°C in the kitchen. You might expect each radiator to heat its room to its set temperature independently, but that’s not how it typically works.

    The central thermostat monitors the overall house temperature and switches the heating system on or off accordingly. When it reaches its set temperature—20°C in this example—it turns off the boiler, stopping the flow of hot water to all radiators. That means even if a radiator valve calls for more heat (say it’s set at 21°C), it won’t get it because the system is off.

    What’s the Best Way to Use Them?

    The key is understanding that the central thermostat controls when the boiler runs, and the smart radiator valves control how much heat each radiator emits during that time.

    One effective strategy is to set the central thermostat slightly higher than the highest smart valve setting. For example, if your highest room setting is 21°C on a radiator valve, you might set your central thermostat at 22°C. This way, the boiler stays on longer, and each radiator valve can fine-tune the heat to its room’s preference, opening or closing the valve as needed.

    But be careful not to set the central thermostat too high. It’s about balance—keeping the boiler running just enough to let each smart valve do its job without unnecessary heating.

    Additional Tips and Considerations

    • Zoning: If your central thermostat uses multiple temperature sensors around the house or has zoning capabilities, you might get even more precise control.
    • Integration: Some smart heating systems integrate central thermostats and radiator valves so they communicate directly and optimize heating automatically.
    • Manufacturer Guidelines: Always check the guidelines from manufacturers like Tado or Netatmo for the best compatibility and use.

    Wrapping It Up

    Smart radiator valves give you the flexibility to heat individual rooms exactly how you want, while the central thermostat manages the overall system. Using them together effectively means setting the central thermostat a bit higher than your highest radiator valve setting to keep the system running smoothly.

    For more on smart home heating, you might like this detailed guide on how smart thermostats work or this practical overview of smart radiator valves.

    Getting your heating setup right can save you money and make your home more comfortable. So don’t hesitate to experiment with your settings until you find your perfect balance!

  • How to Add LED Lighting to Your Garage Door (Simple Magnet Hack!)

    How to Add LED Lighting to Your Garage Door (Simple Magnet Hack!)

    Bring safety and style to your garage with an easy LED light trick anyone can do.

    If you’ve ever thought about how to brighten up your garage without rewiring or complicated installations, then adding LED lighting to your garage door might be just the fix you need. It’s a simple upgrade that not only boosts visibility but also adds a neat, modern touch to an otherwise overlooked space.

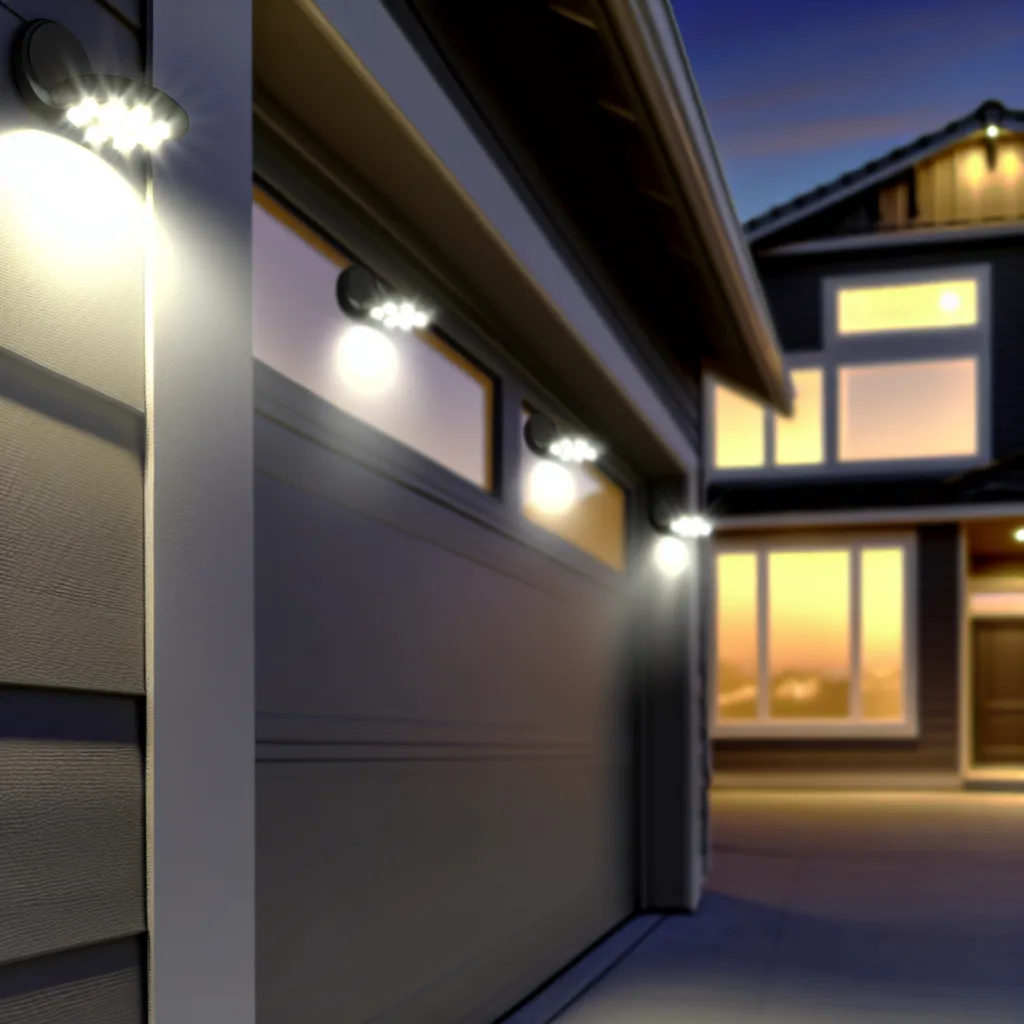
    I recently came across a handy trick involving garage door lighting that’s surprisingly low-effort but high-impact. The idea is to attach LED lights directly to your garage door using magnets. Yep, you read that right! Instead of drilling holes or dealing with messy wiring, you can just super glue two magnets to an LED light and then stick it onto the metal surface of your garage door.

    Why Garage Door Lighting?

    Lighting up your garage door isn’t just about looks. It’s about safety, convenience, and sometimes even fun. When you pull into your garage at night, a little extra light can help you avoid mishaps and make it easier to find your keys or your car door handle. Plus, when you add LED lighting, you use very little electricity while getting bright, clear light.

    How to Set Up LED Instead of Going Pro

    One of the coolest features of these LED lights is that many come with a program button. That means you can sync them with your garage door opener remote! When you open the garage door, the lights turn on automatically, and when you close it, they switch off. This is a neat little add-on that makes your setup feel very polished without the tech headache.

    To set this up:
    – Grab an LED light designed for garage or outdoor use.
    – Super glue two small magnets to the back.
    – Stick the light onto your garage door where it’s convenient.
    – Use the program button on the light to sync it with your garage door remote following the manufacturer’s instructions.

    Remember to pick magnets strong enough to keep the light securely attached but not so strong they make it hard to remove if needed.

    Tips for the Best Garage Door Lighting Experience

    1. Choose waterproof LEDs – Garages can get humid, so pick lights rated for outdoor use.
    2. Position lights evenly – This helps ensure no shadows or dark spots when the garage door opens.
    3. Check battery life or opt for plug-in versions – Depending on whether your chosen lights are battery-powered or need a socket.

    If you’re curious about the specific types of LED lights to buy, companies like Philips Lighting and GE Lighting have great options for outdoor and smart lighting systems.

    Adding LED lighting to your garage door is quick, affordable, and the magnet idea means no damage to your door. It’s a smart way to brighten your space with minimal fuss.

    For more DIY lighting hacks and home improvement tips, you might find resources like This Old House helpful. They’re packed with practical advice and creative ideas.

    So next time you pull into your garage after dark, you’ll be glad you took a few minutes to add that LED glow. It’s an easy upgrade with real benefits — just a little light can make a big difference!

  • Finding a Smart Control Timer Replacement Without the Headache

    Finding a Smart Control Timer Replacement Without the Headache

    Navigating the challenge of replacing your timer with smart control compatibility

    If you’ve ever tried to replace a timer component with something that has smart control capabilities, you know it’s not as straightforward as it seems. The concept of a smart control timer is simple enough—automate and control your devices remotely with precision. But when it comes to swapping out the hardware, the timer component can throw a curveball. I recently dove into this exact problem and want to share what I found.

    Why the smart control timer is tricky to replace

    Timers control when your devices turn on or off, but a smart control timer adds layers of complexity because it connects to your network and responds to app commands or voice control. The traditional replacement timers you find at local hardware stores may lack this functionality, so the challenge is finding one that fits your existing setup while offering smart features.

    Most smart timers require compatibility with your home automation system (like Google Home, Amazon Alexa, or Apple HomeKit). It’s also important to consider the wiring and load compatibility because not every smart timer fits all types of electrical setups.

    Options for replacing your smart control timer

    1. Wi-Fi Enabled Smart Timers – These timers connect directly to your Wi-Fi network, letting you control them from your phone or voice assistant. Brands like TP-Link Kasa or Wemo offer plug-in options that are easy to install if you’re dealing with appliances.

    2. Z-Wave or Zigbee Timers – If you already have a smart home hub, these timers can integrate smoothly. You’ll need a hub like Samsung SmartThings or Wink. These devices handle schedules and remote control without much fuss.

    3. Smart Relay Timers – For built-in fixture replacements, smart relays controlled via apps or hubs can serve as the timer component. This is more technical but offers great flexibility.

    What to check before replacing your timer

    • Compatibility: Confirm your new timer supports your home’s voltage and loads. Check for compatibility with your smart system.
    • Wiring Setup: Some smart timers require a neutral wire. Older homes might not have this.
    • Control Options: Are you looking to control the timer via an app, voice, or both?
    • Installation Complexity: Some options can be a DIY job; others might need an electrician.

    Friendly advice from someone who’s been there

    I approached my own timer replacement with these points in mind. What I found most helpful was picking a device that matched my smart home ecosystem. If you’re using Alexa, get a timer that’s Alexa-compatible to avoid extra setups. Also, don’t shy away from reading product manuals upfront and watching installation videos. It saves headaches later.

    Replacing a smart control timer isn’t just about the device; it’s about how it fits into your existing setup and your comfort with installation. If the wiring stuff feels tricky, consult a pro.

    If you want to explore more about smart timers and home automation, check out CNET’s smart home section, and for detailed electrical setup guides, The Spruce can be super helpful.

    Smart control timers offer convenience but choosing the right replacement means understanding your home’s wiring and the smart ecosystem. With the right approach, you can find a smart timer replacement that works for you without the usual headaches.

  • Best Outdoor Security Cameras Without Subscription Fees

    Best Outdoor Security Cameras Without Subscription Fees

    A straightforward guide to top outdoor security cameras that keep your home safe minus the monthly charges.

    If you’ve been shopping around for outdoor security cameras, you probably noticed many options asking you to sign up for monthly subscription plans. While those services can offer fancy features, not everyone wants or needs to pay extra each month. That’s where outdoor security cameras without subscription fees come in — giving you solid security without the ongoing cost.

    In this post, I’ll break down some of the best outdoor security cameras that don’t require subscriptions, focusing on reliability, ease of use, and real value. Let’s dive in!

    Why Choose Outdoor Security Cameras Without Subscriptions?

    Most subscription plans offer cloud storage, advanced alerts, or extended playback history. But if you prefer owning your footage outright or just want to keep an eye on your home without monthly bills, a camera that doesn’t lock you into subscriptions might be the way to go.

    Besides saving money, no-subscription cameras usually save you hassle since everything is stored locally or on your own cloud setup. Plus, your privacy stays in your hands.

    Top Picks for Outdoor Security Cameras Without Subscription

    Lorex

    Lorex is well-known for delivering solid security gear without forcing subscriptions. Many Lorex cameras let you store video directly on an included DVR or via local microSD cards. Their systems often come with features like 4K resolution, color night vision, and two-way audio — great for clear visuals and communication.

    Learn more about Lorex products at Lorex Official Site.

    Eufy

    Eufy’s outdoor security cameras focus heavily on privacy and no monthly fees. They use local storage through home base hubs or onboard SD cards. The EufyCam 2 and 2C models, for example, offer decent battery life, motion detection, and crisp 1080p or 2K video quality.

    Check out Eufy Security for detailed specs and pricing.

    Reolink

    Reolink is another brand gaining attention for budget-friendly cameras without subscription traps. Offering POE (Power over Ethernet) or battery-powered models, Reolink provides flexible setups with local recordings to SD cards or NVRs. Their Argus and RLC series come with features like smart motion alerts and weatherproof designs.

    Visit Reolink’s Website for more details.

    What Else Should You Consider?

    • Storage Options: Will you use SD cards, network video recorders, or a personal cloud? Make sure your camera supports your preferred method.

    • Video Quality: High definition (1080p or higher) is pretty standard now for clarity.

    • Night Vision: Look for color night vision if you want more detail in low light.

    • Installation: Think about easy installation vs. wired setups.

    • Smart Features: Motion zones, two-way audio, and app controls can be nice extras.

    Final Thoughts on Outdoor Security Cameras

    If you want to keep your outdoor surveillance simple and avoid subscription fees, brands like Lorex, Eufy, and Reolink are strong contenders. They offer durable, clear, and easy-to-use cameras without sneaky monthly charges.

    Before you purchase, consider how you want to store your footage and which features matter most to you. Also, check out professional reviews or user feedback on sites like CNET or TechRadar for additional insights.

    Choosing the right outdoor security cameras means balancing security needs with budget and convenience. With the options above, you get peace of mind without a subscription bill creeping onto your monthly expenses.


    Feel free to share your experiences or ask questions about no-subscription cameras!

  • I Built a Companion Cube Server, and It’s Awesome

    I Built a Companion Cube Server, and It’s Awesome

    It’s more than just a home server; it’s a project that combines a love for gaming with the satisfaction of building something truly personal.

    I’ve always been a big believer that the tech in our homes should be personal. Your setup should reflect you. So when my old, boring black box of a server started showing its age, I knew I didn’t want another generic replacement. I wanted a custom NAS build that was both functional and, well, me. And for me, that meant combining my love for the video game Portal with my need for a reliable home server.

    The result? A server that looks exactly like a Companion Cube. And I couldn’t be happier with it.

    It’s one thing to buy a pre-built NAS off the shelf. They work great, and for many people, that’s the perfect solution. But I wanted a little more. I wanted to choose my own parts, run the exact software I preferred, and most importantly, I wanted it to look cool sitting on my desk.

    Why Go with a Custom NAS Build?

    For me, the answer is simple: personality and control. A custom NAS build lets you create something that’s perfectly tailored to your needs.

    • You Pick the Parts: You’re not stuck with a specific processor or a limited amount of RAM. You can build a system that’s just powerful enough for file storage or a beast that can handle multiple 4K Plex streams, virtual machines, and home automation without breaking a sweat.
    • It’s a Fun Project: There’s a huge sense of satisfaction that comes from building something with your own two hands. The planning, the building, the troubleshooting—it’s a rewarding process that teaches you a ton about how computers work.
    • The Look: This was the big one for me. I didn’t want another beige or black box. I wanted a piece of functional art. Building it yourself means you can choose any case you want, or in my case, make one yourself.

    The Companion Cube NAS: An Idea is Born

    If you’ve ever played the game Portal, you know the Companion Cube. It’s this iconic, oddly lovable object you’re supposed to… well, let’s just say it has a fiery end. I always loved its simple, clean design.

    One night, while thinking about what my ideal server would look like, the idea just clicked. Why not build a server inside a Companion Cube? A quick search online showed that I wasn’t the first person to have this idea, but I saw a path to make it my own. The core of this whole project is the case, which I 3D printed. It’s amazing what’s possible with today’s technology, allowing anyone to bring a digital model into the physical world.

    The case itself is the star, but what’s inside is what makes this custom NAS build tick. I opted for a low-power motherboard and CPU combo from a manufacturer like ASRock, designed for efficiency. A server is on 24/7, so keeping power consumption low was a huge priority. A handful of hard drives for storage, and we were in business.

    The Brains of the Operation

    Hardware is only half the battle. For the software, I decided to go with TrueNAS SCALE, a powerful and flexible open-source operating system for network-attached storage. It’s robust, has a huge community, and can run all sorts of applications in containers, which is perfect for what I needed.

    So, what does this little cube actually do?

    • Media Server: It runs Plex, serving up movies and TV shows to any device in my house. No more hunting for DVDs or logging into five different streaming services.
    • Centralized Backup: All of our family photos, videos, and important documents are automatically backed up to the server. It’s a huge piece of mind.
    • Home Automation Hub: I run Home Assistant in a container, which is the brain for all my smart home gadgets.
    • Personal Cloud: I can securely access my files from anywhere, just like Dropbox, but without the monthly fees.

    This project was about more than just building a computer. It was about creating something that’s uniquely mine. Every time I look at it, I don’t just see a server; I see a fun project, a nod to a game I love, and a truly personal piece of tech. If you’re thinking about your own custom NAS build, my only advice is to have fun with it. Don’t just build a box; build your box.

  • How to Build a Low-Cost Smart Alarm System with Home Assistant and Alarmo

    How to Build a Low-Cost Smart Alarm System with Home Assistant and Alarmo

    Create your own smart home security setup without breaking the bank using Home Assistant and Alarmo

    If you’ve been curious about adding a smart alarm system to your home but don’t want to spend a fortune or depend on complicated setups, you’re in the right place. Today, I want to walk you through how to build a low-cost smart alarm system using Home Assistant and a handy add-on called Alarmo.

    What is a Smart Alarm System?

    A smart alarm system is basically like your traditional alarm but smarter — it connects with your home automation setup so you can monitor, control, and customize it right from your phone or any device. This means you get alerts instantly, can integrate sensors, and even automate responses like turning on lights or sounding sirens.

    Why Home Assistant and Alarmo?

    Home Assistant is an open-source platform that lets you centralize all your smart home devices. It’s flexible and free to use, which makes it perfect for DIY projects. Alarmo is an add-on that enhances Home Assistant by giving you all the tools you need to manage an alarm system, including sensors, automations, and notifications.

    Getting Started: Building Your Smart Alarm System

    Here’s the basic idea:

    • Install Home Assistant: If you haven’t yet, set up Home Assistant on a Raspberry Pi, an old computer, or a dedicated server Home Assistant Installation Guide.

    • Add Alarmo: In Home Assistant, go to the Add-on Store and install Alarmo. It’s designed specifically to create and manage alarm systems simply.

    • Configure Sensors: You can use various smart sensors such as door/window contacts, motion detectors, or even smart buttons. These can be connected through Zigbee, Z-Wave, or Wi-Fi.

    • Create Zones and Automations: Alarmo lets you define zones like “Living Room” or “Back Door” and set rules for arming/disarming or triggering alerts.

    • Set Notifications: Link it to your phone for notifications through the Home Assistant mobile app or services like Telegram or email.

    What Makes This Approach Cost-Effective?

    Instead of paying a monthly subscription to traditional security companies, once you invest in compatible sensors and your Home Assistant hardware, you’re done with recurring fees. Plus, you can expand or modify your system anytime, making it future-proof.

    A Few Tips from My Experience

    • Start small, maybe with just entry points like front and back doors.
    • Use the Home Assistant community forums for support — it’s a great place to learn and solve problems.
    • Consider backup power for your Home Assistant hub to keep your alarm running during outages.

    Ready to Try?

    Building your own smart alarm system with Home Assistant and Alarmo can save money and give you full control over your home security. Plus, it’s kind of fun to tinker with tech and see it come together. If you want to dive deeper, check out the official Alarmo documentation and Home Assistant’s security integrations.

    Give it a shot, and let me know how it goes!

    This post is inspired by practical, DIY-friendly smart home solutions and the joy of making technology work for you, not the other way around.

  • Getting Started with Home Server Setup for Smart Home Control

    Getting Started with Home Server Setup for Smart Home Control

    How to Begin Your Journey with Home Server Setup for Seamless Smart Home Management

    If you’ve just stepped into the world of smart homes and want a bit more control than what’s offered by commercial products, a home server setup might be the way to go. I recently dived into this myself with a second home I bought. The goal? To not just monitor but ultimately control everything remotely, right down to the locks, cameras, and thermostats.

    Starting with a home server setup can feel a bit overwhelming, especially if your place already comes with smart devices like Schlage locks that need Z-Wave connectivity, a Nest thermostat nearing end-of-life, Ring cameras, and an ADT security system. But here’s the thing: you don’t have to rely fully on cloud services or the companies’ proprietary apps. Running your own server puts you in the driver’s seat.

    Why Consider Home Server Setup?

    Using a dedicated home server to control your smart devices brings several advantages. It gives you more privacy since your data stays local. You also gain flexibility to customize automations tailored to your needs and can integrate devices from different brands that usually don’t talk to each other.

    Getting Your Bearings: The Right Hub and Protocols

    For devices like Schlage locks that use Z-Wave, you’ll need a hub or controller that supports that protocol. Z-Wave acts like a special language for smart devices to communicate. Popular options include hubs like Samsung SmartThings or open-source solutions that you can run on your home server, such as Home Assistant.

    Home Assistant is especially popular among Linux admins because it can run on a small server or even a Raspberry Pi. It supports a huge range of devices and protocols, including Z-Wave and Zigbee, and lets you control your Nest thermostat and Ring cameras through integrated add-ons.

    Replacing Outlets and Switches: Opportunities for Improvement

    Since I plan to replace all the outlets and switches in my second home soon, it’s a perfect time to select smart versions compatible with my server setup. This way, I can have full control over power management and automation without relying on the original brands’ apps.

    Resources to Get You Going

    If you want a crash course, here are some resources I found helpful:
    – The official Home Assistant website (home-assistant.io) offers great documentation and tutorials for beginners.
    – The Z-Wave Alliance (z-wavealliance.org) provides comprehensive info on Z-Wave technology and compatible devices.
    – For a broad overview of smart home basics, CNET’s smart home section (cnet.com/smart-home) is a handy place to explore different tech and trends.

    Keep It Manageable

    Home server setup is exciting, but it can get complex fast. Start small — maybe just monitoring a few cameras or managing a couple of smart outlets — then expand as you learn. And don’t hesitate to join online communities or forums where folks share tips and troubleshooting advice.

    Final Thoughts

    Setting up a home server for smart home devices is a rewarding project if you want to own your tech fully and ditch the reliance on cloud-only solutions. It helps when you have some Linux experience, but there’s plenty of newbie-friendly tools and guides out there. So take it one step at a time, choose the right hub for your Z-Wave devices, replace switches thoughtfully, and soon you’ll have a home that’s smart, secure, and truly yours.

    Starting with a home server setup is really about making your technology work for you, not the other way around. And with all the options out there, you can craft a system that gives peace of mind and convenience, whether you’re home or away.

  • Switching to a Smart Thermostat in a Rental: What You Need to Know

    Switching to a Smart Thermostat in a Rental: What You Need to Know

    How a smart thermostat can save you money and bring comfort to your rented townhouse

    If you’re renting a townhouse and like me, you’ve noticed those electric bills creeping higher and higher, you might be wondering if it’s possible to swap out that old thermostat for a smart thermostat. The goal? To have the ability to set a schedule and avoid those annoying moments when you forget to adjust the temperature during the day. Trust me, I’ve been there — and switching to a smart thermostat rental solution might just be the hack you need to keep your comfort up and your bills down.

    Can You Use a Smart Thermostat in a Rental?

    The short answer is yes, you certainly can. Many renters hesitate to switch thermostats because they worry about damaging property or complications when moving out. But smart thermostats like the Google Nest Thermostat or ecobee SmartThermostat are designed with renters in mind. They’re easy to install, don’t require major rewiring, and most importantly, you can reinstall your original thermostat when you move out.

    This option gives you the best of both worlds: smarter heating and cooling now, and no permanent changes to your rental. Plus, manufacturers usually offer detailed guides and customer support to help with the installation process, so you’re not left guessing.

    How a Smart Thermostat Can Save You Money

    One of the biggest advantages of a smart thermostat rental setup is the ability to schedule temperature changes throughout the day. Imagine setting your heat lower during the hours you’re at work or asleep, then having it warm up just in time for when you get back. This can prevent energy waste, which is often why those electric bills skyrocket.

    Many smart thermostats also learn your habits and adjust automatically, or let you control them remotely via an app. So if you remember halfway through the day that you forgot to turn the heat down, you can fix it without going home.

    Installation and Switching Back When Moving Out

    When it’s time to move, the best part is you can switch back to your old thermostat. Just keep your old thermostat safe, and with a little bit of care, you can reinstall it with no hassle. Before removing your existing thermostat, take a few pictures and label the wires — this makes restoring the original setup much easier.

    If you’re not comfortable with the wiring, some landlords may be willing to work with you, or you could hire a professional for a quick install and revert when you leave.

    Things to Consider Before Installing

    • Compatibility: Check if your HVAC system supports a smart thermostat. Most work with 24V systems, but it’s good to be sure.
    • Landlord Permission: It’s courteous and sometimes required to ask your landlord before making any changes.
    • WiFi Requirements: Smart thermostats need a steady WiFi connection to function fully.

    Wrapping It Up

    A smart thermostat rental setup is a great way to gain control over your home’s heating and cooling without committing to permanent changes. It can save you money, increase comfort, and give you peace of mind knowing you can switch back when your lease is up.

    If you want to explore popular options, check out the Google Nest Thermostat or ecobee SmartThermostat sites. For detailed advice on installation and compatibility, the Energy.gov guide on smart thermostats is a great resource.

    Making the switch might seem a little intimidating, but a little prep and the right gear can turn your rental townhouse into a smarter, more energy-efficient home. And who doesn’t want that?

  • How to Build a Fun Alexa-Triggered Banger Alarm with Sound and Light

    How to Build a Fun Alexa-Triggered Banger Alarm with Sound and Light

    Create a buzzy ‘That’s a banger!’ alarm with your smart home setup using Alexa and smart lights

    Ever had a song come on that just hits you and your friends with an instant “That’s a banger!”? My wife and her friends always do. So for her birthday, I wanted to make something a bit special — an Alexa banger alarm that lights up the room and pipes the phrase “That’s a banger!” at the push of a button. If you’ve got Alexa devices and some smart bulbs lying around your home, you can whip something like this up too.

    What’s an Alexa banger alarm?

    The idea is simple: press a button, and your smart bulbs flash while Alexa announces “That’s a banger!” It’s a fun way to celebrate your favorite songs or moments in your rec room or wherever you hang out.

    Setting up your Alexa banger alarm

    Here’s what you’ll need:
    – An Alexa-enabled device (Echo Dot, Echo Show, etc.)
    – Smart bulbs compatible with Alexa (like Philips Hue, LIFX, or others)
    – A smart button or a way to trigger routines via Alexa

    If you already have your smart bulbs connected to Alexa routines, you’re halfway there.

    Step 1: Create the Alexa Routine

    Go to the Alexa app and create a new routine named “Banger Alarm” (or whatever you like). Set the action to:
    – Flash your smart bulbs: Choose the bulbs and set them to blink or change color.
    – Alexa says “That’s a banger!”: Add a custom phrase Alexa will say aloud.

    You can get creative here, adjusting the colors or adding more actions like playing a short celebratory sound.

    Step 2: Pick a trigger

    Here’s where the fun part comes in. You’ll want to trigger the routine with a button press. If you have an Amazon Echo Button (although discontinued, they can still work if you have one), you can set that directly as the trigger in routines.

    If you don’t have an Echo Button, don’t worry. You can use other smart buttons compatible with Alexa, or trigger it through an app or voice command. Some hubs like SmartThings or Home Assistant can integrate buttons and devices together seamlessly.

    Bonus: Using third-party smart buttons

    Smart buttons from brands like Flic or Logitech Pop can be programmed to trigger Alexa routines via their apps or through integrations.

    Why an Alexa banger alarm?

    It’s simple but fun. It adds a little spark to your listening sessions or game nights. Plus, it’s a personalizable way to use the smart devices you already have. And honestly, who doesn’t love a good flash of light and a cheerful phrase when the beat drops?

    For more detailed guides and compatible devices, check out Amazon’s Alexa routines guide and Philips Hue smart lighting tips.

    With a bit of creativity, you can turn your living space into a mini dance floor celebration spot. Give it a try and see how many “bangers” you can celebrate with your Alexa banger alarm!