Category: AI

  • Choosing Hardware for Your Home Server: Mini PCs vs Raspberry Pi

    Choosing Hardware for Your Home Server: Mini PCs vs Raspberry Pi

    Exploring the best budget-friendly options for your home server setup

    If you’re diving into the world of self-hosting and want to move away from relying solely on big-name services like Google, you’re probably thinking about your home server setup. Maybe you’ve already tinkered with a Raspberry Pi and are looking for something a bit more powerful or versatile. I recently went through a similar thought process, so let me share my experience and some options that might help you decide.

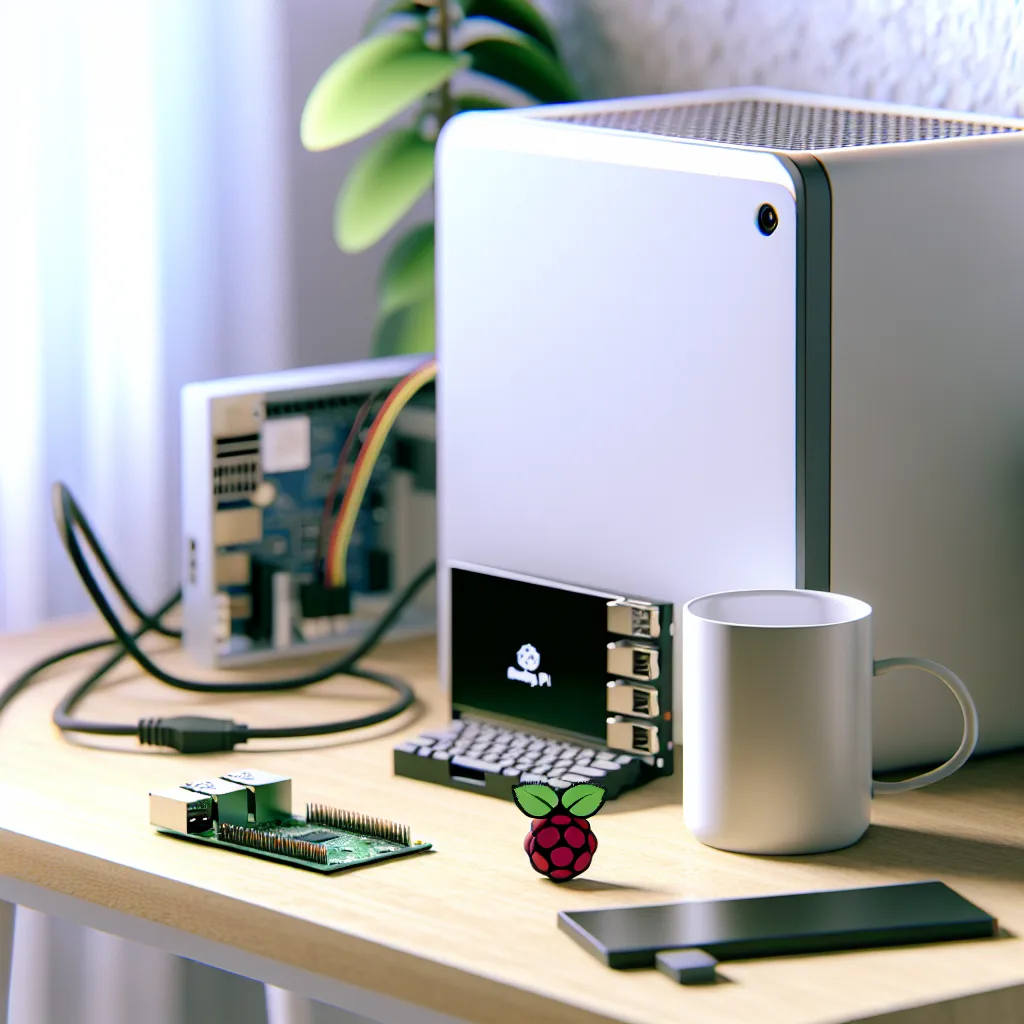
    Starting Small: Raspberry Pi as a Home Server

    I kicked off my journey with a Raspberry Pi 3 B+, which I used mainly for Pi-Hole to block ads on my network. It ran nonstop for three years — impressively stable for such a tiny device! Later, I added Docker containers to run other lightweight services like Vaultwarden, which worked pretty well.

    But when I tried to run Nextcloud for personal cloud storage, the Pi just couldn’t keep up. Uploading a few megabytes maxed out its resources and made it unresponsive. If you’re thinking about using a home server for cloud storage or media streaming with something like Jellyfin, a Raspberry Pi 3 might not cut it.

    Considering an Upgrade: Raspberry Pi 5 or Mini PCs?

    I initially considered upgrading to the Raspberry Pi 5 with 8GB RAM, hoping for better performance. But the cost added up quickly when you factor in accessories like an NVMe drive and a compatible hat. That’s when I started looking at mini PCs.

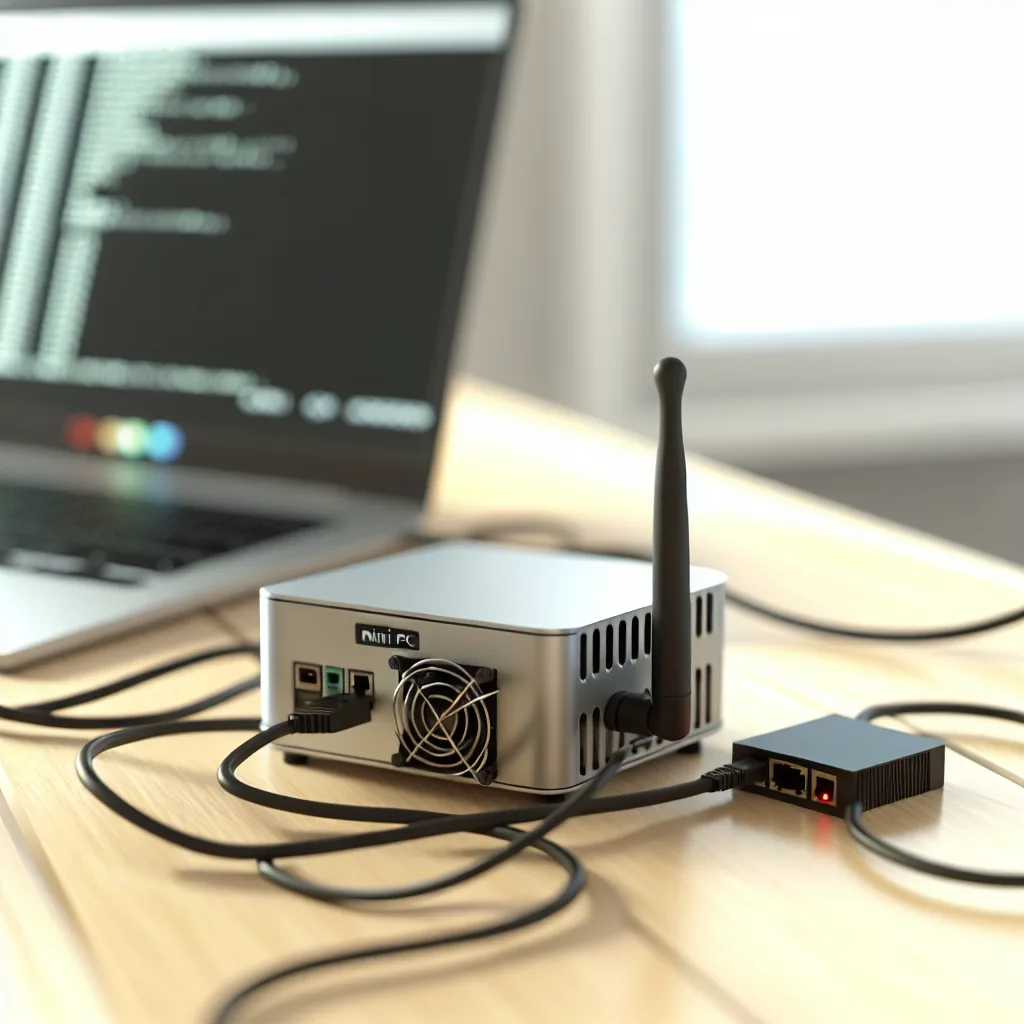
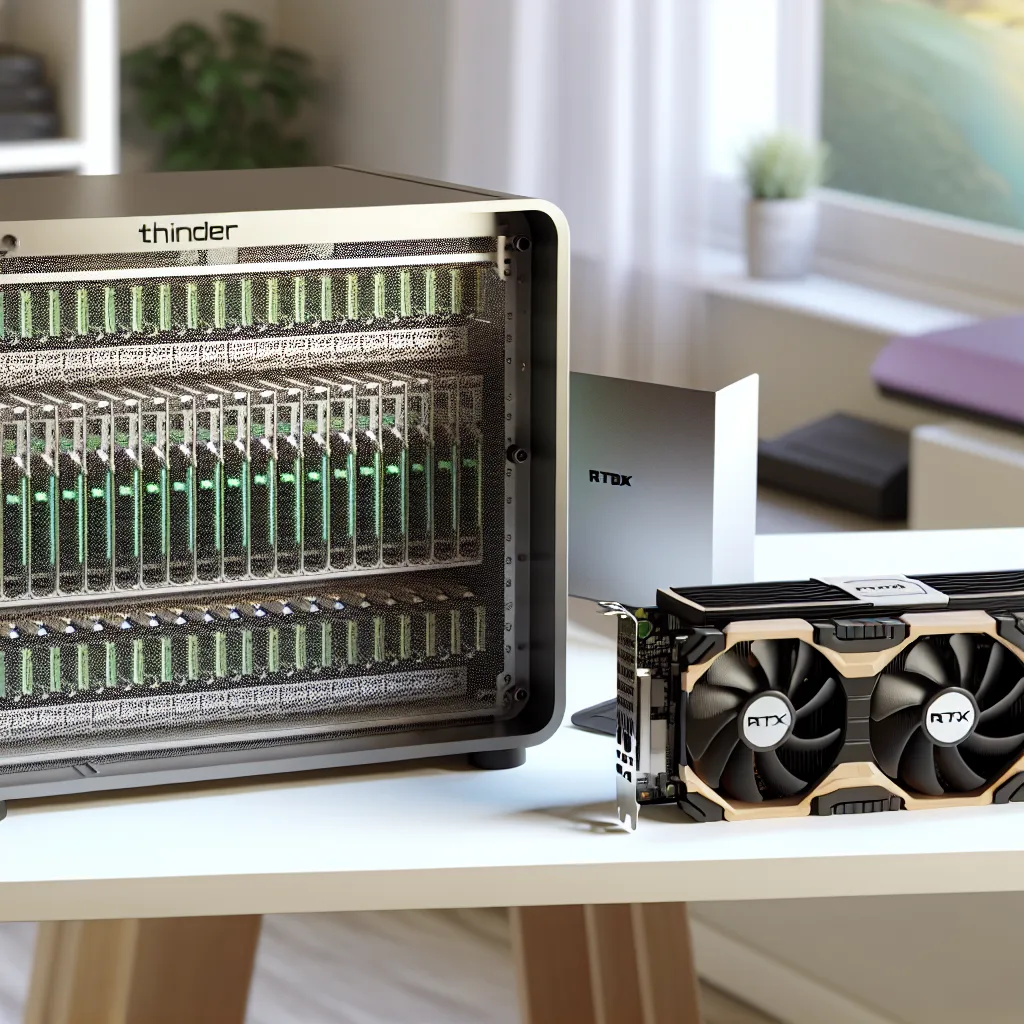
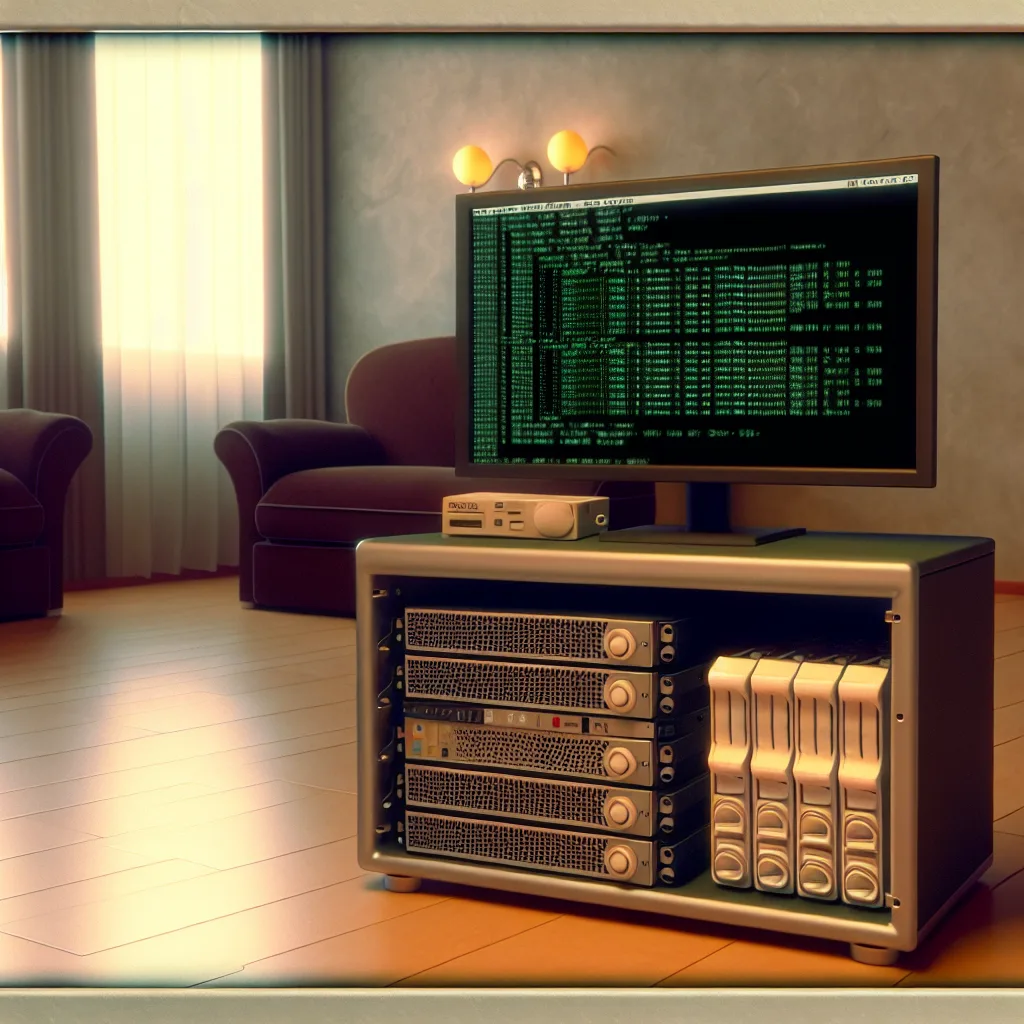
    Mini PCs are appealing because they’re all-in-one solutions: decent CPU, RAM, storage options, and low power consumption packed into a compact form factor. Plus, prices for some models are surprisingly reasonable.

    Here are a few mini PC options that caught my eye:

    • GMKtec G3 Plus: Available in 8GB/256GB and 16GB/512GB variants, priced around 130 to 180 euros. It’s popular in the home lab community and seems like a solid choice for hosting multiple light-to-medium workloads.

    • Ninkear MBOX 11: The 16GB/512GB version is around the same price, but I couldn’t find much info about running servers on it.

    • GMKtec NucBox G10: Comes with a Ryzen 5 3500U CPU, which sounds promising for more intensive tasks. It’s priced about 170 euros for 16GB RAM and 512GB storage.

    What to Look for in Your Home Server Setup

    Choosing hardware depends on your goals. Do you want to primarily run Nextcloud for file syncing? Or maybe stream media with Jellyfin? Or host several lightweight services? Here are some pointers:

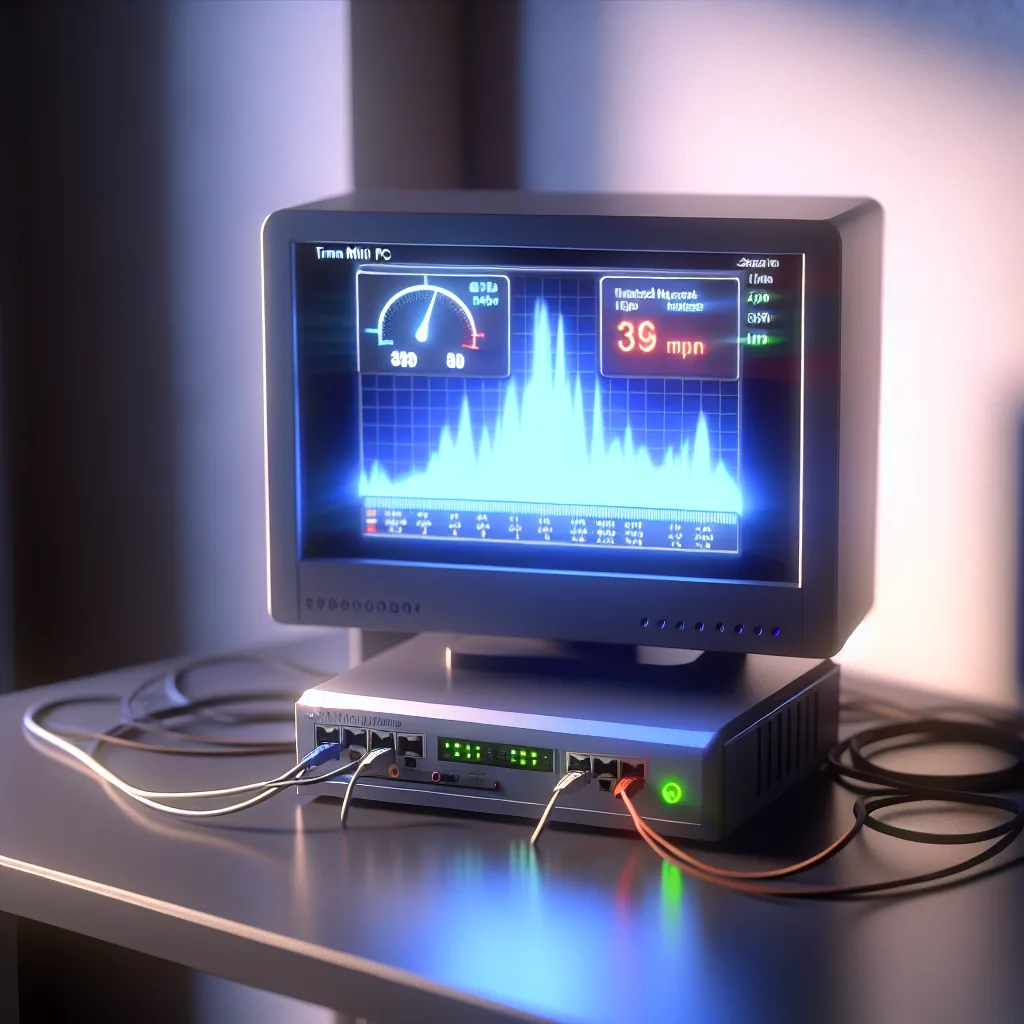
    • CPU & RAM: More cores and RAM mean smoother multitasking. Mini PCs often offer better specs than Raspberry Pis at similar price points.
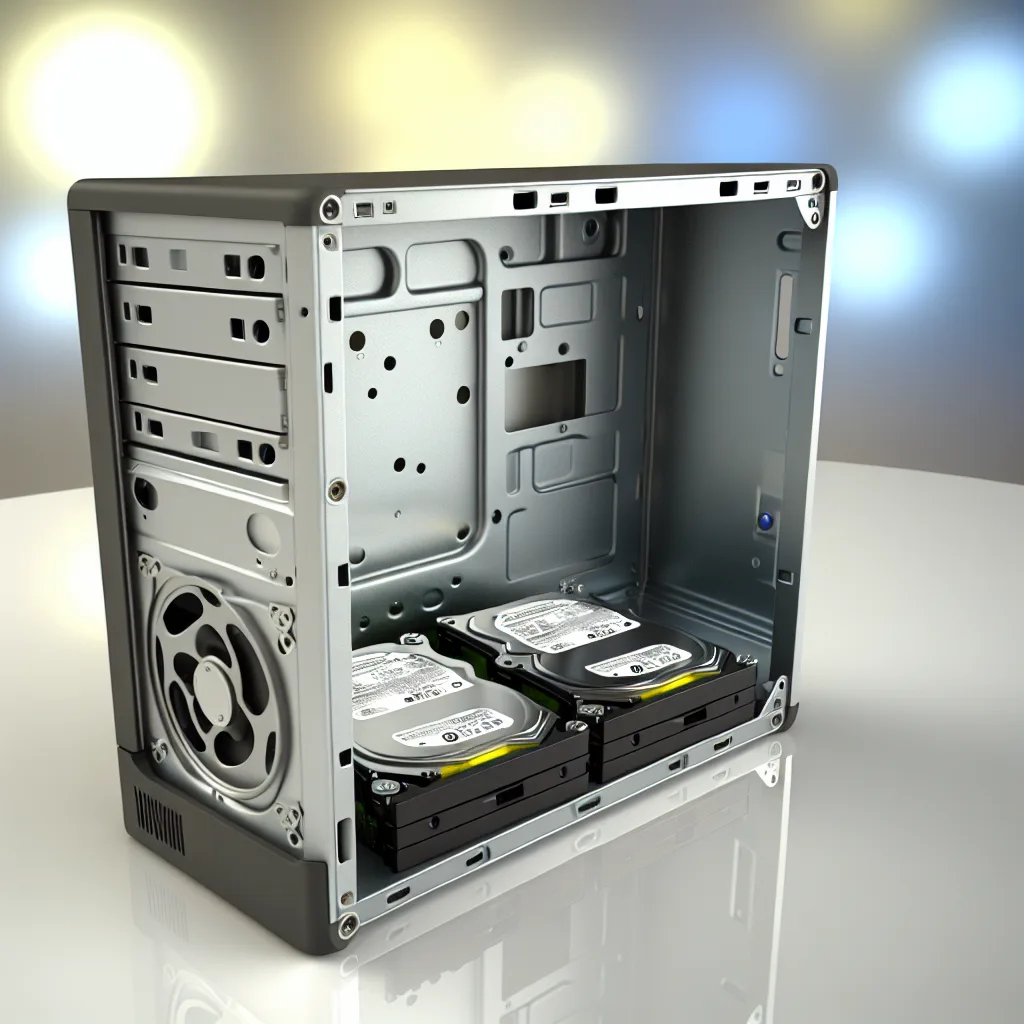
    • Storage: Consider NVMe SSDs for faster speeds, especially for cloud storage or media streaming.

    • Power Consumption: Raspberry Pis are extremely efficient but limited. Mini PCs usually consume more power but offer better performance.

    • Community & Support: Having a device popular in the home server community means better guides and troubleshooting tips.

    Where to Learn More

    If you want to dive deeper into what each hardware option can offer, check out these resources:

    • Raspberry Pi Official Site: https://www.raspberrypi.com
    • GMKtec Official Website: https://www.gmktec.com
    • Ryzen 5 3500U specs on AMD’s site: https://www.amd.com/en/products/apu/ryzen-5-3500u

    Wrapping Up

    For a budget-conscious home server setup, mini PCs offer a compelling all-in-one package with decent power and storage options. Raspberry Pi’s simplicity and efficiency remain attractive, but they may struggle with more resource-intensive services like Nextcloud or Jellyfin.

    Ultimately, it comes down to your specific needs and budget. If you’re just starting out, use a Raspberry Pi for simple services, then consider a mini PC upgrade once you’re ready to host bigger workloads. Whatever path you choose, experimenting with self-hosting is a rewarding way to take control of your digital life.

    Hope this gives you a good starting point — happy homelabbing!

  • Setting Up a Portable File and Network Server with a ThinkCentre Mini PC

    Setting Up a Portable File and Network Server with a ThinkCentre Mini PC

    How to turn a compact PC into a versatile server for learning Linux, file sharing, and network booting

    Let me tell you about this fun little project I’m diving into — building a portable server setup on a compact ThinkCentre M910q mini PC. If you’ve ever wanted a flexible, small device to experiment with Linux, create file servers, and even set up network boot environments, this might be just the inspiration you need.

    Starting With the Basics: The Portable Server Setup

    This ThinkCentre M910q comes with a solid hardware base for such an adventure: an Intel i5-7600T processor, 16GB of RAM, a 256GB SSD for the Linux root system, and a speedy 512GB NVMe drive ready to be configured. It’s just the right size to carry around or tuck away neatly somewhere on your desk.

    I’ve installed Debian Linux along with PostgreSQL to brush up on database skills, but the heart of this setup is about building a portable server that does multiple jobs seamlessly.

    Creating Multiple Servers on One Device

    The goal is to turn this mini PC into a multi-purpose server with these core functionalities:

    • Wi-Fi Access Point & File Server: Use a Wi-Fi module to transform the device into an access point. It’ll serve as a private hotspot exclusive for file sharing — you know, storing and accessing documents, PDFs, books, and educational videos in a secure way.

    • Ethernet File Server: Utilize the M.2 NVMe drive as a storage hub available over a wired Ethernet connection. This will not only share files but also host ISO images — installation files for Linux distros or other operating systems.

    • Network Boot Capability: The ability to boot other computers directly from the server over the network using those ISOs, which is particularly handy for installations or testing OS setups without USB drives.

    • Expansion With Another Ethernet Adapter: Adding a second Ethernet adapter alongside the Wi-Fi module to allow separate network interfaces for more isolation or advanced routing.

    Breaking Down the Architecture

    Here’s how I see the architecture of this portable server:

    1. Hardware Layer: The ThinkCentre M910q runs Debian on the main SSD, with PostgreSQL for databases as needed.
    2. Network Interfaces:

      • Wi-Fi Module for access point functionality.
      • Primary Ethernet Adapter attached to the M.2 drive for file sharing.
      • Optional Second Ethernet Adapter for network segmentation or additional services.
    3. Storage Setup:
      • The main SSD handles the operating system and essential software.
      • The NVMe drive is partitioned for file storage and ISO hosting.
    4. Service Configuration:
      • Wi-Fi configured as an access point using tools like hostapd and DHCP server for client management.
      • Samba or NFS set up for file sharing over Ethernet.
      • PXE boot environment configured for network ISO booting with dnsmasq/tftp servers.

    Learning Resources to Get You Started

    If you want to follow along or set up something similar, here are a few solid resources:

    Final Thoughts

    It’s fascinating to re-explore Linux networking and server management with a hands-on project like this. The portable server setup not only refreshes old skills but creates a powerful, compact tool for learning and experimenting with real-world network services and file sharing.

    If you’re thinking about setting up your own mini server, this kind of hands-on approach is the way to go. It’s practical, relatable, and a little bit fun to see everything click into place.

    Feel free to dive in, experiment with your setup, and build a network you can carry around. It’s a neat way to grow your understanding of Linux and networking without needing a dedicated data center.

  • Setting Up Your First Home Lab: What to Expect and Try Next

    Setting Up Your First Home Lab: What to Expect and Try Next

    A friendly guide to getting started with your home lab, featuring practical tips and fun scenarios for your Windows Server setup.

    If you’ve recently dived into the world of technology or IT, chances are you’ve heard about setting up a home lab. Whether for learning, testing, or just tinkering, a home lab setup can be a fantastic way to get hands-on experience. I want to share some insights from setting up a first home lab with a few virtual machines (VMs) running on Windows Server. If you’re curious about what happens during this process — like how IP addresses get assigned or what fun things you can try next — this article is for you.

    What is a Home Lab Setup?

    A home lab setup is simply creating a small-scale network environment right in your own home. It often involves virtual machines (VMs) that mimic real servers and clients. This setup helps you experiment with networking, server configurations, user management, and much more without the risk of interfering with your regular computer or work.

    My First Home Lab: Windows Server with DHCP/DNS

    In my setup, I started with three VMs: one running Windows Server acting as a DHCP and DNS server, and two client machines. DHCP (Dynamic Host Configuration Protocol) automatically assigns IP addresses to devices on a network, while DNS (Domain Name System) translates domain names to IP addresses.

    One question that popped up was whether it’s normal for a client VM to grab an IP address before joining the domain. The answer is yes, absolutely! When a VM starts up, it requests an IP address from the DHCP server right away to communicate on the network. Joining the domain happens afterward, allowing the client to become part of the centralized network managed by Active Directory on the server. This order is expected and necessary for smooth network operations.

    Next Steps: Adding Users and Testing Group Policies

    Once the basic network is up and running with your DHCP and DNS settings, the fun part begins—adding users and testing Group Policy Objects (GPOs). GPOs help you control what users and devices can and cannot do on your network. For example, you could restrict access to certain folders or manage software installations remotely.

    Here are some fun scenarios to try:

    • Create multiple users: Practice setting up user accounts with different permission levels.
    • Apply GPOs: Experiment with enabling or disabling features like USB access, desktop wallpaper changes, or software installation restrictions.
    • Simulate a network issue: Try disconnecting the network or changing IP settings and see how your DHCP/DNS handles it.
    • Set up file shares: Share folders on the server and test access permissions from client VMs.

    Why Try a Home Lab Setup?

    Besides the obvious learning benefit, setting up a home lab lets you make mistakes and troubleshoot without pressure. It’s a safe playground where you build skills valuable in IT careers or simply satisfy your curiosity about how networks and servers work.

    Resources for Your Home Lab Journey

    If you’re thinking about setting up your own home lab, here are some useful links to get started:

    Setting up a home lab setup might feel a bit tricky at first, but it’s worth the effort. You’ll develop a deeper understanding of network basics, server roles, and user management. Plus, you can direct your own learning path with experiments that interest you. So, if you’re ready, fire up those virtual machines and get exploring!

  • How I Expanded My Lenovo M920s Storage Without Breaking the Bank

    How I Expanded My Lenovo M920s Storage Without Breaking the Bank

    Make Room for More HDDs in Your Lenovo M920s with Simple Modifications

    If you’ve got a Lenovo M920s like I do, you might have noticed the limited room for internal hard drives. When I found out that it’s possible to create more space by removing the CD drive and adding extra HDDs, I was all in. This little tweak made a big difference for my storage needs without turning into a full overhaul.

    Why Consider a Lenovo M920s HDD Upgrade?

    The Lenovo M920s is a solid little desktop with decent specs like an i5-8500 CPU consuming around 8 watts at idle. It’s compact, energy-efficient, and quite capable. But when it comes to storage, the options can feel tight, especially if you’re working with lots of files, media, or backups. That’s where upgrading the HDD setup becomes really handy.

    Removing the CD Drive: First Step to More Storage

    The easiest way I found to add more HDD space was to remove the CD drive. This step frees up room for not just one, but two additional hard drives. The challenge then becomes how to securely mount these new drives inside the case, which wasn’t designed with the extra HDD slots in mind.

    Finding or Making a 3D Printed Mounting Solution

    I looked around for 3D printed mounting brackets or designs others have shared for this exact purpose. Several community forums and DIY sites offer free designs you can download and print yourself. If you’re comfortable with 3D printing, this can be an affordable and precise way to get the mounts you need.

    If 3D printing isn’t your thing, you can also sometimes find aftermarket metal or plastic mounting kits that fit similarly when the CD drive bay is vacant. Just make sure they’re compatible with the Lenovo M920s dimensions.

    Other Ideas for Expanding Storage

    Beyond mounting solutions, external storage options can also supplement your setup if internal space is maxed out. For example, a USB 3.0 external HDD enclosure or network-attached storage (NAS) might work well, although they won’t have quite the same speed or convenience as internal drives.

    Final Thoughts on the Lenovo M920s HDD Upgrade

    Upgrading the storage on the Lenovo M920s is a great way to extend the life and usefulness of this small but mighty machine. By carefully removing the CD drive and adding your own HDD mounts, you’ll have plenty more space to work with. Just take your time, double-check compatibility, and enjoy the extra storage without a heavy investment.

    For official Lenovo specs and more on your M920s, check out Lenovo’s support page. If you’re interested in 3D printing your mounting brackets, explore Thingiverse for a community of makers sharing designs. And for HDD basics and best practices, Western Digital’s info site is a solid go-to.

    Happy upgrading!

  • Building a Fully Virtualized Home Network on a Budget Mini PC

    Building a Fully Virtualized Home Network on a Budget Mini PC

    How I Set Up a Powerful and Stable Home Network Using a $150 Mini PC and Achieved 500 Mbps Speeds

    If you’ve ever thought about upgrading your home network beyond the usual router setup, you might find this story interesting. I recently built a virtualized home network using a budget mini PC, and it’s been running seamlessly with internet speeds around 500 Mbps. No hiccups, no constant troubleshooting. Just solid, reliable connectivity. In this blog, I’ll break down how I did it, why the hardware works well, and why this might just be the practical home network upgrade you’ve been curious about.

    Why Choose a Virtualized Home Network?

    When I say virtualized home network, I mean running multiple virtual machines (VMs) on a single piece of hardware to manage different network functions. Instead of buying separate physical devices, everything operates within software environments on the mini PC. This gives you flexibility — from firewall and routing to Wi-Fi management — all without extra gadgets cluttering your space.

    The Heart of the Setup: A $150 Mini PC

    I picked an MLLSE G2 mini PC off AliExpress (but you can find similar models elsewhere). Here’s what it packs:

    • 12 GB RAM
    • Intel N100 CPU with 4 cores at 1.6 GHz base speed
    • 512 GB SSD
    • Built-in Wi-Fi 6 (Realtek 8852BE)
    • Two 1 Gigabit Ethernet ports

    This configuration is surprisingly capable for the price, especially with the two LAN ports which let me handle WAN and LAN traffic separately — a game-changer for home networking.

    How It All Connects: The Network Flow

    Here’s a simplified overview of how the network is structured:

    • The ISP’s router connects to one of the mini PC’s Gigabit Ethernet ports.
    • That port links to a Linux bridge (vmbr1) which also connects to the WAN interface of an OPNsense VM.
    • OPNsense handles routing, firewall, and security. Its LAN side connects to another bridge (vmbr2), which is private and isolated from the WAN.
    • For Wi-Fi, an OpenWrt VM is used as a transparent bridge, connecting its Ethernet interface to vmbr2 and passing through the Wi-Fi 6 chip for wireless access.

    This setup means that everything — firewall, Wi-Fi, routing — runs virtually on one box.

    Performance and Reliability

    Here’s the highlight: The network consistently delivers about 500 Mbps both up and down over Wi-Fi 6, which matches my ISP’s package speed. That’s full speed with no slowdowns from the virtualization layer.

    What’s more, all VMs are set to auto-start, so if the mini PC reboots, everything comes back online without any manual intervention. I’ve run network monitoring tools like ntopng and security plugins like Zenarmor and AdGuard on OPNsense, and everything runs smoothly without consuming excessive resources.

    Not once have I seen thermal issues or CPU throttling on that modest Intel N100 chip, which was a pleasant surprise.

    Why Not Just Buy a Fancy Router?

    I did consider dedicated devices like the GL.iNet MT3000 router, but this mini PC build wins for portability, power, and flexibility. Plus, I get to customize every bit of the system without being locked into firmware limits.

    If you want to experiment, learn, or simply replace an aging router with something flexible and robust, this approach proves you don’t need to spend a lot.

    Final Thoughts

    Building a virtualized home network doesn’t require expensive gear or tons of space. With modest hardware like a budget mini PC and a bit of know-how, you can create a high-performance, secure, and manageable home network setup.

    If this sounds intriguing and you’re interested in diving deeper, there are plenty of resources to help you get started:

    • Check out the official Proxmox VE project for virtualization software.
    • Learn more about OPNsense for firewall and router functions.
    • Explore OpenWrt for flexible wireless router management.

    Whether you’re just replacing a simple home router or looking to kick off your own homelab journey, this setup is a solid, budget-friendly way to go.

    Happy networking!

  • How to Create a Secure Custom Web Dashboard for Running Python Scripts

    Simplify your server workflow with a safe web interface for your automation scripts

    If you’ve ever managed a home server or a personal machine running automation scripts, you know the drill: SSH in, run the command, check the output files, maybe fix some bugs, then log out. It’s reliable but feels a bit old school and clunky. What if you could streamline that workflow with a custom web dashboard? A simple web interface to run your Python scripts and see the output without manually logging into your server every time?

    Let’s dive into how such a setup might look, with a focus on maintaining security — because running scripts remotely always comes with risks.

    Why Build a Custom Web Dashboard?

    For me, and many folks who automate basic tasks like converting Markdown files to HTML for a website or parsing financial data, a web dashboard offers convenience. Instead of SSH-ing into a server, you just press buttons and view results in your browser.

    The main idea is to have a lightweight web app (a Flask app is a popular choice) running on your server. It can present buttons or links to trigger the scripts you’ve already got. A separate tab or page can handle displaying or downloading the output files. It’s like having your own control panel tailored exactly for your needs.

    Steps to Set It Up

    1. Choose a Lightweight Web Framework: Flask is simple and Python-friendly, which can easily integrate your existing scripts.
    2. Route Scripts to Buttons: Each button on the web page calls a specific script on the server.
    3. Serve Output Files: A tab or another page serves generated files securely.
    4. Authentication & Access: Limit access, ideally keeping this interface only available through a private network.

    Tackling the Security Side

    Here’s the big question: is this safe? If your server currently uses SSH with keys only (no passwords, no root login allowed) and your devices connect through a secure network like Tailscale with multi-factor authentication (MFA), you’re already off to a good start.

    Since the web dashboard won’t be publicly accessible but restricted to devices on your Tailnet, the exposure is lower. Still, pay attention to:

    • Authentication: Consider adding a login page for the dashboard itself, even within your network.
    • Input Validation: Avoid letting the web interface execute arbitrary code. Each button must map to a fixed, tested script.
    • HTTPS: If possible, serve your web app over HTTPS even on your local network to prevent snooping.
    • Firewall Rules: Limit the ports and IP addresses that can reach the server.

    Alternatives to a Web Dashboard

    Maybe a web server isn’t your thing. Other options include:

    • Remote Desktop Solutions: A GUI-based approach to control your server but can be overkill.
    • Dedicated Automation Platforms: Tools like Ansible Tower or Jenkins, though they come with a learning curve.
    • Mobile Apps: Some apps allow you to trigger scripts via APIs, but this often circles back to building a web interface.

    Wrapping Up

    Creating a custom web dashboard to run your Python scripts can save time and make your automation projects feel more polished. The key is balancing ease of use with keeping your server locked down. With regular updates, SSH keys, MFA, and a closed network using Tailscale, you’re already on solid ground. Just add careful web app practices, and you should be set.

    If you want to explore Flask for this kind of project, Flask’s official documentation is a great starting point. For setting up secure SSH access, check out DigitalOcean’s guide on SSH best practices. Also, for understanding Tailscale’s security model, their official FAQ is very insightful.

    Feel free to experiment, keep security in mind, and enjoy a smoother way to manage your server scripts.

  • Rebuilding My Server: From Sliger Cerberus to a Spacious NAS Setup

    Rebuilding My Server: From Sliger Cerberus to a Spacious NAS Setup

    Why upgrading my compact Threadripper build to a spacious mATX NAS case made all the difference

    If you’ve ever built a server and then found yourself needing way more storage than you initially planned, you might relate to my recent experience with a Sliger server rebuild. I originally built a powerful little server back in 2019 featuring a Threadripper 1920 CPU and the ASRock Taichi X399M mATX motherboard, all tucked neatly into a Sliger Cerberus case. It looked great and ran strong for years. But then, my storage needs exploded, and I had to rethink the whole setup.

    Why a Sliger server rebuild?

    My big issue was disk space. I had a PCIe adapter card with four NVMe SSDs configured as a 6TB RAID array, which was great for speed but getting expensive. SSDs for lots of storage don’t come cheap, and I needed to expand beyond what the Cerberus case could handle — it just couldn’t fit more than maybe one 3.5″ drive, if I was lucky.

    I started looking at the Sliger store again because, well, I love their cases. That’s when I noticed the 3U C3702 mATX NAS case — it was like the perfect fit for my needs, mainly because it supports up to 10 3.5″ bays. Problem was, my existing GPU and CPU cooler wouldn’t fit inside; plus, I wanted to upgrade those too.

    Upgrading the guts: The CPU and cooler choices

    The GPU issue was easy: swapping my old RTX 2070 for a refurbished RTX A4000 was a no-brainer for better performance and to fit the new case better. The CPU cooler was trickier. I was already using the smallest Noctua cooler for the TR4 socket, but it wouldn’t fit the new C3702 neatly. So, I decided to take a gamble and upgraded my Threadripper 1920 (a solid chip) to a used 2990, effectively doubling the thermal design power (TDP).

    To keep temperatures in check, I replaced the Noctua NH-U9 cooler with a Dynatron A50, swapped its fan out for a Noctua 80mm fan to keep noise down, and crossed my fingers. Spoiler: it worked. The temps are solid both at idle and under load, and it’s just as quiet as before.

    Why not just upgrade to newer hardware?

    You might wonder why I didn’t simply move to a modern CPU and motherboard combo, like an AM4 or AM5 setup. The reason? The ASRock Taichi X399M mATX motherboard is still one of the best options if you want multiple PCIe slots with full 16-lane access each — something newer boards struggle to offer, especially in mATX form factor.

    Sure, the tech is a bit dated (older PCIe and DDR memory), and RAM capacity is a bottleneck. I’m even considering pushing if the board can handle 128GB RAM instead of the listed 64GB, though that’s definitely a risky upgrade.

    What I gained from this Sliger server rebuild

    • More storage bays: The C3702 allows for up to 10 x 3.5″ drives, a huge leap from what my old setup could handle.
    • Better cooling with silence: Even with a more powerful CPU and bigger cooler, the noise stayed low, which is a big plus.
    • Long-term expansion potential: Those 3 PCIe slots each with 16 lanes on the motherboard mean I’ve got space to add more cards if needed.

    If you’re balancing space, cost, and power, sometimes sticking with solid older hardware and upgrading smartly is a great way to go. This server rebuild feels like a fresh start without the hassle of changing everything.

    For those curious, you can check out the Sliger NAS case options here and learn more about the Threadripper CPUs from AMD’s official site. The ASRock Taichi X399M motherboard details are also available from ASRock’s website.

    All in all, this Sliger server rebuild was about balancing what’s already working with what I need now. For anyone out there in a similar spot, this might give you some ideas on how to approach your own build upgrades.

  • Decoding the Supermicro X8DTL Error Beep: What That Sound Means

    Decoding the Supermicro X8DTL Error Beep: What That Sound Means

    Understand the causes and fixes behind the Supermicro X8DTL error beep to get your server back on track.

    If you’ve ever worked with a Supermicro X8DTL motherboard, you might have encountered an unsettling error beep that comes without any video output. This strange sound can leave you scratching your head, wondering what’s wrong and how to fix it. Let’s dive into understanding the Supermicro X8DTL error sound and what it means for your system.

    What is the Supermicro X8DTL error sound?

    The Supermicro X8DTL error sound is a series of beeps that signals the motherboard has encountered a hardware problem during its Power-On Self-Test (POST) process. Since there’s no video output accompanying the noise, it can be tricky to figure out what exactly the motherboard is trying to tell you.

    These beep codes are essentially a built-in diagnostic tool. Each pattern corresponds to a specific issue, like memory problems, CPU failures, or graphics card errors. The absence of video output coupled with the error sound is a strong indication that the problem lies in critical components that prevent the system from booting normally.

    Why am I hearing the beep but see no video?

    In many cases, the no-video-no-boot symptom accompanied by the error beep suggests problems with the RAM or the graphics card. For example, the beeps might point to:

    • Faulty or improperly seated RAM modules
    • A graphics card that’s not making a proper connection
    • CPU installation problems

    If the motherboard can’t initialize video output due to GPU or memory faults, it won’t display anything on the monitor, just the beep code.

    How to troubleshoot the Supermicro X8DTL error sound

    Here’s what you can do to narrow down and fix the issue:

    1. Check Memory Modules:
      • Power off and unplug your system.
      • Remove and re-seat all RAM sticks firmly.
      • Try booting with one RAM module at a time to identify a bad stick.
    2. Inspect the Graphics Card:
      • Ensure the GPU is seated properly.
      • Test with another compatible graphics card if you have one available.
    3. Check CPU Installation:
      • Verify the CPU and cooler are installed correctly.
      • Look out for bent pins or improper contact.
    4. Clear CMOS:
      • Use the jumper on the motherboard or remove the battery for a few minutes.
      • This resets BIOS settings which might help resolve boot issues.
    5. Consult the Motherboard Manual:

    When to seek professional help

    If none of these steps bring your Supermicro X8DTL back to life, it might be time to consult a professional or the vendor’s support. Persistent beep codes and no video output, despite your efforts, could indicate a motherboard or CPU failure needing specialized repair.

    Final thoughts on the Supermicro X8DTL error sound

    Dealing with hardware errors can be frustrating, especially when all you get is an eerie beep and a blank screen. But understanding the Supermicro X8DTL error sound can save you hours of guesswork and costly repairs. By methodically checking memory, graphics, CPU, and BIOS settings, you can often pinpoint and resolve the issue yourself.

    For more detailed info, you can explore resources such as the Supermicro Forums or trusted tech sites like Tom’s Hardware which offer community advice and troubleshooting guidance.

    Remember: that persistent beep is your motherboard’s way of asking for help. Pay attention, and you’re halfway to fixing the problem.

  • A Look Back: The Server Setup I Built at Age 12

    A Look Back: The Server Setup I Built at Age 12

    Exploring a childhood home server running Ubuntu and essential tools — a personal journey into early tech tinkering

    When I think about my first home server setup, it takes me back to a time when I was just twelve years old, tinkering with hardware and software in a way that felt exciting and a little adventurous. Setting up a server at such a young age wasn’t common, but it taught me a lot about how technology works behind the scenes. Today, I want to share that experience and the simple yet powerful setup I built back then.

    My early home server setup was built on a Sandy Bridge generation 2 Intel i7 processor—a solid choice back then—paired with DDR3 RAM. This combination gave the server enough muscle to handle multiple tasks without breaking a sweat. The storage was quite generous for the time: I had 2 terabytes of HDDs alongside a 1 terabyte SATA drive. These hard drives formed the backbone for storing media, files, and whatever else the server needed to keep running smoothly.

    I chose Ubuntu Server as the operating system. Ubuntu is well-liked for servers because it’s reliable, free, and has great community support. With Ubuntu, I could easily install and manage software like Jellyfin, which is an open-source media server. Jellyfin helped me stream movies and music throughout the house without fuss. I also set up Webmin to keep server management straightforward with a web-based interface—no need to dive deep into command lines all the time.

    For hosting game servers, I had AMP (Application Management Panel) in place, which made managing game instances simpler. Plus, Nextcloud was running to manage my cloud files, keeping them synced and accessible. It was like having my own private cloud right at home, which was pretty cool for a kid.

    One quirky thing about this setup was the Mono runtime I used. I got it from Amazon, and interestingly, it happened to be a version that originated in China. Mono is important because it lets you run applications developed with Microsoft’s .NET framework on Linux, which expanded what my server could do.

    Looking back, this home server setup was more than just a technical project; it was a playground for learning. It sparked a passion for IT and servers that I still carry today. And if you’re interested in starting your own home server, look into modern equivalents of these components and software tools. Ubuntu Server remains a top choice, and there are plenty of media server options beyond Jellyfin, like Plex or Emby, which might suit your needs differently.

    If you want to dive deeper into getting started with Ubuntu Server, you can check out the official Ubuntu Server documentation. For media servers, Jellyfin’s website offers great resources and community support. And, if server management feels daunting, Webmin’s site provides an easy way to handle server tasks through a browser.

    Setting up a home server doesn’t require fancy new gear—it’s about understanding what you need and making the most of what you have. Whether it’s streaming your media, backing up important files, or even experimenting with hosting game servers, a thoughtful home server setup can be incredibly rewarding. Plus, it’s a fun trip down memory lane, remembering how eager curiosity can lead to building something useful and learning lots along the way.

  • Creating Your Own Digital Sandbox: A Simple Guide

    Creating Your Own Digital Sandbox: A Simple Guide

    Discover how a digital sandbox can be your playground for safe experimentation and learning.

    If you’ve ever felt the itch to try new software or experiment with code but worried about messing up your main system, setting up a digital sandbox might be just what you need. A digital sandbox is a safe, isolated environment on your computer where you can play, test, and experiment without the risk of damaging your main operating system or losing important data.

    Why would you want a digital sandbox? Think of it as your personal test lab where you can take risks, learn new things, and break things without the stress. For me, it’s been a game of curiosity turned into a neat little space where I can learn about software, development, and system setups without fear.

    What is a Digital Sandbox?

    A digital sandbox is essentially a virtual environment that mimics your regular computer but is completely separated from it. It’s like having a mini-clone of your own system where whatever you do stays contained. If something goes wrong, it won’t affect your real files or settings.

    How to Set Up Your Own Digital Sandbox

    Setting up a digital sandbox isn’t as complicated as it sounds. Here’s a basic rundown:

    • Choose your platform: You can use virtualization tools like VirtualBox, VMware, or even create containers with Docker. Each has its perks. VirtualBox is free and beginner-friendly.
    • Download an OS image: Grab an ISO file of any operating system you want to try, such as Linux distributions, Windows, or more light-weight OSes.
    • Create a virtual machine: Inside your virtualization tool, create a new virtual machine and configure the settings like RAM, storage, and CPU slices.
    • Install the OS in the VM: Boot up the virtual machine with the ISO file and go through the setup process.
    • Start experimenting: Once set up, you can install software, tweak settings, and explore without worries.

    This means you can test new software, learn scripting languages, or even try potentially risky configurations without touching your main system.

    Why I Recommend a Digital Sandbox

    Sometimes, curious minds just want to explore without consequences. Maybe you want to try Linux without committing to a dual-boot or want to dig into software development on a clean slate. A digital sandbox lets you do just that. Plus, many of these tools are free and don’t require powerful hardware.

    What Can You Do Inside a Digital Sandbox?

    • Test new apps or updates before installing on your main system.
    • Learn coding, scripting, or system administration.
    • Experiment with network configurations.
    • Safely browse unfamiliar websites if you’re concerned about security.

    A Few Tips to Keep in Mind

    • Make sure your computer has enough resources; virtualization eats up RAM and CPU.
    • Take snapshots if your virtualization tool supports it. That way, you can revert if something breaks.
    • Regularly update your sandbox OS to keep things secure.

    Ready to Dive In?

    Setting up a digital sandbox is easier than you might think and well worth the effort. If you want a risk-free way to explore and learn, this little tech project might become your new favorite playground.

    For more detailed guides, check out the official VirtualBox documentation here and Docker’s getting started page here. You can also read up on the benefits of virtualization on trusted tech sites like TechTarget.

    Give it a shot – your curiosity deserves a safe place to run wild!