Category: AI

  • The Hidden Threat of AI Surveillance: What Palantir’s Tools Mean for Our Privacy

    The Hidden Threat of AI Surveillance: What Palantir’s Tools Mean for Our Privacy

    Understanding the impact of AI surveillance and why it’s more than just tech—it touches human rights.

    Hey, have you ever stopped to think about how much we’re being watched nowadays? Not just by people nearby, but by invisible systems quietly gathering every bit of data about us. This is what’s happening with AI surveillance — a term that’s becoming more relevant and concerning every day.

    AI surveillance systems, like the ones developed by companies such as Palantir, aren’t just about tracking convenience or marketing. They’re powerful tools originally designed for intelligence and military uses, often called Istar systems (intelligence, surveillance, target acquisition, and reconnaissance). These systems combine vast amounts of publicly available and private data to detect patterns and track individuals — and that’s where the trouble starts.

    What exactly is AI surveillance?

    It’s technology that watches, analyzes, and in some cases, controls movements and behavior. It’s especially unsettling when we realize these tools are being used for mass surveillance, forced migration efforts, and urban warfare scenarios. Sometimes referred to as “AI kill chains,” they don’t just identify targets; they help decide who’s at risk and when, based on complex algorithms. It’s a lot to absorb, but it matters because these cheap, scalable systems pull us all into an invisible web of tracking.

    How AI surveillance affects everyday lives

    You don’t have to be involved in a war zone or be a political dissident to be affected. In places like the US, immigrant enforcement agencies (like ICE) apply these AI tools in neighborhoods, near schools, parks, and churches. The result? People feel like they’re always being watched, changing the way they live, talk, and move.

    This surveillance affects constitutional rights too. It potentially violates the First Amendment (freedom of speech and assembly) because people self-censor out of fear. Warrantless searches and data seizures without consent challenge the Fourth Amendment. Unfortunately, the hardest hit are often the most vulnerable — migrants, political activists, and residents of conflict zones like Gaza.

    Why should you care about AI surveillance?

    Because it’s about more than just privacy. It’s about human rights and freedom in a world that’s getting smarter and more connected. These AI systems might seem distant or abstract, but their impact is real and creeping into everyday life. It’s not just about what companies can do but about how technology changes the balance of power between individuals and institutions.

    For more on the rise of AI in surveillance, The Guardian offers a thoughtful exploration. And if you’re curious about the technology behind it, the Palantir Technologies official website provides insights into their products and philosophy, even though not everything about AI surveillance is transparent.

    What can we do?

    Awareness is the first step. Understanding the reach and implications of AI surveillance helps us ask better questions about privacy laws, ethics, and the role of technology in public security. Join conversations, support digital rights groups, and push for transparency and accountability.

    Wrapping up, AI surveillance isn’t just tech jargon. It’s a real and present challenge shaping our freedoms and privacy in profound ways. Knowing about it keeps us a step ahead in protecting our rights.


    For a deeper dive into the ethical questions and human rights perspective around AI surveillance, check out Amnesty International’s resources on digital rights. They offer a clear look at how these technologies affect people worldwide.

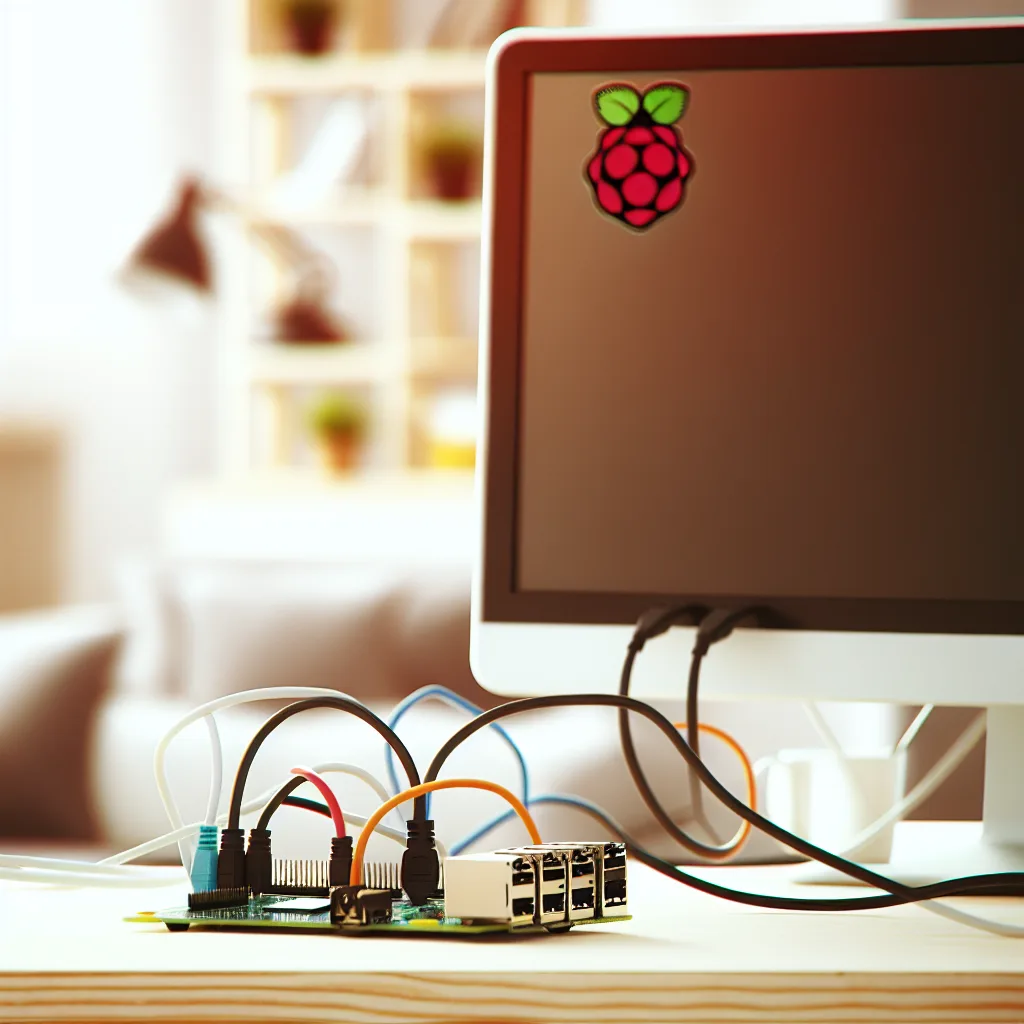
  • Raspberry Pi 5 as a 24/7 Automation Server: Is It Worth It?

    Raspberry Pi 5 as a 24/7 Automation Server: Is It Worth It?

    Exploring the real deal on using Raspberry Pi 5 for personal automation tasks

    If you’re like me and run a bunch of personal automation scripts for things like uploading videos to TikTok or scheduling tasks, you might have thought about running these scripts somewhere other than your main PC. Keeping my computer on 24/7 just to run these automation tasks felt wasteful and noisy, so I started digging into alternatives. That’s when I bumped into the idea of using a Raspberry Pi 5 automation server.

    What Is a Raspberry Pi 5 Automation Server?

    Simply put, it’s a little, energy-efficient computer that you can set up to run your scripts nonstop. Unlike a traditional VPS (virtual private server) that you rent in the cloud, a Raspberry Pi 5 is a one-time purchase that sits right at home. You connect to it remotely and it handles tasks without needing your main laptop or PC to be switched on all the time.

    Why Consider Raspberry Pi 5 Automation?

    One big reason I considered using a Raspberry Pi 5 for automation was cost. VPS services might run anywhere from $20 to $50 per month depending on the specs—which quickly adds up. The Raspberry Pi 5, in contrast, is a one-off investment, costing significantly less, and after that, electricity costs are minimal.

    Besides saving money, the Raspberry Pi 5 uses low power and provides enough muscle for most personal automation workflows. It’s quite capable of running scripts that handle uploads, file organization, or scheduling tasks smoothly.

    Performance and Limitations to Keep in Mind

    Now, it’s not all perfect. The Raspberry Pi 5, while improved with a faster CPU and better I/O compared to previous models, is still a small device. It might struggle with very heavy or resource-intensive tasks like elaborate data processing or hosting complex websites. But for routine automation scripts, it’s more than adequate.

    Storage can also be a factor—since you’re typically using a microSD card or external drive, you want to ensure you have enough space and a fast enough card to avoid bottlenecks. Also, remember it’s more of a DIY setup, so there’s a bit more hands-on management compared to a fully managed VPS.

    Setting Up Your Raspberry Pi 5 Automation Server

    Setting up involves installing a lightweight Linux distro like Raspberry Pi OS, configuring SSH for remote access, and setting up your preferred scripting environment. There are many guides out there that walk you through the process step-by-step.

    You can check out the official Raspberry Pi website for downloads and documentation: Raspberry Pi Documentation.

    Should You Use a Raspberry Pi 5 Automation Server or a VPS?

    If you value upfront cost savings and don’t mind getting your hands a bit dirty with setup and maintenance, a Raspberry Pi 5 can be a great choice. It’s especially handy if you want something physically close and always in your control.

    If you prefer zero hassle and don’t mind paying monthly fees, a VPS is a solid alternative. VPS providers like DigitalOcean or Linode offer reliable servers with easier scaling and less management overhead.

    Check out VPS providers here for reference: DigitalOcean Pricing.

    Final Thoughts

    I’ve found the Raspberry Pi 5 automation server to be a practical and cost-effective way to keep my personal scripts running without draining my main PC’s resources. It’s not the most powerful machine, but for many personal automation projects, it’s just right. If you’re curious about saving costs and learning a bit about running your own server, it’s definitely worth trying out.

    What about you? Have you tried running automation scripts on a Raspberry Pi 5 or considered switching from a VPS? I’d love to hear your experiences.

  • Making the Most of a Smart Storage Upgrade: My $175 Facebook Marketplace Haul

    Making the Most of a Smart Storage Upgrade: My $175 Facebook Marketplace Haul

    How a compact 25u rack and smart gear gave me a neat, efficient basement lab with 44TB of storage

    Sometimes, the best tech finds come from unexpected places—and Facebook Marketplace is a goldmine if you’re patient and know what to look for. I recently made a smart storage upgrade that I want to share with you because it’s about squeezing the most utility out of your setup without breaking the bank.

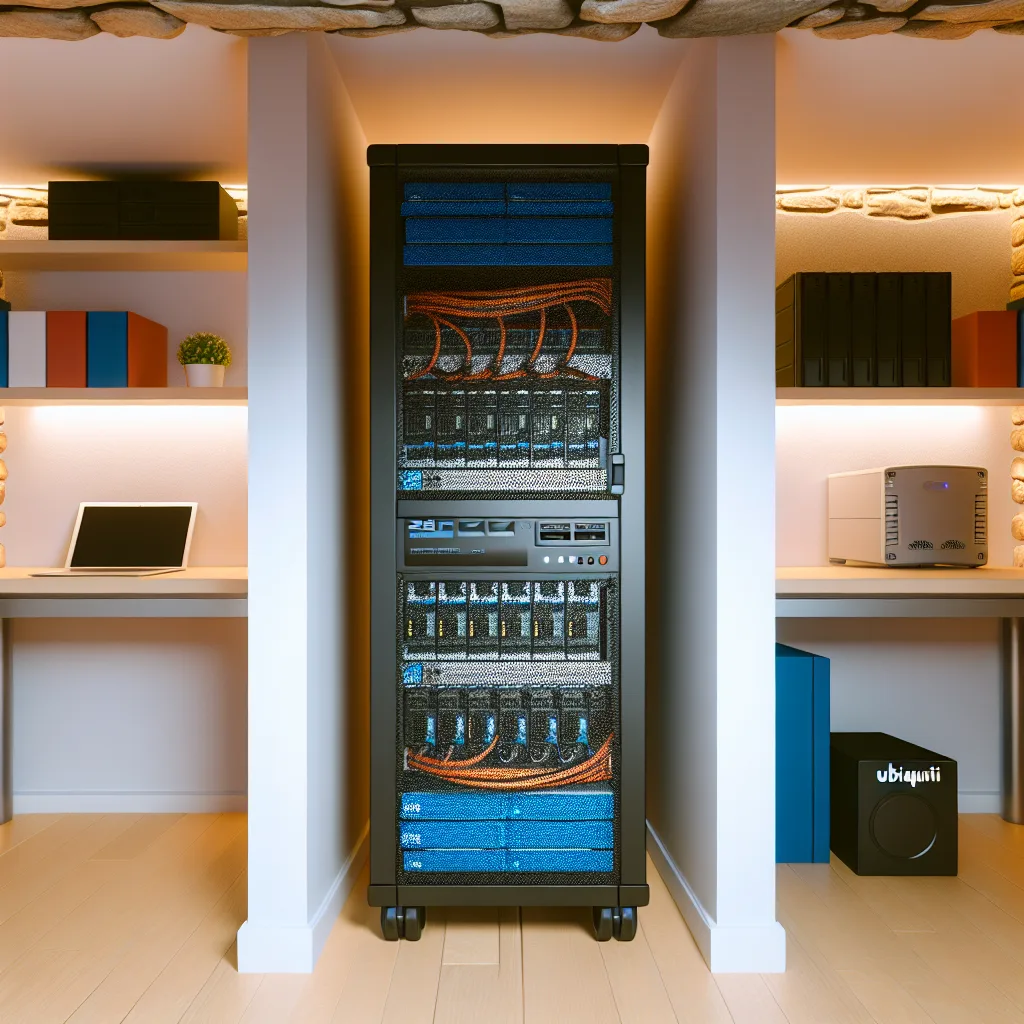
    I snagged a 25u rack for just $175, replacing my old bulky 42u rack. At first, downsizing sounded a bit counterintuitive. Wouldn’t bigger mean better? But it turned out the 42u was too tall and clunky to fit well in my basement’s tucked-away corner. This 25u rack fits perfectly in a cooler, well-lit spot on the opposite wall from my desk, which makes everything more accessible and organized.

    Why the 25u Rack Worked Better for My Storage Upgrade

    When I talk about my storage upgrade, the rack is just part of it. The smaller footprint helps me keep things cooler—a big plus since heat can really impact hardware longevity and performance. Plus, positioning it across the room lets me run cables discreetly through the wall, which tidies up my whole setup.

    Inside this rack, I packed a serious amount of storage:

    • An APC C1500 UPS with fresh batteries to keep everything safe and running
    • 11 PowerEdge drives at 2TB each (totaling 22TB)
    • 4 SSDs at 500GB each (adding another 2TB)
    • A Synology DS1019+ loaded with 5x 4TB WD RED drives (20TB total)
    • Two Power Distribution Units, a Ubiquiti router, and a 16-port PoE Ubiquiti switch

    On top of that, it has three half-depth shelves and universal rails, which offer flexibility for different equipment sizes.

    Turning the Storage Upgrade into a Functional Lab

    I’m not just hoarding storage; I’ve planned how to make it work efficiently. One of my Dell R710 servers got upgraded with some drives to act as a dedicated NAS backup device. I swapped in a SAS9211-8i controller and a 10Gb Emulex adapter to link directly to my TrueNAS setup. The server sleeps when not needed and wakes only for backups, then goes back to sleep. I even programmed a custom fan curve so the cooling never peaks beyond 50% fan speed, saving power and reducing noise.

    I also have another smaller R710 with 2.5-inch drives for miscellaneous lab tasks. It’s only on when I need it. I plan to sell off a third R710 and the Ubiquiti gear since I prefer using pfSense with a Mikrotik switch for my networking needs.

    What Makes This Storage Upgrade a Win

    Altogether, I’ve got about 44TB of storage, and none of the drives are older than five years. It’s a neat, efficient setup that fits better in my space and uses smarter power and fan management. You don’t always need the biggest gear; sometimes it’s about the right gear that fits your needs and space.

    This kind of storage upgrade makes managing your digital media, backups, and lab experiments much easier without needing a huge investment or a dedicated server room. If you’re curious about similar setups, check out Synology’s official site for NAS ideas or dive into TrueNAS documentation for DIY storage solutions.

    Also, if you’re interested in power protection, the APC UPS units are reliable and worth a look: APC by Schneider Electric.

    Final Thoughts on My Storage Upgrade

    If you’re thinking about upgrading your storage or lab gear, don’t overlook downsizing and optimizing your setup. A smart storage upgrade like this one can improve airflow, ease of access, energy consumption, and even your workflow. For me, it’s about working smarter with what I have—and that’s a lesson worth sharing.

  • The Surprise of Getting a Free Cisco Catalyst 3750: What It Means for Your Network Setup

    The Surprise of Getting a Free Cisco Catalyst 3750: What It Means for Your Network Setup

    Discovering the value of a free Cisco Catalyst 3750 and how it can benefit your home or small business network

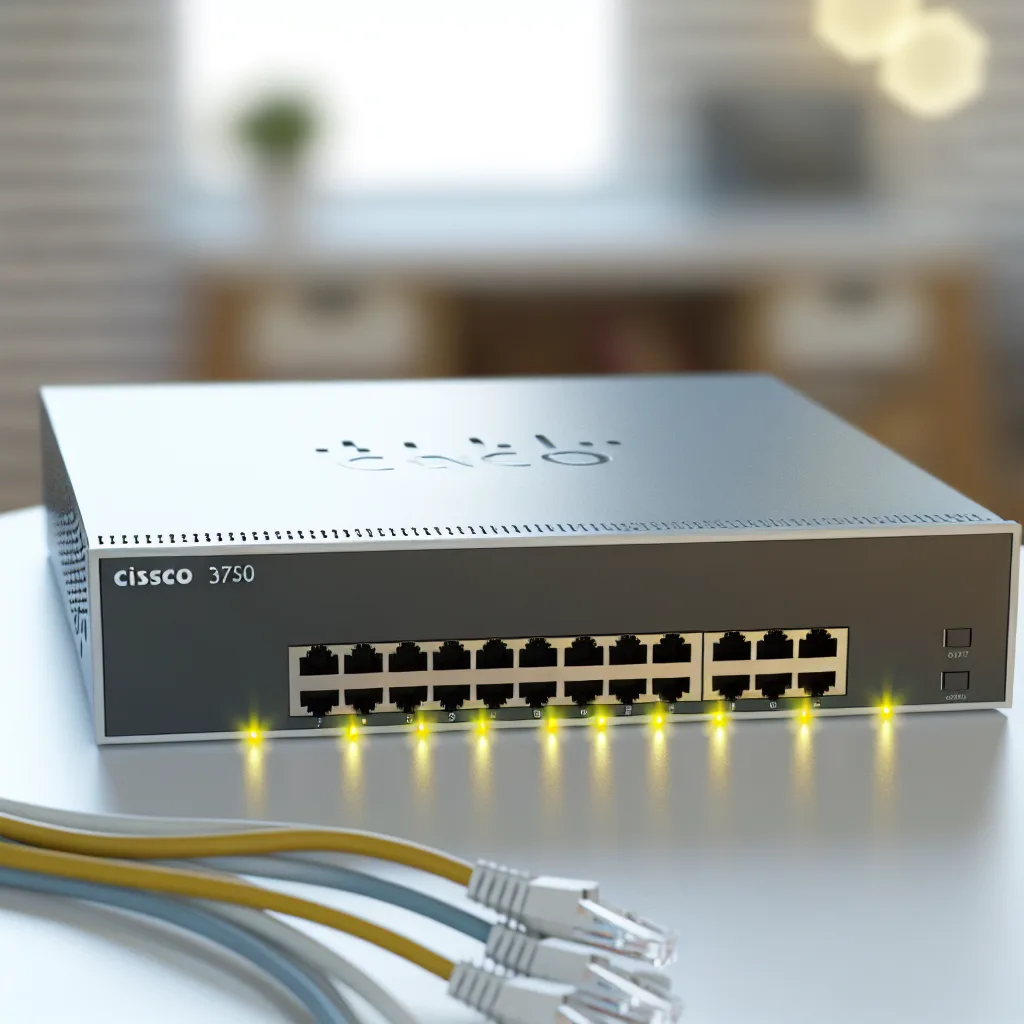
    Sometimes, the best tech additions come unexpectedly, like scoring a free Cisco Catalyst 3750. If you’re someone who’s been curious about improving your network setup, this switch might be just what you didn’t know you needed. Let’s talk about why getting a Cisco Catalyst 3750 for free is worth a mention and how it can actually be a solid boost for your home lab or small business network.

    What is the Cisco Catalyst 3750?

    The Cisco Catalyst 3750 is a popular enterprise switch known for its reliability and stackable design. It’s often used in professional settings to manage network traffic efficiently and ensure devices stay connected smoothly. You might find it in offices or data centers managing multiple connections without a hitch.

    Why a Cisco Catalyst 3750 is Worth Celebrating

    Getting one of these switches for free isn’t something that happens every day. They usually come with a decent price tag because of the features and performance they offer. Here’s the deal: having a Cisco Catalyst 3750 can help improve your network’s speed and stability, especially if you’re running a home lab or a small office network. It supports Power over Ethernet (PoE), which means it can power devices like IP phones or cameras directly through the network cable.

    Setting It Up: What to Expect

    The Cisco Catalyst 3750 supports stacking, meaning you can connect multiple switches and manage them as a single unit. This is great if you want to scale your network later. Although the setup might seem a bit technical at first, Cisco provides official documentation to guide you through it. For beginners, there are plenty of tutorials online that break down the process step-by-step.

    Real-World Benefits of Using Cisco Catalyst 3750

    Whether you’re experimenting with networking or running a small business, this switch offers a robust solution. Its reliable hardware reduces downtime, which means fewer headaches from network issues. Plus, its features like Quality of Service (QoS) make sure your important data gets priority—a handy feature when you’re juggling video calls, streaming, and downloads simultaneously.

    If you’re curious to learn more, Cisco’s official page (https://www.cisco.com) is a great resource. You can also check out trusted tech sites like Network World (https://www.networkworld.com) or TechTarget (https://www.techtarget.com) for reviews and detailed guides.

    Final Thoughts

    Finding a free Cisco Catalyst 3750 might feel like luck, but once you realize what it offers, it can be a real asset. Don’t let the initial setup intimidate you. With some patience and the right resources, this switch can elevate your network to a new level of performance and reliability.

    Embrace the opportunity, learn as you go, and enjoy the smoother network experience that a Cisco Catalyst 3750 can bring to your setup.

  • Building My CCNP Homelab: 8 Months In and What I’ve Learned

    Building My CCNP Homelab: 8 Months In and What I’ve Learned

    A friendly look into setting up a CCNP homelab and the lessons from eight months of hands-on practice

    If you’re on the path to becoming a Cisco Certified Network Professional (CCNP), you might already know how valuable a CCNP homelab can be. I started building mine 8 months ago, and honestly, it’s been one of the best learning tools I’ve had. Whether you’re just considering it or already in the middle of the process, I’m here to share what I’ve learned from my own experience — no jargon, just straightforward talk.

    Why a CCNP Homelab?

    A CCNP homelab lets you practice real networking scenarios on your own terms. It bridges the gap between theory and practice. Sure, you can read books and watch videos, but actually configuring routers and switches? That’s where everything starts to click.

    For me, my CCNP homelab became a safe space to make mistakes and figure out how different protocols interact. It’s been invaluable for understanding complex concepts like EIGRP, OSPF, and BGP, all essential parts of the CCNP curriculum.

    Starting Small and Growing

    I didn’t jump into buying fancy gear right away. I started with basics — a few old routers and switches, some virtual machines running Cisco’s Packet Tracer and even Cisco VIRL (now called CML). This mix gave me flexibility to try different setups without breaking the bank.

    If you want to see what Cisco offers for virtual labs, check out Cisco DevNet for some official virtual lab environments. Also, Packet Tracer is a fantastic free tool for beginners available right on Cisco’s site.

    What 8 Months of Practice Look Like

    Consistency is key. Spending even 30 minutes to an hour a day on your homelab adds up quickly. I focused on:

    • Configuring routing protocols (EIGRP, OSPF, BGP)
    • Setting up VLANs and trunking
    • Exploring security features like ACLs
    • Simulating real network topologies

    Through these exercises, my confidence grew. Facing errors and troubleshooting became less frustrating and more like a puzzle to solve. If you haven’t joined community forums yet, websites like Cisco Learning Network provide a helpful space to discuss problems with others on the same journey.

    Tips If You’re Building a CCNP Homelab

    • Don’t rush to buy tons of hardware. Start with what you have or try virtual labs.
    • Document your setups. Writing down configurations helps retention and gives you quick references.
    • Mix theory with practice. Use official Cisco study materials alongside your lab work.
    • Be patient. Some days will be tricky; that’s normal.

    In the end, your CCNP homelab will look different from anyone else’s, and that’s perfectly fine. The goal isn’t perfection but progress. After 8 months, I’m far from an expert but very much more comfortable with Cisco technologies than I was when I started.

    If you want to dig deeper into CCNP topics or labs, Cisco’s official certification page is a solid place to start: Cisco CCNP Certification.

    Building a CCNP homelab is a journey, one that’s tough but rewarding. If you’re thinking about starting yours, just take a small step today. Before you know it, eight months will have passed, and you’ll be amazed at what you’ve accomplished.

  • Quieting the Homelab: Practical Soundproofing Tips for Your Server Space

    Quieting the Homelab: Practical Soundproofing Tips for Your Server Space

    How to reduce noise in your homelab without breaking the bank

    If you have a homelab, especially tucked away in a smaller room in your house, chances are you’ve noticed the hum and buzz of fans and hard drives creeping into your living space. That’s exactly where homelab soundproofing comes into play—if you want to keep your servers cozy but your ears happy.

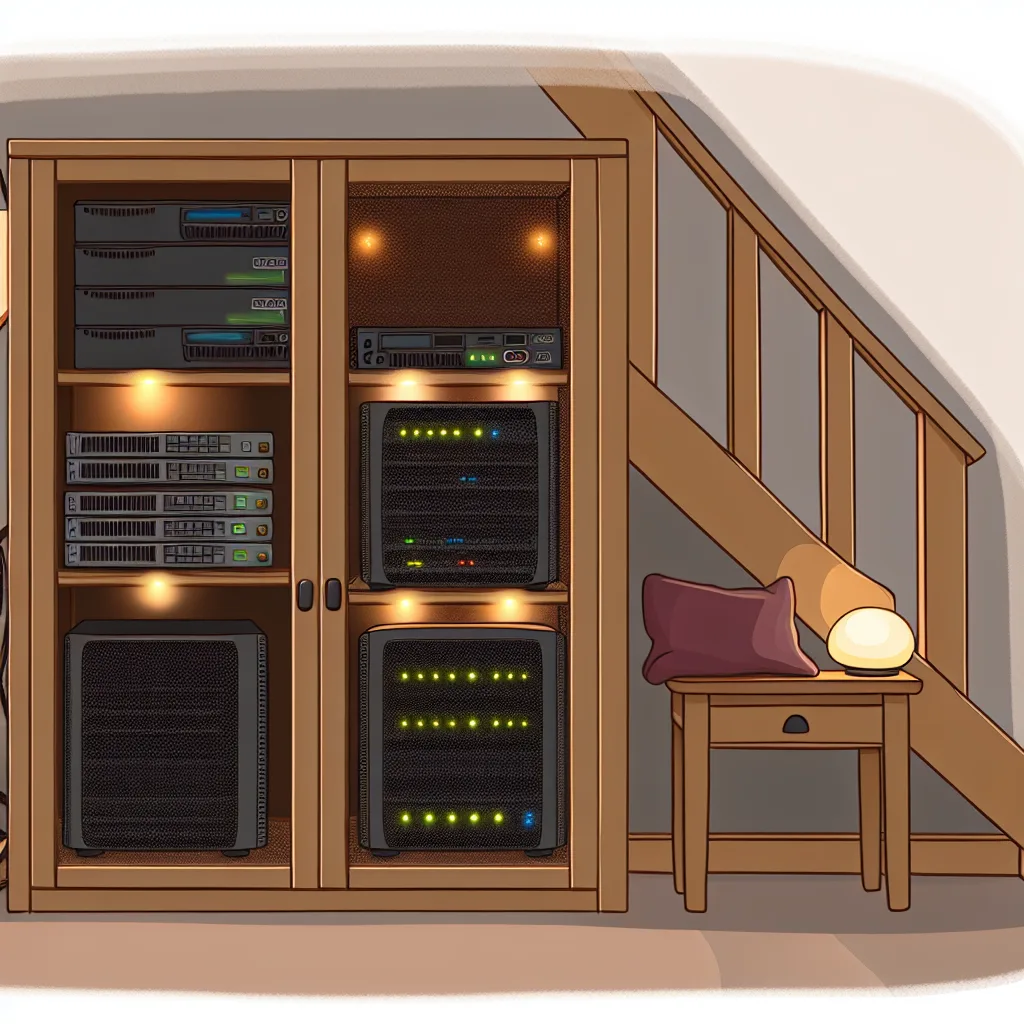
    I recently tackled this with my own setup, which sits in a small side room under the stairs, a cozy but somewhat noisy spot right next to the living room. The usual culprits? A UPS fan running pretty much non-stop and a couple of NAS drives spinning away. Adding more drives (thinking 3-4 soon) means the noise can get pretty distracting.

    Why Homelab Soundproofing Matters

    Tech is great, but when the UPS fan feels like it’s sharing your couch, it’s time to intervene. Soundproofing your homelab space makes it more comfortable to live alongside your tinkering, so you can actually enjoy your home and your kit.

    My Approach: Building a Wardrobe Enclosure

    Instead of just slapping on foam panels or ear plugs (those help but only go so far), I’m working on a furniture solution that doubles as a sound barrier. The plan? A wardrobe that blocks off the noisy side of the room, with the lower section dedicated to the rack.

    I’m integrating intake fans and a chimney-style exhaust to manage airflow and heat—a must for keeping equipment safe. It’ll also have a lock for security. Bonus: I teamed up with an interior designer who geeks out on this stuff, so the wardrobe will look sleek and fit right in.

    Tips for Effective Homelab Soundproofing

    • Seal the room well: Check doors and gaps, and consider draft stoppers or weatherstripping to stop sound leaks.
    • Use mass-loaded vinyl (MLV): This dense material is excellent for lining walls or inside wardrobes to block noise.
    • Add sound-absorbing panels: Acoustic foam panels or even thick blankets can help reduce echo and fan noise.
    • Manage vibrations: Place anti-vibration pads under equipment that tends to shake or rattle.
    • Ventilation matters: Ensure your soundproofing strategy doesn’t suffocate the gear. Proper airflow keeps everything running smooth.

    Balancing Warranty and Soundproofing Needs

    I’m keeping the UPS fans as-is for now because the unit’s under warranty and returnable. Instead, I’m focusing on soundproofing the room first, then the wardrobe once it’s built. It’s a patient approach, but it keeps my options open.

    If you’re curious about the kind of gear that might be making all that noise, you can check out the manufacturer’s site for Eaton 5P UPS details or browse NAS options like Synology’s lineup at synology.com.

    Wrapping Up

    Soundproofing a homelab isn’t about creating a silent fortress—it’s about making the space livable and less intrusive. Whether it’s a custom wardrobe, some clever sealing, or shock-absorbing tricks, a few DIY moves can take a noisy room to a peaceful retreat.

    If you’re experimenting with your own homelab soundproofing, remember: it’s all about balancing noise control with keeping your gear happy and well-ventilated. It’s a small investment for a big boost in home comfort.

    For more tech tips and home lab inspiration, sites like Tom’s Hardware often have great guides on hardware setup and maintenance.

    Happy building—and here’s to a quieter homelab experience!

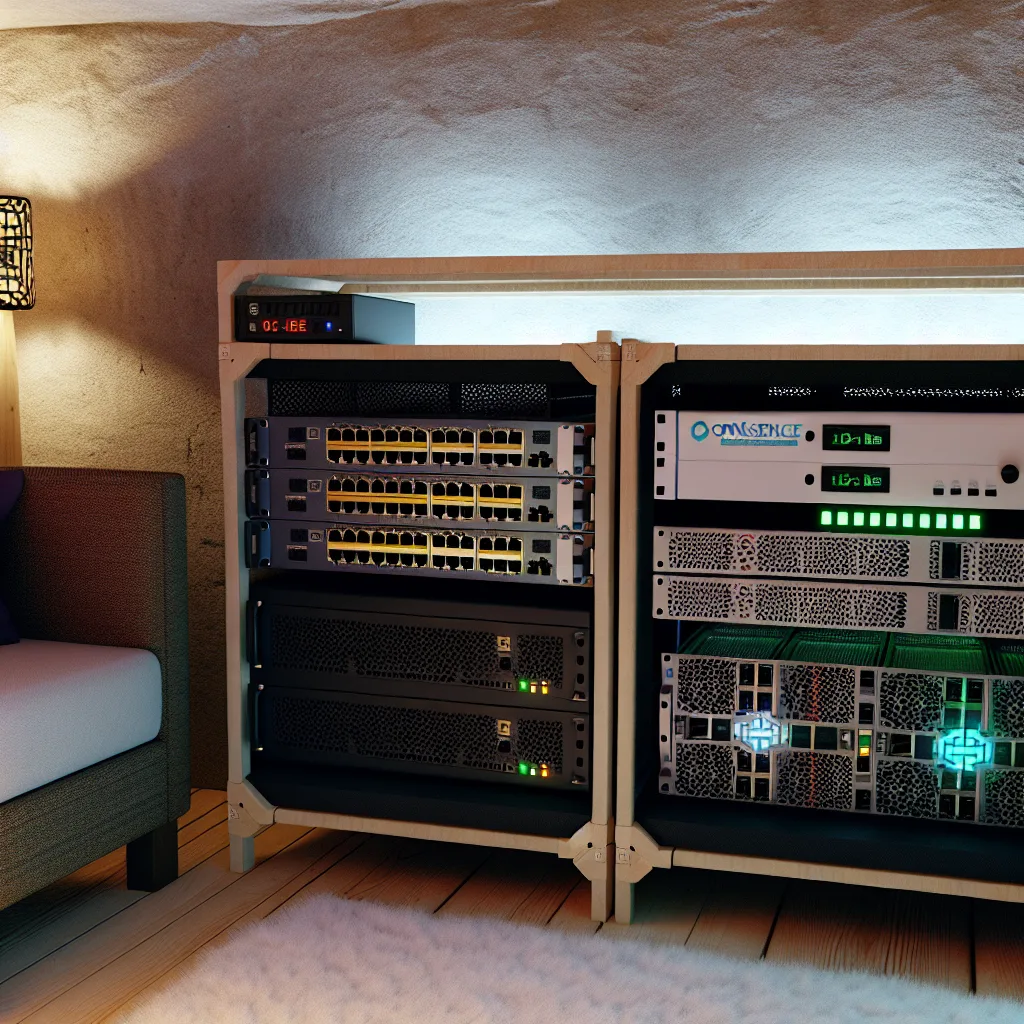
  • Inside a Cozy Basement Hidey Hole: My Simple Yet Powerful Home Network Setup

    Inside a Cozy Basement Hidey Hole: My Simple Yet Powerful Home Network Setup

    Exploring a practical and budget-friendly home server setup that keeps everything connected and running smoothly

    If you’ve ever wondered what a practical, budget-friendly home server setup looks like, I recently put together one in my basement that I’m excited to share. It’s not flashy or over the top, but it’s built with the right mix of devices to keep everything running smoothly—from routing and switching to storage and gaming. Maybe it’ll give you some ideas for your own network project.

    Why a Home Server Setup?

    A solid home server setup isn’t just for tech enthusiasts or hardcore gamers. It’s for anyone who wants to improve their home network’s reliability, boost storage space, and get a bit more control over their internet experience. Mine started as a way to stop fighting over Wi-Fi dead zones and expand my storage capacity. Over time, it grew to include some fun extras like a Minecraft server and robust privacy tools.

    The Core Components of My Setup

    Here’s a quick rundown from the basement rack to the Wi-Fi mesh system upstairs:

    • OPNsense Router: This open-source router handles all my traffic routing, firewall, and VPN connections. It’s affordable and flexible, helping me secure the home network.

    • 1GbE and 10GbE Switches: To keep things speedy and sortable, I use a 1 Gigabit Ethernet switch for regular devices and a 10 Gigabit Ethernet switch for high-bandwidth tasks like transferring files to the NAS.

    • Pi-hole Server: This little guy blocks ads and trackers at the network level, making browsing cleaner and faster for everyone on the network.

    • Minecraft Server: It’s a simple server running for friends and family. It’s modest but fun, showing how versatile home networks can be.

    • 30TB NAS: Storage is king! This Network-Attached Storage holds my media library, backups, and more. Having this centralized means I can access my files anytime from anywhere in the house.

    • Uninterruptible Power Supply (UPS): Protects the whole setup from power outages or surges.

    • Budget TP-Link Wi-Fi 6E Mesh System: Although it’s not shown in the rack, I have a mesh network that blankets the house with Wi-Fi, handling devices wirelessly with ease.

    What Makes This Setup Practical

    This setup covers all the essentials without breaking the bank. Starting with an open-source router like OPNsense means I’m not locked into pricey subscriptions or hardware. The switches let me sort traffic efficiently, separating normal devices from high-demand hardware.

    The Pi-hole is a bit of a hidden gem—blocking unwanted content at the DNS level speeds up browsing and helps with privacy, something that paid services can’t always guarantee.

    Plus, having a dedicated Minecraft server is a reminder that your home setup can be for fun and productivity at the same time.

    How You Can Start Your Own

    You don’t have to duplicate this exact setup, but the principles apply broadly. Think about what you want to achieve (better security, more storage, smoother gaming), then pick devices that fit the need and your budget. Sites like OPNsense’s official site and TP-Link offer great resources to help beginners.

    NAS systems come in all sizes and price points — check out reviews on Tom’s Hardware to find a suitable one. And remember, even a basic Pi-hole setup can make a noticeable difference in your network.

    Wrapping Up

    Setting up a home server doesn’t need to be intimidating. With a bit of planning and the right gear, you’ll have a reliable, secure, and fun network right in your basement or wherever you choose. And the best part? You’ll often find yourself wondering how you ever managed without it!

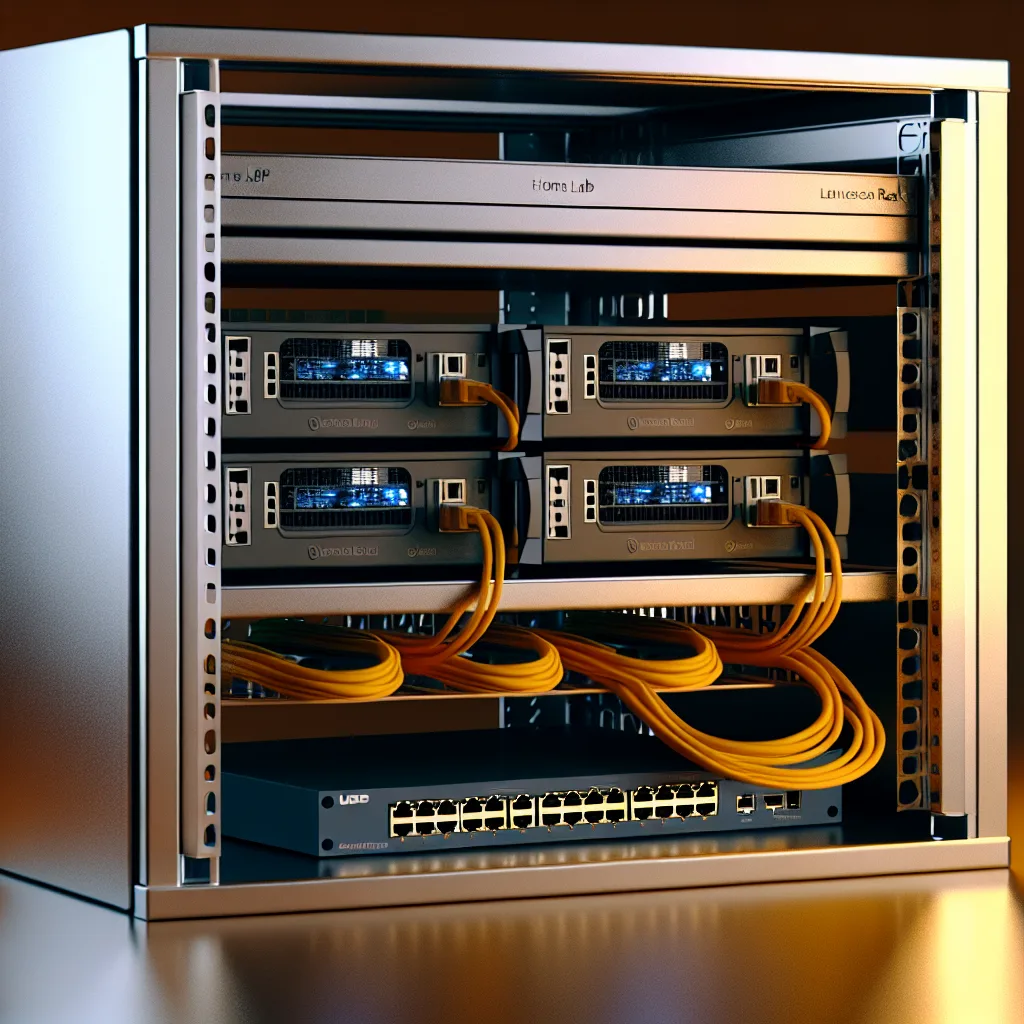
  • Building an 8U Home Lab Rack with Intel NUCs: A Personal Setup Story

    Building an 8U Home Lab Rack with Intel NUCs: A Personal Setup Story

    Discover how an 8U home lab rack with NUC units can balance smart home needs and computing power with ease.

    When I first started thinking about setting up an 8U home lab, I wanted something compact but powerful enough to handle multiple tasks without getting in the way. An 8U home lab rack with two Intel NUCs turned out to be just the right solution.

    What Exactly is an 8U Home Lab?

    If you’re not familiar, “8U” refers to the rack size — specifically, 8 units tall. It’s a compact size in the world of server racks, making it ideal for home use where space can be limited. Into this compact frame, I fit two Intel NUC5i5RYK units. These little devices punch above their weight and come equipped with 16GB of RAM and a 240GB SSD each.

    Why Intel NUCs for a Home Lab?

    Intel NUCs are small but mighty mini-PCs that pack a lot of performance into a tiny footprint. For my setup, one NUC handles my smart home system alongside Nextcloud, which is my go-to for personal cloud storage and file sharing. The other NUC runs Windows 11, giving me a necessary platform for software I need that’s not compatible with my main Mac computer.

    Building the Rack Frame

    The rack frame itself was a bit of a DIY project:
    – Four vertical 8U rails for structure
    – Four aluminum profiles (20×20×250 mm) and four shorter profiles (20×20×150 mm) to build the frame

    These materials made a sturdy, lightweight frame that not only holds the NUCs but also keeps everything neat and accessible.

    Networking Made Simple

    For networking, I used a MERCUSYS MS105GP switch. This little switch supports 5 Gigabit Ethernet ports and offers 60W Power over Ethernet (PoE). It’s enough to keep the NUCs connected fast and reliably, and the PoE keeps my network tidy by powering devices directly through the Ethernet cable when needed.

    Why I Like This Setup

    This 8U home lab is versatile and efficient. It fits in a small space but doesn’t compromise on capability. Having two different systems lets me separate tasks easily—my smart home and cloud services on one NUC and Windows-specific work on the other. Plus, the rack design keeps everything well organized.

    Setting up something like this is a solid option for anyone looking to dip their toes into home labs without dedicating a whole closet or room. It’s approachable, expandable, and surprisingly manageable even if you’re not a pro builder.

    Learn More

    If you’re curious about Intel NUCs and whether they’re right for your home lab, check out Intel’s official site Intel NUC. For networking gear like the MERCUSYS switch, their official page MERCUSYS MS105GP has the specs and details.

    And if personal cloud storage is on your list, Nextcloud is a solid, open-source choice you can read about here: Nextcloud.

    Creating an 8U home lab rack with NUCs isn’t just about hardware. It’s a practical way to keep your tech close, organized, and ready for just about anything you want to throw at it.

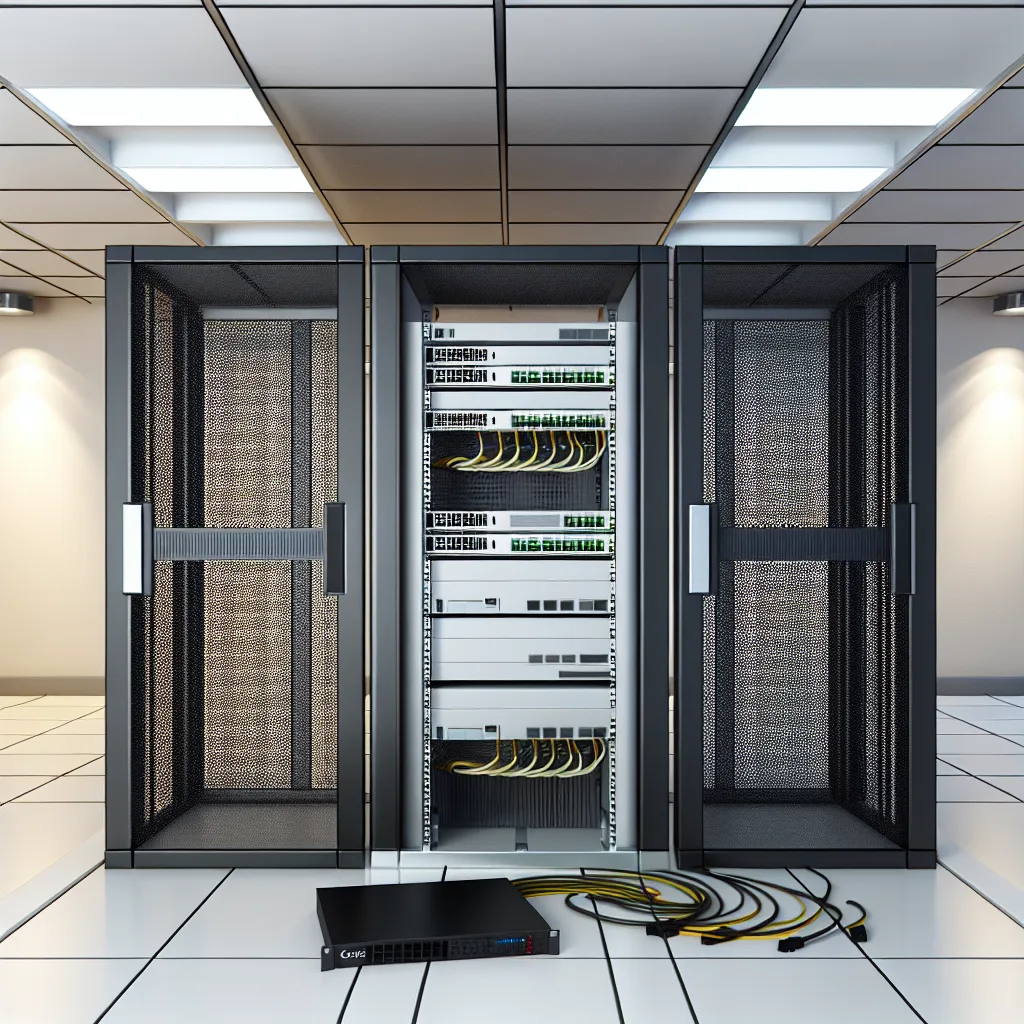
  • Choosing the Right Rack Space: Is One Server Post Enough?

    Choosing the Right Rack Space: Is One Server Post Enough?

    Figuring Out Rack Units for Your NAS, PC, and Router Setup

    Planning your home or small office server setup can make you wonder, “Is one rack post enough, or will I need more?” If you’re like me, sorting out rack space can feel tricky when you have a mix of equipment — a NAS for storage, a full PC chassis, routers, and so on. Let’s look at how to think about rack units so you don’t end up with a cluttered or inefficient setup.

    What is Rack Space Planning?

    Rack space planning is basically figuring out how much shelf or slot space you need in a server rack to hold all your gear properly. Rack units (often called U) measure the height in standardized increments, with 1U equaling 1.75 inches. Knowing how many units your devices need helps to ensure you don’t buy too big or too small a rack.

    Assess Your Equipment’s Rack Units

    Let’s break down what you might have:

    • NAS (Network Attached Storage): These can come in various sizes, often 1U or 2U depending on how many drives and features.
    • Full PC in 4U: PCs housed in rackmount cases can range from 2U up to 4U or more based on internal components.
    • Router in 2U: Many enterprise routers fit within 1U or 2U slots.

    If you sum these up, you get roughly 7-8U of rack space taken by your main devices. But you might also want to include room for things like patch panels, switches, or power distribution units (PDUs).

    Do You Need Four Posts?

    Four-post racks are the standard for most professional setups. They offer stability and flexibility — you can mount heavier devices and have proper airflow. If you have multiple heavy or large pieces of equipment (like a 4U PC and a NAS), a four-post rack is really the best choice.

    However, if you’re just thinking about shelving lighter gear or want a minimalist setup, sometimes two-post racks or shelving units work — but they come with limitations on weight and breadth of support.

    Tips for Efficient Rack Space Use

    • Measure Everything: Get the exact rack units of each device with manufacturer specs (brands like Synology for NAS, or Dell for servers provide detailed info).
    • Leave Breathing Room: Don’t cram devices right next to each other. Give a bit of space for cooling and cable management.
    • Use Vertical Space: Don’t underuse your rack’s height. Even a 12U rack isn’t that tall and offers plenty of scalable space.

    Where to Find More Info

    If you’re new to rackmount gear, check out Synology’s Storage Solutions for NAS sizes and configurations. For rack layout ideas and equipment specs, Dell’s Rack Solutions can be a solid resource. Also, the Network Computing Guide is great for understanding networking hardware form factors and rack mounts.

    Final Thought

    So, is one post enough? Probably not if you want a reliable, sturdy, and expandable setup with all the gear you mentioned. Going for a four-post rack gives you peace of mind and room to grow. Plus, it makes managing your NAS, PC, router, and anything else far easier in the long run. Think about your current devices, any future upgrades, and plan accordingly — it’s way better than cramming equipment or outgrowing your rack too fast.

    Hope this helps you make a confident decision about your rack space planning!


    Thanks for reading! Got a question about your own setup? Drop a comment or reach out.

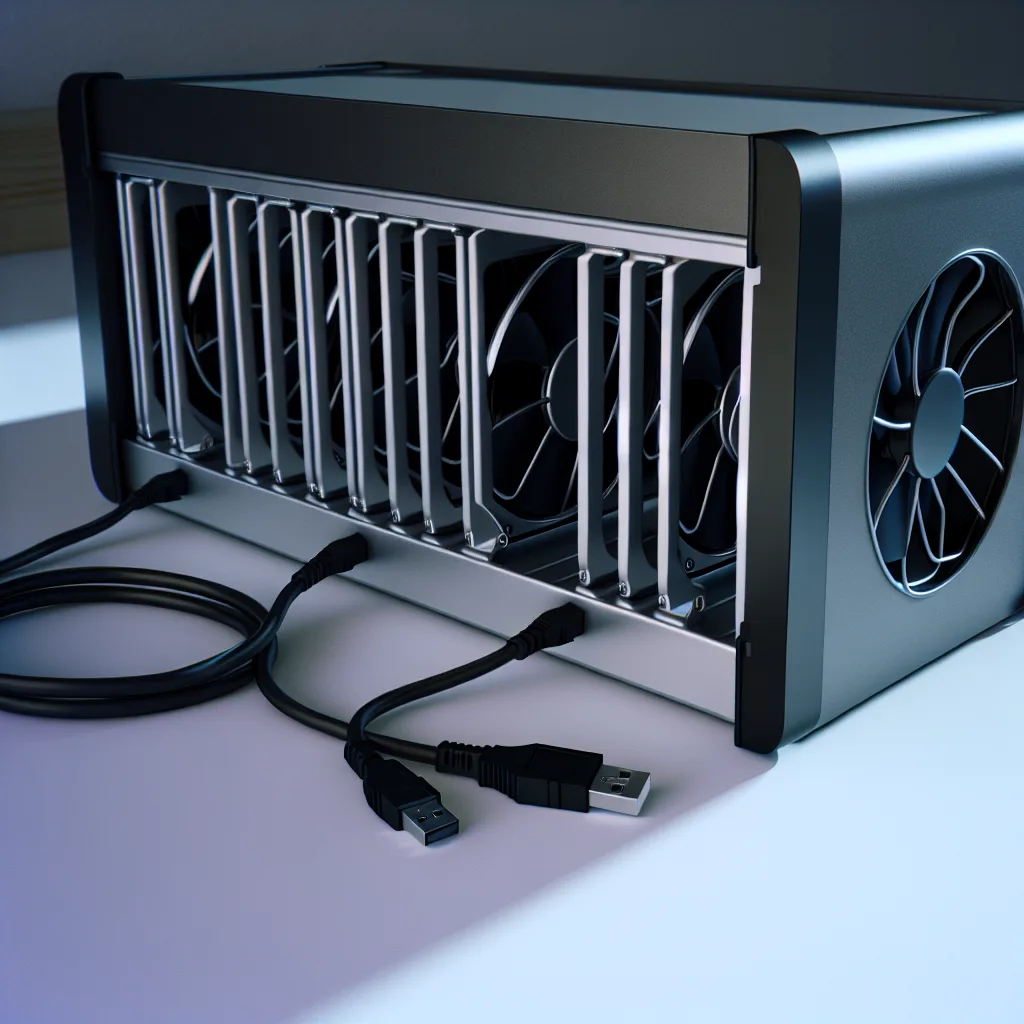
  • Simple HDD Cages: Easy Storage Solutions Without the Hassle

    Simple HDD Cages: Easy Storage Solutions Without the Hassle

    Discover easy-to-use HDD cages that need just two cables and minimal setup

    If you’re like me and have a few hard drives lying around that you want to organize without turning your workspace into a tangled mess, you’ve probably thought about getting an HDD cage with fan. The idea is straightforward: a compact cage to hold your drives, a built-in fan for cooling, and only two cables to worry about—one for data and one for power. Simple, right? Unfortunately, not all HDD cages are this user-friendly out of the box, especially if you’re not into heavy tinkering or electrical work.

    What is an HDD Cage with Fan?

    An HDD cage is a device designed to house multiple hard drives in an organized, safe, and cooled environment. The fan is crucial because drives generate heat, and too much heat can reduce their lifespan. The “with fan” part is what keeps those drives running smooth without overheating. These cages connect to a server or PC to expand storage capability.

    Why I Wanted Just Two Cables

    In my search, I wanted something that would just plug-and-play — no complicated wiring, no external power bricks cluttering my desk, and no modding or complex setups. Ideally, I’d plug in one data cable, preferably USB for easy compatibility, and one power cable that would supply electricity to all drives inside the cage. It’s a neat, minimal approach that keeps things tidy.

    The Problem With Most Solutions

    Many professional-grade HDD enclosures (like TerraMaster’s DAS enclosures) offer multiple bays and fans but tend to consume significant power. Plus, they often need more than just a couple of cables—sometimes separate power supplies for each drive or proprietary connectors that aren’t very user-friendly if you’re not tech-savvy.

    This is where a lot of folks get stuck: wanting an easy setup but ending up with a high-power, complex solution.

    Practical Alternatives and What to Look For

    If you want to keep things simple, here are things to consider:

    • Look for USB-powered or USB-powered-with-external-power HDD cages. Some enclosures come with built-in fans and only require two cables: a USB data cable and one power cable. This setup is great because USB handles data easily, and the power cable manages all drives.

    • Consider small external multi-bay enclosures designed for plug-and-play use. Brands like Sabrent and ORICO make HDD cages that are practical for users who want to avoid complex wiring.

    • Energy efficiency matters. Check if the enclosure has smart power management or low power consumption modes to avoid an energy drain.

    • Ease of installation. Ideally, the cage should let you install drives by screwing them in without any extra modding.

    A Personal Takeaway

    I found that while there isn’t a perfect “one cable does it all” solution, some USB 3.0 or USB-C enclosures come pretty close and are easy enough to install. If you’re okay with an external power cable (like a standard power brick), it’s straightforward.

    Here’s a link to Sabrent’s 4-bay USB 3.0 enclosure which features a built-in cooling fan and requires just one USB data cable plus an external power supply. It’s simple and gets the job done.

    Another good option is the ORICO 4 bay HDD enclosure with fan, which is designed for easy tool-less installation and minimal wiring.

    Final Thoughts

    If you’re after a neat HDD cage with fan that only requires two cables — data (ideally USB) and power — your best bet is to look for external multi-bay enclosures designed for plug-and-play use. They’re designed with ease of use in mind and minimal tinkering required. While power efficiency can vary, checking product specs beforehand helps you avoid unwanted energy consumption.

    In the end, it’s about balancing convenience, power needs, and budget. No extreme DIY or electrical work needed, just simple setup and reliable cooling for your drives.

    If you’re curious, you might also want to check out forums or tech community discussions to see what users recommend for low fuss HDD cages. Sometimes the best advice comes from fellow users who’ve been in your shoes!