Category: AI

  • Understanding the LSI 9305-24i HBA Controller and Its Drive Limits

    Understanding the LSI 9305-24i HBA Controller and Its Drive Limits

    Can the LSI 9305-24i support hard drives over 18TB? Let’s break down the facts.

    If you’re diving into the world of storage controllers and trying to figure out what the LSI 9305-24i HBA controller can handle, you’re in the right place. This article will help you understand what this controller is all about and whether it supports very large hard drives, like those 24TB or 26TB drives you might have your eye on.

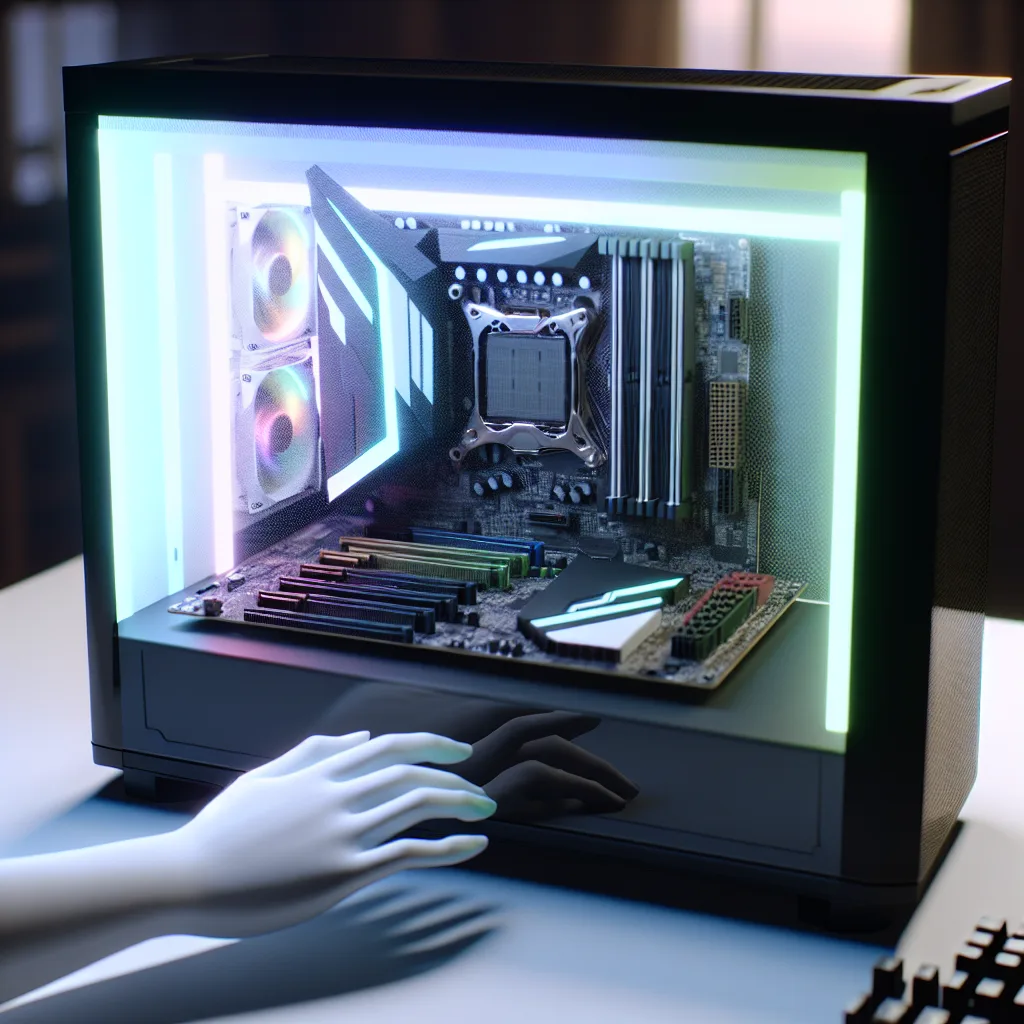
    What Is the LSI 9305-24i HBA?

    The LSI 9305-24i is a Host Bus Adapter (HBA) controller that’s often used in storage setups, especially where multiple drives need reliable connections. It’s a PCIe 3.0 card that can support up to 24 internal SAS or SATA ports, using Mini-SAS HD connectors. This particular model typically comes with 6x Mini-SAS HD connectors (SFF-8643) which you can adapt to 4x SATA ports each—so it can handle quite a few drives.

    Drive Compatibility and Maximum Size

    One common question that comes up is about drive size support. The LSI 9305-24i is reputed to support drives up to 18TB officially, and many people have used 18TB drives without issues. But what about the newer, larger drives like 24TB or 26TB?

    Technically, the supported maximum size can depend on several factors:

    • Firmware and Controller Limits: The controller’s firmware dictates how it recognizes drives. While the official limits say 18TB, newer firmware updates sometimes add support for bigger drives.
    • Operating System Support: Even if the HBA can see a large drive, your OS needs to handle it properly. Most modern operating systems like Windows 10/11, Linux kernels 4.x and above, and FreeBSD can manage drives larger than 18TB.
    • Drive Technology: Some large drives use SMR (Shingled Magnetic Recording) or CMR (Conventional Magnetic Recording), which can affect performance but not necessarily compatibility.

    From user experiences and some tech forums, many have successfully used drives larger than 18TB on this controller, especially with the right firmware updates. It’s always a good idea to check the latest firmware from Broadcom (the current owner of LSI controllers) to ensure compatibility. Here’s the Broadcom Storage Adapter page where you can find updates.

    Why Does This Matter?

    If you’re building or upgrading a server or NAS (Network Attached Storage) system, knowing the limits of your HBA controller helps avoid surprises. Imagine buying several 24TB drives thinking they’ll work out of the box only to find out they’re not recognized. The LSI 9305-24i is a solid choice, but it’s best paired with up-to-date firmware and a compatible OS.

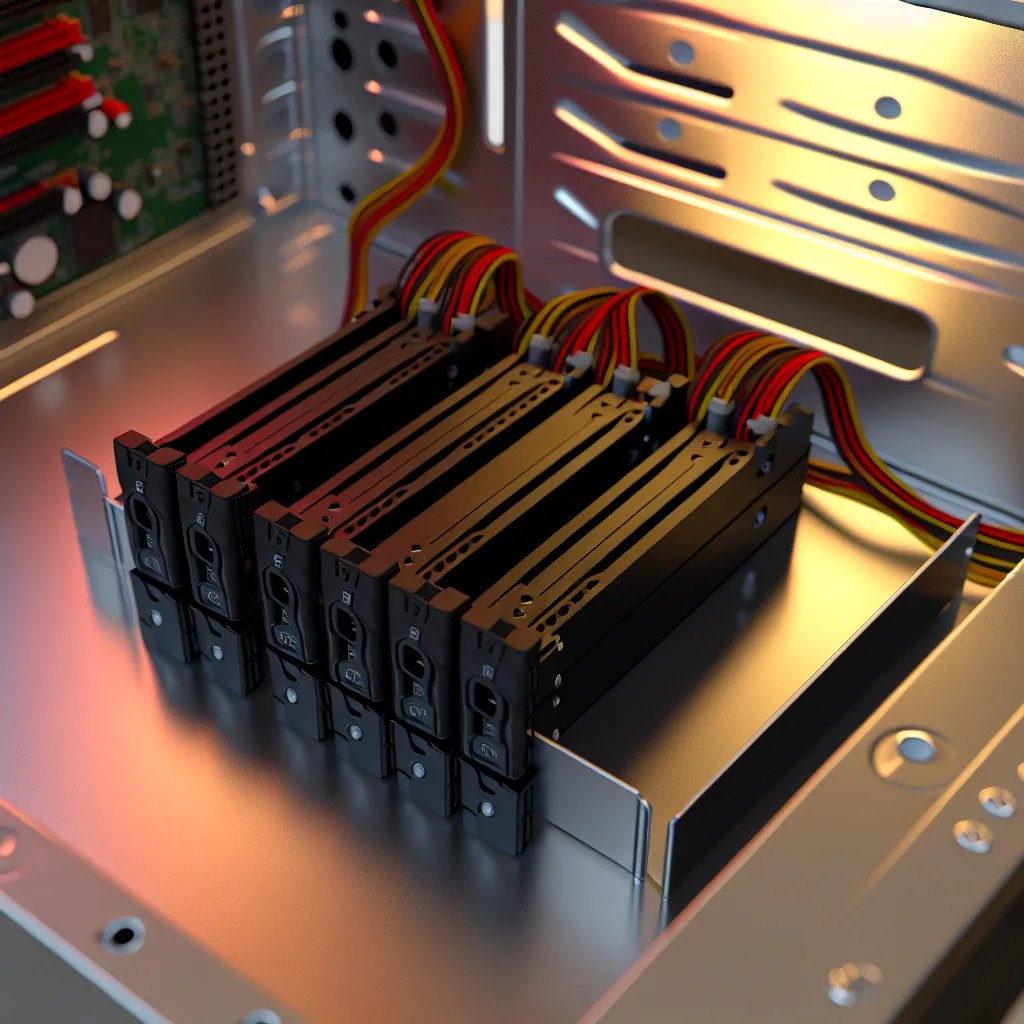
    Connecting This HBA Controller

    One cool thing about the 9305-24i is that the 6x SFF-8643 ports are adaptable, allowing each to break out into 4x SATA connections. This gives you flexibility in how you wire your drives, especially in mixed SAS/SATA environments. You can read more about SFF-8643 connectors and cabling standards in this article by ServeTheHome.

    Final Thoughts on LSI 9305-24i HBA and Large Drives

    To sum up, the LSI 9305-24i HBA controller is a versatile and popular choice for storage enthusiasts and professionals. While it officially supports up to 18TB drives, many users report success with larger capacities, provided firmware and OS support are current. Always double-check for updates and test your setup before committing to massive drives.

    If you want to dig deeper into related topics or explore other controller options, sites like AnandTech provide excellent storage technology insights.

    Have you tried bigger drives on the LSI 9305-24i? What was your experience? Feel free to share your stories and tips!

  • Finding the Right Motherboard for Bifurcation Support with an i5 12600K

    Finding the Right Motherboard for Bifurcation Support with an i5 12600K

    A Simple Guide to Choosing a Motherboard That Works with Your Intel i5 12600K and Bifurcation Needs

    If you’re diving into the world of PC building or upgrading, and you find yourself wondering about motherboard bifurcation support for your Intel i5 12600K, you’re in the right place. Understanding which motherboard will support bifurcation with this powerful CPU can be a bit tricky, but having the right knowledge will make your build smoother and more efficient.

    What is Motherboard Bifurcation Support?

    Bifurcation is basically how your motherboard handles PCIe lanes – it splits them up in different ways to allow multiple devices like NVMe SSDs, GPUs, or other cards to connect and run smoothly at once. For an i5 12600K, which is part of Intel’s 12th Gen lineup, you want a motherboard that not only supports its features but also allows you to take full advantage of bifurcation for high-speed connectivity.

    Why Does Bifurcation Matter?

    You might not hear about bifurcation in everyday build talks, but if you’re aiming for a setup with multiple M.2 drives on a PCIe card or need to manage bandwidth efficiently, bifurcation is crucial. It’s the difference between your hardware running at its potential or hitting bottlenecks.

    Choosing the Right Motherboard for Your i5 12600K and Bifurcation Needs

    When searching for a motherboard, focus on those with chipsets known for lane bifurcation support. For the i5 12600K, motherboards with the Z690 or B660 chipset are often excellent choices. But it’s not just about the chipset; the board’s BIOS needs to offer bifurcation settings too.

    Here are some tips:
    Check the chipset: Z690 and B660 are popular for 12th Gen Intel CPUs and generally support bifurcation.
    Look for PCIe slot bifurcation in the specs: Not all boards will advertise this upfront, so digging into the manual or forums can help.
    BIOS options: A motherboard that has detailed PCIe bifurcation settings in the BIOS provides flexibility.
    Trusted brands: ASUS, MSI, and Gigabyte often include binary options that support bifurcation on their high-end or mid-range boards.

    Some Motherboards to Consider

    To get you started, check out these models known for bifurcation support:
    – ASUS ROG Strix Z690-E Gaming WiFi
    – MSI MAG B660 TOMAHAWK DDR4
    – Gigabyte Z690 AORUS Elite AX

    Each has its strengths and ways of handling PCIe lanes. Be sure to visit the official product pages for the latest BIOS and feature updates.

    A Quick Word About Compatibility

    Before making a purchase, double-check that the motherboard BIOS is updated. Manufacturers frequently update their BIOS to improve CPU compatibility and add features like enhanced bifurcation controls. You don’t want to get the perfect board only to find out it won’t bifurcate properly due to outdated firmware.

    Wrapping It Up

    If you need a motherboard with bifurcation support for your i5 12600K, choosing the right chipset and board model is essential. It’s about balancing performance, connectivity options, and future-proofing your build. And a bit of homework on BIOS settings and firmware updates can save you headaches down the road.

    For more info, check out Intel’s official CPU specifications and the ASUS motherboard QVL (qualified vendor list), which often notes bifurcation support.

    Happy building, and may your system run fast and stable!

  • Exploring SATA PSUs: Are They Safe and Reliable?

    A straightforward look at SATA power supply units and what you should know before trying one out

    If you’re into building or upgrading PCs, you might have stumbled across the term “SATA PSU” and wondered what exactly it is, and if it’s safe to use. That’s what I want to dive into today — to chat about SATA PSU units, how they work, and whether they’re a good bet when it comes to reliability and safety.

    What is a SATA PSU?

    Simply put, a SATA PSU is a power supply unit designed specifically to power SATA devices, like hard drives, SSDs, and optical drives. Unlike your typical power supply that powers the entire PC, a SATA PSU can sometimes serve as a separate power source optimized for just these SATA components.

    Are SATA PSUs Reliable?

    Reliability is the big question mark here. Generally, SATA PSUs built by reputable manufacturers follow the same safety standards as traditional power supplies. That means if you pick a model from a trusted brand, chances are it’s just as reliable as the PSU inside your computer.

    That said, some off-brand or cheaper SATA PSUs might cut corners. Issues like unstable power delivery or premature failure could pop up, which frankly isn’t something you want risking your data or other components.

    Do SATA PSUs Pose Fire Hazards?

    Safety is always a concern with any electrical gear. A properly designed SATA PSU shouldn’t pose a greater risk than any regular PSU. Make sure it has proper certifications such as UL, CE, or FCC. These marks mean it’s gone through rigorous testing.

    What can increase risk are poor-quality cables, bad ventilation, or incorrect setup. Keep your PSU and cables tidy and avoid overloading power circuits.

    When Might You Use a SATA PSU?

    Sometimes, people use SATA PSUs to power large arrays of hard drives in setups like NAS or data servers where standard PSU power connectors aren’t enough or convenient. They can be handy in specialized PC builds or for powering adapters that need SATA power connectors.

    Tips for Using SATA PSUs Safely

    • Always buy from reputable manufacturers.
    • Check for certification marks on the PSU.
    • Make sure the unit matches the power requirements of your devices.
    • Ensure good airflow and keep cables organized.
    • Avoid mixing different power supplies without proper understanding.

    Final Thoughts

    SATA PSUs are a bit niche but not inherently unsafe or unreliable if you pick the right one and use it correctly. Like any hardware, it’s about quality and following best practices. If you’re planning a build or upgrade involving a SATA PSU, research the specific model, read reviews, and consider your power needs carefully.

    For more technical info on power supplies and safety, sites like Tom’s Hardware, AnandTech, and official documentation from manufacturers like Seasonic are great resources.

    Hopefully, this clears the air a bit about SATA PSUs. If you’ve ever used one or are thinking of trying, take it slow and pay attention to quality and setup. Power is serious business, but with the right gear, it’s manageable.

    Thanks for hanging out and chatting about tech with me today!

  • DIY 3D Printed Hard Drive Backplane: A Tinker’s Approach to Easy Drive Swaps

    DIY 3D Printed Hard Drive Backplane: A Tinker’s Approach to Easy Drive Swaps

    Exploring the ins and outs of 3D printing a custom hard drive backplane for smoother home server upgrades

    Ever thought about how handy it would be to quickly swap hard drives in your home server without dealing with tangled cables or pricey gear? That’s exactly why I started looking into making a 3d printed backplane for my setup — a neat little project to upgrade my old-school server case with four 5¼” bays. If you’re into home server setup or just love DIY tech fixes, this might pique your interest.

    What Is a 3D Printed Backplane?

    A backplane is essentially the interface where hard drives plug in — power, data, all that jazz. Commercial versions exist, but they often come with a steep price tag and sometimes more complexity than we’d like for a DIY project.

    By designing a 3d printed backplane enclosure, the goal is to create a straightforward way to slide drives in and out while keeping the SATA and power cables fixed in place. This means you won’t have to fuss with each drive’s cables whenever you swap one out—a huge time saver and sure to make life a bit easier.

    Why Use 3D Printing for Your Hard Drive Backplane?

    3D printing allows for customization that commercial backplanes just can’t match. You get to tailor the rails or slots exactly to your drive dimensions. Plus, it’s a whole heck of a lot cheaper if you already have access to a 3D printer or a local maker space.

    But there are some things to keep in mind:
    Cable management: You need to hold power and SATA cables firmly but gently so they don’t get damaged.
    Sliding mechanism: A rail or track system helps drive the hard drives in smoothly, without forcing connectors.
    Vibration dampening: Drives can vibrate and sometimes loosen connections — a simple retention system can prevent this.

    I found that commercial vendors often use complicated locking mechanisms which might be tricky for a first DIY print, but simple clips or rails work surprisingly well too.

    Tips and Ideas for Your DIY 3D Printed Backplane

    1. Measure twice, model once. Accurate dimensions of your drives and bays are key.
    2. Use flexible filament for cable holders. This material protects cables from damage while holding them securely.
    3. Test your design in pieces. Print a small section first to check the fit of rails and slots.
    4. Think about airflow. Your design should not block ventilation, so consider gaps or mesh designs.

    Additional Resources

    If you want to dig into 3D design, tools like TinkerCAD or Fusion 360 make custom parts easier to model. For 3D printing itself, Prusa’s guide has solid beginner-friendly info.

    For the actual hard drive details and connectors, the SATA-IO official site offers specs and standards to help make sure your design matches industry norms.

    Wrapping Up

    Building a 3d printed backplane for your home server is a fun blend of practical tech DIY and a chance to customize your setup just right. It’s rewarding to slide a drive in and out without disconnecting cables, and doable with careful planning and a bit of patience.

    If you’re thinking about taking this on, start simple, test often, and enjoy the process. Your server (and your sanity) will thank you!

  • Building My Janky Yet Functional Home Lab Rack

    A personal look into assembling a practical home lab rack with everyday items and solid hardware.

    If you’ve ever been curious about how to set up a practical home lab rack without breaking the bank or filling a storage room with fancy, expensive gear, then this story might resonate with you. My “home lab rack” journey started with some repurposed household furniture and a handful of reliable hardware to create a setup that’s both functional and a bit unique.

    Starting With What I Had: The Base of My Home Lab Rack

    The base of my home lab rack isn’t from a high-tech store. Instead, it’s made by bolting together two Ikea Lack tables—yes, those simple, affordable tables that so many of us have at home. On top of that, I stacked two solid wooden bedside tables from a previous bedroom setup. This mix of everyday furniture forms a surprisingly sturdy foundation, proving you don’t always need a traditional server rack to get started.

    Diving Into The Hardware

    Here’s what’s on the rack, from bottom to top:

    • Mid tower PC case: Powered by a Ryzen 3900X CPU, equipped with 48GB RAM and a few drives, running Proxmox. This is the powerhouse of the setup.
    • 17-inch laptop: A PCSpecialist Recoil III, with an Intel 9750H, 32GB RAM, and several SSDs, also running Proxmox. Compact but capable, it complements the bigger rig nicely.
    • Mouse and keyboard combo: Keeps control straightforward for the mid tower.
    • Network gear: A 2.5GbE switch alongside a Zyxel internet router (not my favorite, but it gets the job done).
    • Raspberry Pi 3b+: Running Pi-hole to help keep ads and trackers at bay on all connected devices.
    • Storage array: A Ugreen DXP 6800 Pro with six 8TB 5.4k rpm drives in RAIDZ2, plus two SSDs. A quirky touch—chair gliders are wedged between slots as a temporary, but effective, solution to occasional drive vibration.
    • Mesh network setup: One of three TP-Link Deco X50 units for strong, seamless Wi-Fi coverage throughout the space.

    This combination provides a mix of performance, storage, and networking, all held together in a rack that started life as furniture more suited to a living room than a server room.

    Why I Chose This Setup

    You might wonder why all this was cobbled together with what feels like random household objects. Honestly, it’s about making the most of what I had without spending extravagantly. Plus, repurposing those ikea tables and bedside units gave a satisfying, DIY vibe to the whole project. For many, a traditional server rack feels too bulky or costly, but this blend of furniture and tech offers something more accessible.

    Using Proxmox on both the tower and the laptop means I’m flexible with virtual environments and various services. The Raspberry Pi running Pi-hole adds a nice layer of network-wide ad blocking without extra subscription costs. And that storage array? Plenty of space to experiment safely with data redundancy using RAIDZ2.

    Tips If You Want to Build a Similar Home Lab Rack

    • Look around your home for sturdy, reusable furniture to form your rack base.
    • Prioritize the hardware that fits your needs but don’t overlook compact solutions like laptops or single-board computers.
    • Set up networking that matches your internet speed and devices; a good switch can make all the difference.
    • Don’t be afraid to get creative with mounting and vibration damping—like those chair gliders. Innovation often comes from little hacks.
    • Use open-source or free virtualization platforms such as Proxmox to maximize your hardware’s potential.

    Building a home lab rack doesn’t have to mean buying the most expensive equipment or racks. With a bit of creativity and practical choice in hardware, you can craft a setup that’s uniquely yours and surprisingly efficient.

    For inspiration and more detailed information about Proxmox, check out the official Proxmox website, and to understand more about RAID configurations, this article from How-To Geek is a great read. If you’re interested in mesh networks, the TP-Link Deco X50’s official product page provides helpful specs and setup guides.

    So, if you’re thinking about starting or upgrading your own home lab, remember: it’s all about adapting what you have and making tech work for you, not the other way around.

  • Building Your Ultimate Media Management with Servarr Tools

    Building Your Ultimate Media Management with Servarr Tools

    A friendly guide to mastering media management with Plex, Sonarr, Radarr, and more using Servarr

    If you’ve ever tried to keep your digital movie, TV, music, and audiobook collection organized, you know it can quickly get overwhelming. That’s where the world of media management with Servarr tools comes into play. These apps help automate and streamline the process, so you spend less time hunting down files and more time enjoying your content.

    In this article, I’ll walk you through a clear overview of media management Servarr tools like Plex, Sonarr, Radarr, Lidarr, Prowlarr, and Overseerr, and how they can work together to make your media life easier.

    What is Media Management Servarr?

    The term “media management Servarr” refers to a group of specialized applications designed to organize and automate media collections. Instead of manually downloading, renaming, sorting, and streaming your media files, these tools coordinate everything behind the scenes.

    Each Servarr app has a specific job:
    Plex: Your media server where all your content lives, ready to stream.
    Sonarr: Manages TV shows, automatically searching and downloading new episodes.
    Radarr: Does the same for movies.
    Lidarr: Handles music albums.
    Prowlarr: Acts as an indexer manager, linking to various torrent and usenet sources.
    Overseerr: A request system where your family or friends can ask for new content.

    How the Servarr Ecosystem Works Together

    Instead of juggling each app separately, the beauty of this setup is how well they all communicate with one another.

    Here’s how media management Servarr usually plays out:

    • You or others make a request through Overseerr.
    • Overseerr sends that request to Sonarr, Radarr, or Lidarr depending on the type of media.
    • Those apps then query Prowlarr to find the best source for that media.
    • Once found, the media is downloaded, renamed, and sorted automatically.
    • Plex updates its library and makes the new content available for streaming.

    On top of this, some users add network layers like OpenVPN or Wireguard for secure remote connections. Plus, dashboards like Grafana hook into databases using tools like InfluxDB to monitor everything in one place.

    Why Use Media Management Servarr?

    Honestly, it’s a massive time saver with a neat payoff:

    • Automation: No more manual downloads or organizing.
    • Integration: Each app plays well with the others.
    • Customization: Tweak settings to fit your preferences.
    • Remote Requests: Friends and family can request shows or movies without needing direct access.

    If you’re curious to dive deeper into Plex and its capabilities, Plex’s official site provides great resources here. For automated TV management, check out Sonarr’s documentation here. And if you’re just getting started with Radarr for movies, their wiki is very helpful here.

    Tips for Setting Up Your Own Media Management Servarr System

    Getting started might seem tricky, but breaking it down makes it manageable:

    1. Pick a server to run these apps on—could be a dedicated NAS, a spare PC, or a cloud instance.
    2. Install and configure each Servarr app one by one.
    3. Connect Prowlarr to your preferred indexers for searching.
    4. Link Overseerr for request management.
    5. Integrate Plex as your media streaming hub.
    6. Consider using Wireguard/VPN for secure remote access.

    There’s a learning curve, but once you’re set up, you’ll wonder how you ever managed without it.

    Final Thoughts on Media Management Servarr

    The key takeaway is that media management Servarr tools profoundly simplify how you maintain your digital entertainment. If you’re someone who invests time building a media library, setting up this ecosystem can save you hours in the long run.

    I’ve found that understanding how each app fits into the bigger picture helps avoid confusion and maximizes the benefits. Take it slow, follow some practical diagrams, and before you know it, you’ll have a slick automated media setup at your fingertips.

    Happy organizing!

  • Building a Custom Lack Rack: A Simple and Stylish DIY Project

    Building a Custom Lack Rack: A Simple and Stylish DIY Project

    How to create a personalized and practical Lack rack that fits your space and style

    If you’ve ever looked at the popular Lack side tables from IKEA and thought, “I wish there was a way to turn these into something more useful,” then you’re not alone. The idea of a custom lack rack has been floating around among DIY enthusiasts and tech geeks alike for a good reason—it’s simple, affordable, and surprisingly versatile.

    What is a custom lack rack? In essence, it’s a set of these sturdy little tables stacked or assembled in a way to create a rack that can hold your servers, network equipment, or even audio gear. It’s a clever alternative if you want to avoid buying expensive, bulky racks but still want something functional.

    Why Choose a Custom Lack Rack?

    The charm of a custom lack rack lies in its simplicity and affordability. IKEA tables are widely available, inexpensive (usually around $10-$15 each), and come in a variety of colors to match your room’s decor. Because they’re stackable and easy to modify, you can customize the size and shape of your rack to fit your exact needs.

    One of the beauties is how lightweight these racks are. Transporting and rearranging them is much easier than traditional metal racks. Plus, their minimalist look fits well into apartment setups, dorm rooms, or even casual office spaces.

    How to Build Your Own Custom Lack Rack

    Getting started is easier than you’d think. Here’s a simple approach:

    1. Select your tables: Depending on your equipment’s size, decide how many Lack tables you’d like to stack. Most people start with 2 or 3.

    2. Prepare the stack: Optionally, drill holes in the corners to secure the tables together using screws or bolts. This is especially useful if you want a sturdy, vibration-resistant setup.

    3. Optional mounts: If you’re tech-savvy, add mounts inside the shelves to secure specific hardware, like rack ears for your servers.

    4. Cable management: Use zip ties or hook-and-loop straps to keep cables tidy and avoid a messy setup.

    5. Finish touches: Paint or add decals to personalize the look. Some even add LED strips for a modern vibe.

    For inspiration, communities like r/homelab showcase many custom lack rack builds. They highlight different layouts, modifications, and even weight limits to consider.

    Things to Keep in Mind

    • Weight Limitations: While the Lack tables are sturdy for their price, they’re not designed for ultra-heavy equipment. Make sure to check the weight of your gear and distribute it evenly.
    • Heat and Ventilation: Stacking equipment tightly can lead to heat issues. Make sure your custom lack rack allows for enough air circulation.

    • Space Considerations: Think about where your rack will live. The compact size is great for small spaces but measure twice before stacking.

    Where to Buy Your IKEA Lack Tables

    Most IKEA stores carry the Lack tables regularly, and you can also order them online. Keep an eye on sales or bulk purchases if you’re building a larger rack.

    Creating a custom lack rack is a neat way to blend functionality with budget-friendly DIY. It’s perfect for nerds, hobbyists, or anyone wanting a little more from their furniture without breaking the bank.

    If you want to explore more about rack options or server setups, check out ServerFreak or the official IKEA website for the latest product info and ideas.

    Have you tried building your own custom lack rack or something similar? Drop your tips or questions below. Sometimes the simplest ideas are the best.

  • From Ewaste to Desk Icon: Breathing New Life into Old PC Hardware

    From Ewaste to Desk Icon: Breathing New Life into Old PC Hardware

    Discover how a retro PC build can sit under your desk and remind you of tech past while still being useful.

    I recently scored what I like to call an “ewaste recycling haul” — a dusty old PC from my local e-waste center. It’s one of those finds that feels more like a trip down memory lane than just another piece of tech. This machine, originally from 2007, came with a motherboard that was posting but refused to install Windows XP, making a quick comeback impossible. After some tinkering and a few bumps along the way, I decided to swap out the outdated parts for some more modern, energy-efficient hardware I had lying around.

    What ended up under my desk is powered by a 4th Gen Intel i7 processor, 16GB of RAM, and a GTX 1080 Ti GPU, with no more spinning disks slowing it down. While it’s yet to find a defined purpose, this PC now serves as a nostalgic piece reminiscent of the early days of consumer computing. Sure, it’s a bit of a space hog, but it feels good knowing I gave this old case a second chance.

    Why Keep Old Hardware from Ewaste Recalls?

    Holding onto older hardware from an ewaste recycling haul might seem like clutter, but there’s something satisfying in repurposing it. It’s a gentle way of honoring tech’s past while promoting sustainability by reducing waste. Plus, it’s a fun project if you enjoy building PCs and figuring out how to make something new from something old.

    Modernizing the Classic: Hardware Upgrades

    Replacing the original parts was essential. Those older machines often struggle with today’s software demands and power consumption standards. Swapping in solid-state drives (SSDs) instead of spinning disks can breathe new life into an old case, improving speed and reliability significantly. The 4th Gen i7 and 16GB RAM combination is still solid for general tasks, gaming, or even light content creation.

    If you’re curious about specifics, Intel’s processor details can be checked out on their official site, and NVIDIA provides thorough info on the GTX 1080 Ti here.

    Ideas for Using Your Recycled PC

    Now, what’s this repurposed system good for? Here are a few ideas:

    • Home office or study PC: Perfect for web browsing, writing, or remote work.
    • Media center: Stream movies or music smoothly.
    • Gaming rig: The GTX 1080 Ti can handle many games at respectable settings.
    • Learning and experimentation: A great sandbox for Linux or programming projects.
    • Backup server: Pair with a NAS for extra storage solutions.

    If you want more inspiration on repurposing old technology, websites like Tom’s Hardware offer plenty of guides and community discussions.

    Keeping Ewaste Hauls Meaningful

    When you find yourself staring at this mix of old and new hardware, it’s less about perfection and more about the story and the possibilities it represents. Even if it’s just sitting there under your desk as a digital relic, it’s a reminder of tech evolution and sustainability efforts.

    So, what about that empty spot under your desk? Maybe it’s waiting for your own ewaste recycling haul, ready to spark memories and inspire your next DIY PC project.

  • My First 10 Inch Rack Build: A Compact Tech Adventure

    My First 10 Inch Rack Build: A Compact Tech Adventure

    Discovering the joys and tricks of building a 10 inch rack for your tech setup

    If you’ve ever thought about organizing your home tech or lab setup, you’ve probably stumbled upon the idea of a 10 inch rack build. I recently put together my first one, and honestly, it’s been a fun and surprisingly satisfying project. Let me walk you through what it’s like and why a 10 inch rack might be the perfect fit if you want something compact but useful.

    Why a 10 Inch Rack Build?

    The 10 inch rack size is a less common choice compared to the standard 19 inch racks. But that’s exactly what makes it appealing—it’s small, space-friendly, and fits nicely in areas where a bigger rack would be just too bulky. If you live in a small apartment or want something neat for a desk setup, it’s worth considering.

    When I started, the main challenge was finding the right equipment. Since it’s a niche size, not every piece of gear fits or comes in 10 inch sizes. But on the bright side, it means I could be very selective with what went in. This build pushed me to think critically about what I truly need.

    Building My 10 Inch Rack

    Starting with the frame, I chose a sturdy metal one that could stand up to daily use but still be light enough to move. Installation was pretty straightforward, although cable management can be a bit tricky given the compact space. I grabbed some velcro straps and planning ahead really helped keep things tidy.

    One cool tip I picked up is to plan the power setup carefully. Since you might use less standard rack units, ensuring you have the right power strips and surge protectors designed for 10 inch racks is key for safety and convenience.

    Benefits of Going Small

    Aside from the obvious space-saving perk, this smaller rack taught me a lot about efficiency. It’s like packing a suitcase for a trip—you need just the essentials but nothing extra. Plus, it looks clean and organized, which really helps when you’re troubleshooting or upgrading gear.

    If you want to learn more about rack sizes and options, TechTarget has a thorough explanation about rack standards and how to pick the right one for your needs. TechTarget Rack Guide

    Also, if you’re buying equipment, checking out manufacturers who specialize in compact rack gear can make a difference. For instance, Middle Atlantic offers some solid 10 inch rack solutions and accessories. Middle Atlantic Products

    Final Thoughts on My 10 Inch Rack Build

    Building a 10 inch rack was a small project that brought me genuine satisfaction. It’s not as common as other rack sizes, but that makes it a fun challenge. I got to be more intentional about every piece of hardware. If you’re tight on space or want a neat, manageable setup, I’d definitely recommend considering a 10 inch rack build.

    If you’re interested in getting started, make sure to plan carefully, look for the right gear, and don’t rush the cable management—it’s where neatness truly comes alive. Happy building!

  • Building My First Home Server Rack: A Small Lab Journey

    From a simple setup to a compact rack: Exploring my home server setup evolution

    If you’ve ever thought about setting up a home server, you know it’s not just about plugging in a few devices and calling it a day. It’s a process, sometimes messy and full of cables, but it’s incredibly rewarding. Let me share with you my journey of upgrading my home server setup from a modest device pile to a neat little rack that holds everything together.

    The Beginning: A Humble Home Server Setup

    A few months ago, I kicked things off with what I can only describe as a humble home server setup. It included a router, a handheld gaming device called the ROG Ally connected to an external disk, and a Plex server running some media. Sure, the cables were everywhere, and the gear was scattered, but it did the job. I was learning as I went.

    Moving Up: My First Rack

    Fast forward to recently, and I’m excited to show you my first actual rack. It’s a compact setup but well thought out. I installed a Ubiquiti fiber connection, which gives me great internet speed and reliability. I also use a Ubiquiti Flex switch, which is a flexible and efficient way to keep my devices talking to one another.

    An older Lenovo 910q is now my Unraid server. For those unfamiliar, Unraid is an operating system that makes managing storage drives and running virtual machines or containers easier. It’s perfect for a home lab environment.

    I’ve added a few hard drives (HDDs) to act as storage, neatly organized within the rack. This setup clears all the clutter and keeps things running cool and quiet.

    Why This Home Server Setup Works for Me

    One of the best things about putting together a home server setup like this is learning and customizing based on your needs. This rack can handle media streaming, file storage, and even more advanced tasks if I decide to expand.

    Here’s what I like:
    Clean organization: Everything in one place instead of cables and devices everywhere.
    Reliable internet: The Ubiquiti fiber makes a big difference in speed.
    Flexible storage: Using Unraid with HDDs gives me room to grow.

    Tools That Made a Difference

    If you’re thinking about creating something similar, consider the main components I used:
    – Ubiquiti Fiber and Flex Switch check their official site for specs
    – Lenovo 910q as the Unraid server base Lenovo’s product page
    – Unraid OS for managing storage and virtual machines Unraid’s official site

    Final Thoughts

    Setting up a home server rack is a process, but it’s very doable and fun. Whether you’re a beginner or just looking to upgrade from a simple setup, organizing your hardware in a rack and investing in good networking can make all the difference.

    My home server setup continues to evolve, but having this solid base now means I can add more smart features and storage as needed. If you’re curious about home servers, start small, learn along the way, and don’t be afraid to experiment.