Category: AI

  • Setting Up My First Mini Flat Homelab: A Cozy Plex Server

    Setting Up My First Mini Flat Homelab: A Cozy Plex Server

    Building a friendly and efficient home server setup in a compact space

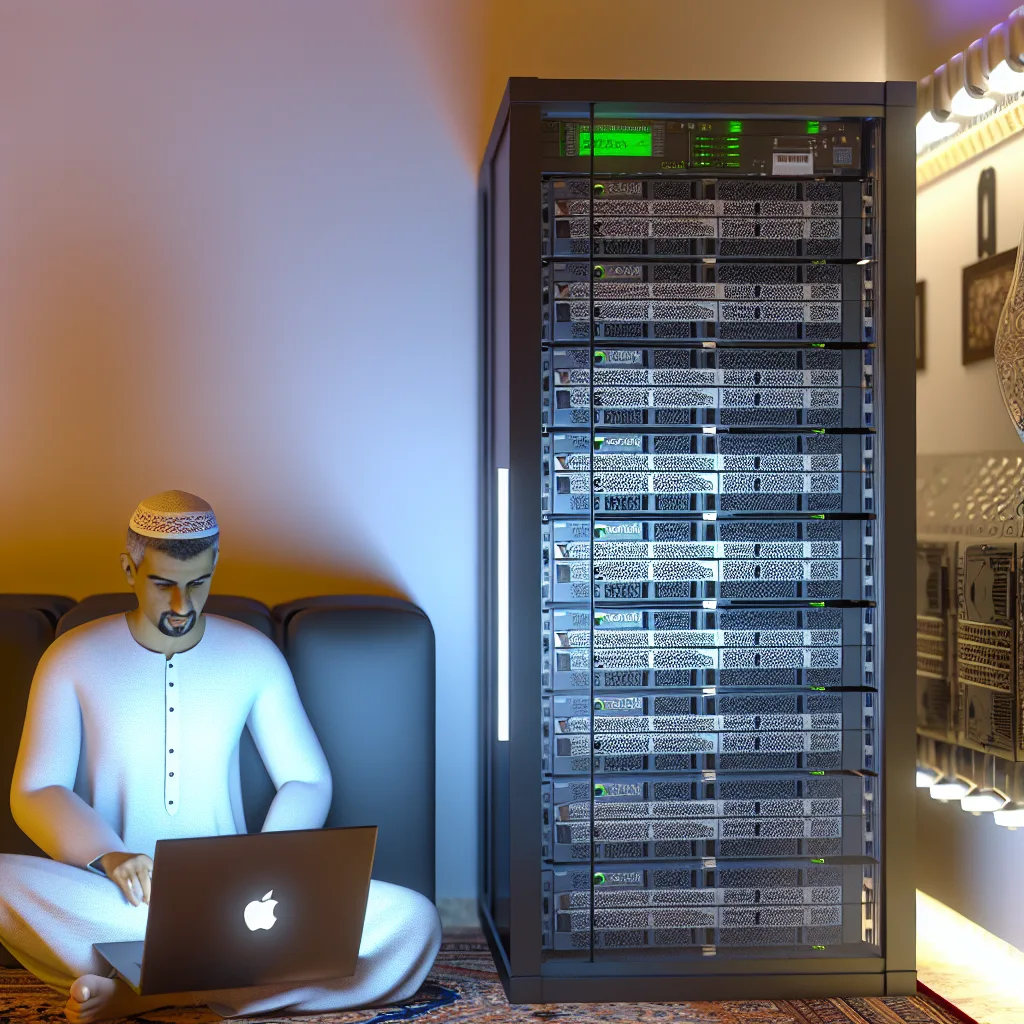
    Building my first mini flat homelab has been quite the journey, especially when working with limited space. But honestly, it’s been a rewarding experience, and it does the job well as a Plex server for all my streaming needs. If you’re curious about starting a home server setup but don’t have room for a full rack or giant machines, this might be just the inspiration you need.

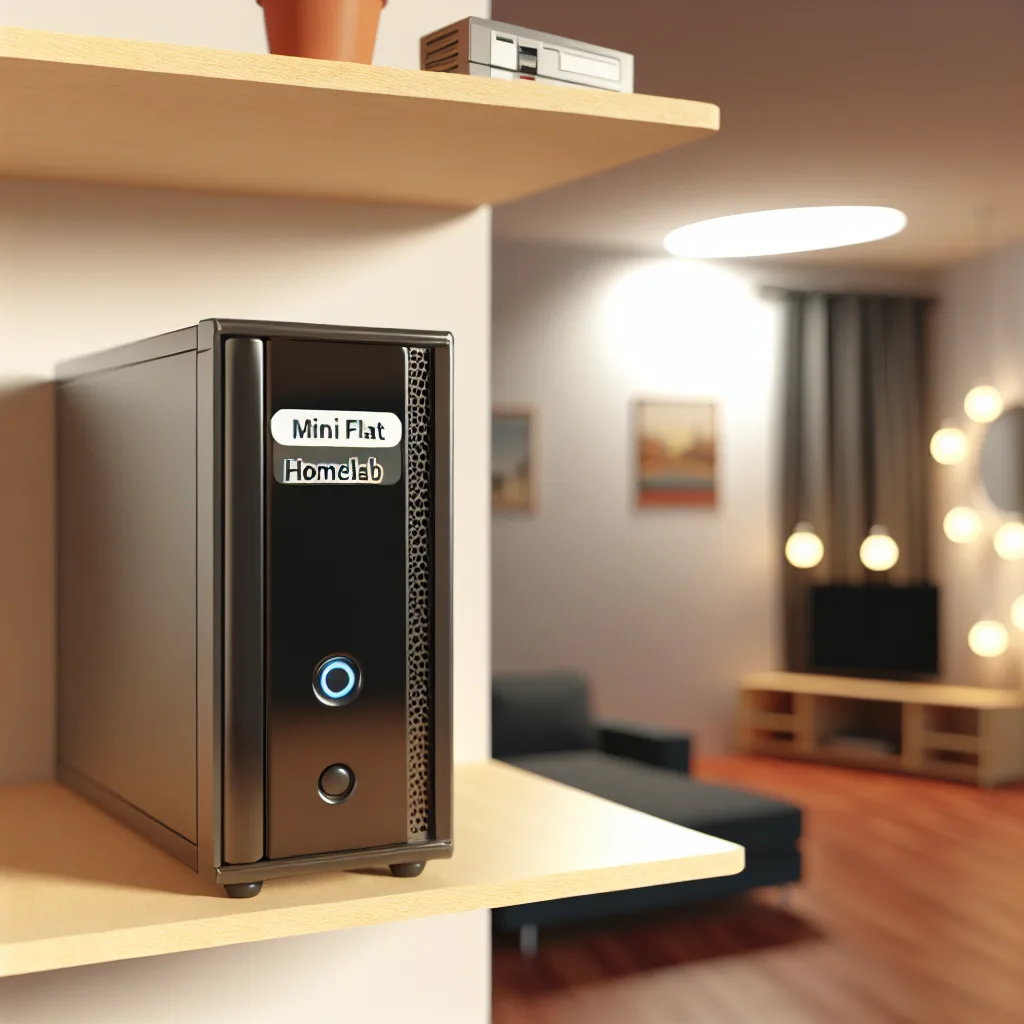
    Why a Mini Flat Homelab?

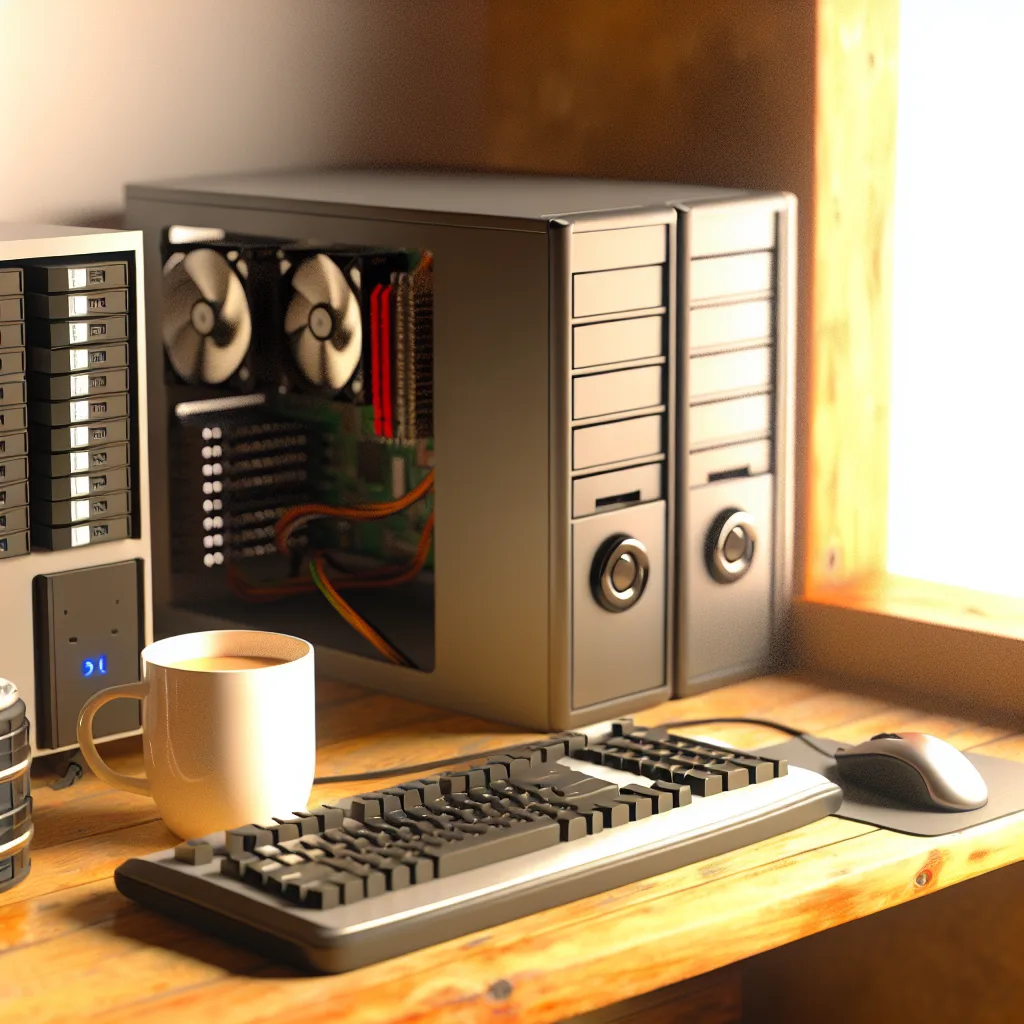
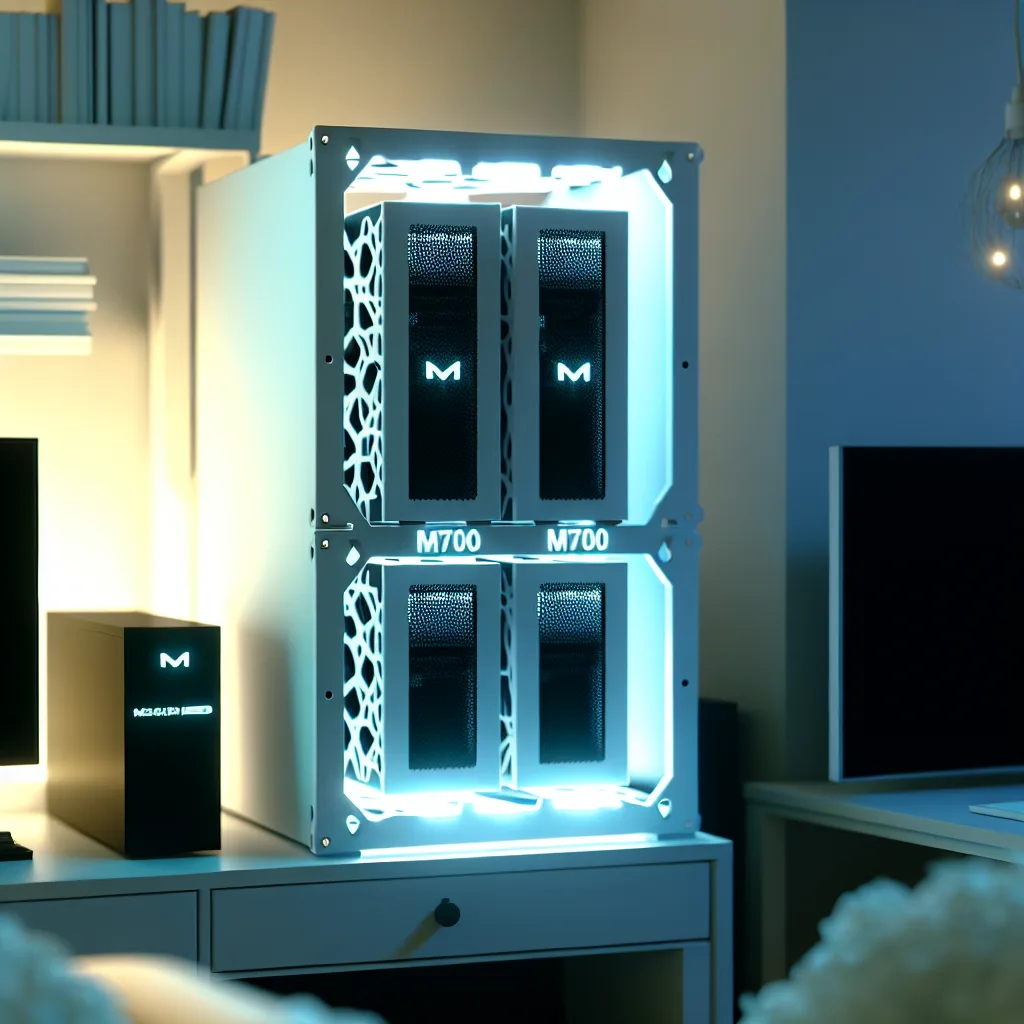
    A mini flat homelab is perfect if you live in an apartment or a smaller home. You want something compact, efficient, and quiet, but still powerful enough to handle your media streaming (like Plex), backups, or even light server tasks. The goal is to squeeze everything into a neat, unobtrusive setup.

    I chose a small server exactly for these reasons. It fit nicely on a shelf, runs cool, and is low noise, which is important if you’re sharing your living space with others.

    Setting Up Your Mini Flat Homelab for Plex

    Getting Plex up and running on a mini homelab is a straightforward way to centralize your media library. Here’s what I focused on:

    • Hardware: I used a compact, energy-efficient server with enough storage to hold my media collection. You don’t need high-end specs to run Plex smoothly, but a decent processor and ample RAM help.
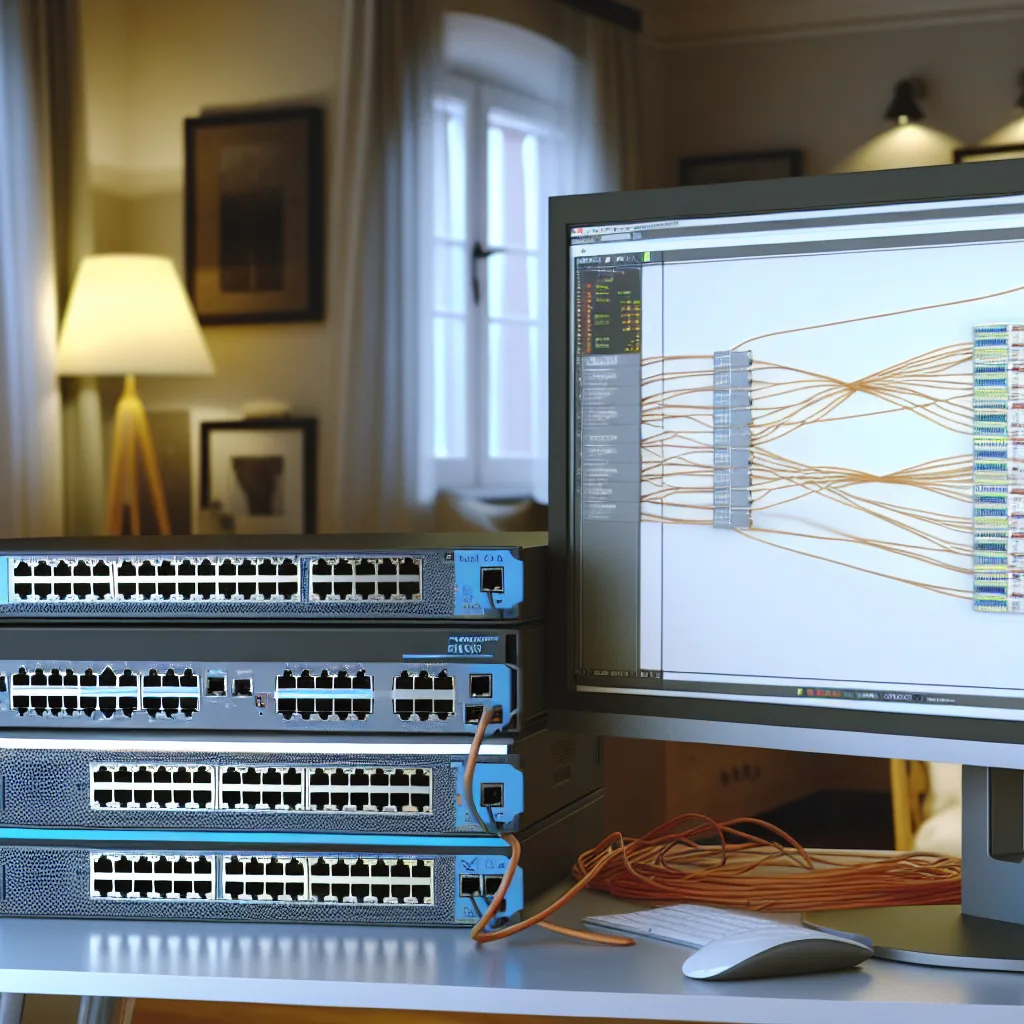
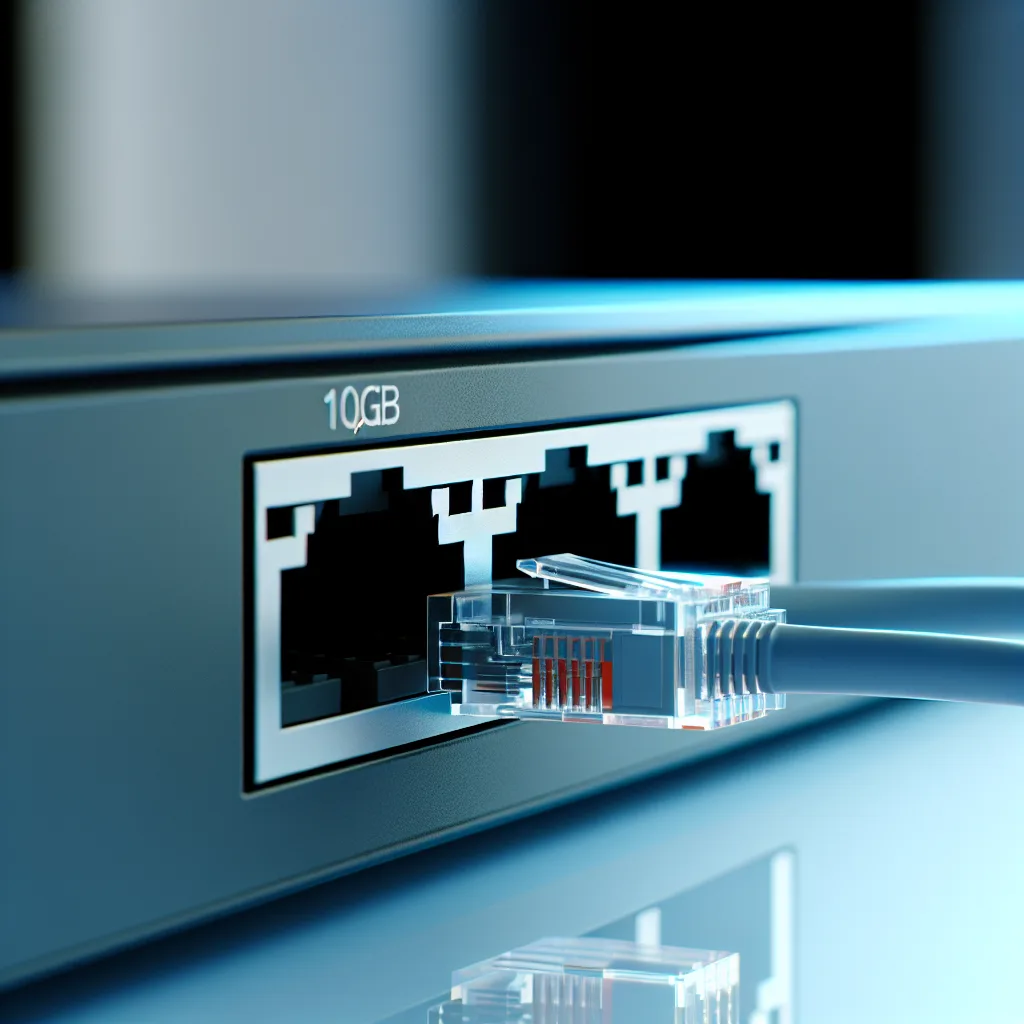
    • Network: A solid network connection is a must. Even with a mini setup, I made sure to connect via Ethernet to avoid streaming hiccups.
    • Storage: I relied on a NAS (Network Attached Storage) for my media files, ensuring fast access without overloading my server.

    If you want a detailed guide on Plex itself, you can check out the official Plex website Plex.tv.

    Tips for Managing Your Mini Flat Homelab

    Because space is limited, here are some tips I found useful:

    • Keep cabling neat and minimal to avoid clutter.
    • Opt for components that run quietly and don’t generate much heat.
    • Use energy-efficient parts to save on power costs.
    • Regularly update your software to keep everything secure and efficient.

    Why I Love This Setup

    Even though it’s “mini,” my flat homelab handles my streaming needs perfectly. It’s dependable and does its job without the fuss of larger, more complex server setups. Plus, there’s something satisfying about building a system tailored to your personal space and needs.

    If you’re thinking about a home server setup but worried about space or complexity, remember: your mini flat homelab can be a friendly, practical solution.

    For more ideas on home labs and servers, websites like Tom’s Hardware offer great insights on hardware choices and DIY setups.

    And if you’re curious about network basics for your homelab, the Linode networking guides are a helpful resource.

    Overall, starting a mini flat homelab taught me a lot about balancing power and space. It’s a great project if you enjoy a bit of tech tinkering without needing a dedicated server room or large equipment.

  • Building a Budget-Friendly NAS from an Old PC: My First Homelab Adventure

    Building a Budget-Friendly NAS from an Old PC: My First Homelab Adventure

    Creating a simple NAS system on a tight budget using spare hardware and OpenMediaVault

    Have you ever thought about setting up a budget NAS build but hesitated because you don’t want to spend a lot? That’s exactly what I did recently. I had some old hardware lying around, and instead of letting it gather dust, I decided to try my hand at homelabbing by building a simple NAS (Network Attached Storage) setup. Well, it turned out to be more of a Direct Attached Storage (DAS) because of some hardware limitations, but it’s been a fun and surprisingly useful project.

    Why a Budget NAS Build?

    A NAS system is great for storing files, backing up computers, and even streaming media around your home. But new NAS devices can get expensive quickly. So I figured, why not repurpose an old PC? I had an ancient Pentium E5300 CPU with 2GB DDR2 RAM, plus some spare 500GB hard drives and a 120GB SATA drive for the operating system. It wasn’t pretty, but it was free.

    Building My NAS on a Shoestring

    I wasn’t starting with the best hardware. The motherboard had only 1Gbps network interface, which is alright, but the CPU was quite old and slow. Also, the SATA ports were SATA 2, capping my disk speeds lower than modern SATA 3 interfaces. But I thought, that’s fine for a backup server. I installed OpenMediaVault (OMV), a great open-source NAS software that’s pretty lightweight and easy for beginners.

    I created a RAID 5 setup with three 500GB drives to balance storage space and redundancy. RAID 5 is helpful because even if one drive fails, you don’t lose data. The 120GB SATA SSD hosted the OS and OMV, so everything booted up smoothly.

    Lessons Learned from My Budget NAS Build

    • CPU performance matters, but don’t overthink it. The Pentium E5300 struggled a bit with RAID overhead and running OMV services, so I decided to use it primarily as direct attached storage rather than full network storage. It’s perfect for backing up my laptop OS using Veeam.
    • Network can be a bottleneck. With only a 1Gbps LAN port, transfers are slower than newer gigabit setups, but for home backup needs, it’s manageable.
    • Old hardware can still shine. Even though the CPU and disks were old, repurposing them saved me money and gave me a neat little backup station.

    Tips If You Want to Try Your Own Budget NAS Build

    • Check if your old PC has enough SATA ports and that your drives are compatible.
    • Use lightweight NAS software like OpenMediaVault — it’s user-friendly and well supported.
    • Consider what your storage purpose is: backup? media streaming? file sharing? This helps you decide RAID setups and performance needs.
    • Be realistic about your CPU and network speeds; they’ll shape how you use the NAS.

    If you want to explore more about home NAS setups, the OpenMediaVault website has excellent documentation and forums. You might also find guides on Tom’s Hardware helpful for optimizing older PCs for NAS use.

    Wrapping Up My Homelab Journey

    This budget NAS build is far from fancy, but it’s been rewarding. It’s a neat example of how you can turn old, forgotten parts into something practical without spending a dime. If you have some unused hardware and an itch to tinker, give it a shot. You don’t need the latest gear to start homelabbing—you just need a bit of curiosity and patience.

    Have you ever built a NAS on a budget? What hardware did you reuse? Feel free to share your experiences or questions!


    Sources:
    – OpenMediaVault: https://www.openmediavault.org/
    – Tom’s Hardware: https://www.tomshardware.com/
    – Veeam Backup Overview: https://www.veeam.com/backup-software-free.html

  • Is Haswell Still Worth Using in 2025? A Friendly Take

    Is Haswell Still Worth Using in 2025? A Friendly Take

    Exploring the Relevance of Haswell Processors in Today’s Tech Landscape

    If you’re wondering whether Haswell processors are still worth using in 2025, you’re not alone. These processors, which debuted back in 2013, have been around for over a decade now. But are they still good enough for everyday tasks, or has technology left them behind? Let’s chat about it like we’re just having coffee.

    What Are Haswell Processors?

    Haswell is the codename for Intel’s 4th generation Core processors. They were a pretty big deal when they launched, thanks to better battery life and performance improvements over previous generations. You’ll typically find Haswell in desktops and laptops from the mid-2010s.

    Are Haswell Processors Still Good Enough?

    Honestly, if you’re mostly using your computer for browsing the web, streaming videos, or working on documents, Haswell processors can still do the job. They handle everyday tasks smoothly enough and don’t demand a ton of power. For casual users, there might not be a strong reason to upgrade right away.

    However, if you dive into more demanding areas like gaming, video editing, or running the latest software and games, Haswell might start to feel a bit slow or outdated. Modern processors offer better speed, improved energy efficiency, and support for newer technologies.

    Why Would You Stick with Haswell?

    One big reason is cost. If you already have a Haswell system, especially a desktop, upgrading might not be necessary. It’s still decent for many applications, and you might save money by holding onto it a little longer. Plus, many mainstream OS updates still support these processors.

    Another reason is compatibility. Some older software and peripherals work best with Haswell systems. If your setup is stable and does what you need, there’s less pressure to move on.

    When Should You Think About Upgrading?

    If you notice that your computer is lagging during your favorite tasks or can’t keep up with specific applications, it might be time to look into newer options. Also, if battery life on a Haswell laptop seems poor or you’re missing out on features like DDR4 RAM support or better integrated graphics, then modern processors could offer tangible improvements.

    Alternatives and What’s New Since Haswell

    Since Haswell’s days, Intel has moved onto several new architectures, with significant jumps in performance and efficiency in Tiger Lake, Alder Lake, and now Raptor Lake processors. These newer chips support faster memory, better integrated graphics, and improved AI capabilities.

    If you’re curious, you can check Intel’s official site for details on current CPUs Intel Processors. Also, tech review sites like Tom’s Hardware offer in-depth comparisons that can help you decide if upgrading is worth it.

    The Bottom Line

    So, is Haswell still worth using? If your needs are basic and your hardware is stable, yes, it’s perfectly fine. But for power users or those craving the latest tech, it’s likely time to consider an upgrade. Either way, it’s about balancing what you need and what you’re willing to invest.

    Got an old Haswell machine gathering dust? Maybe dust it off and give it a whirl before you decide. Sometimes old tech can still surprise you.

  • Why I’m Setting Up a 100G Home Lab: Diving into VXLAN & SONiC

    Why I’m Setting Up a 100G Home Lab: Diving into VXLAN & SONiC

    Exploring the potential of a 100G network at home with VXLAN and SONiC technologies

    Have you ever wondered what it’s like to run a 100G home lab? Honestly, I wasn’t sure why I needed 100G at home either, but I decided to set up a VXLAN and SONiC lab to find out what it’s all about. This journey has been both a curiosity-driven experiment and a hands-on way to understand emerging network technologies better.

    What Is a 100G Home Lab and Why Try It?

    A 100G home lab refers to a personal setup using networking equipment capable of 100 Gigabits per second data transfer speeds. At first glance, it seems like overkill for anything outside of a data center—but setting one up at home is a fantastic chance to explore how modern networking works at a high-performance scale.

    For me, the main attraction was experimenting with VXLAN (Virtual Extensible LAN) and SONiC (Software for Open Networking in the Cloud). VXLAN is a network virtualization technology that helps stretch Layer 2 networks over Layer 3 infrastructure, letting you create huge, scalable networks that are flexible and resilient. SONiC, on the other hand, is an open-source network operating system originally developed by Microsoft for data centers. Combining VXLAN and SONiC puts you in the driver’s seat of cutting-edge network design.

    Getting Hands-On with VXLAN and SONiC

    Setting up a lab with VXLAN and SONiC at home isn’t just about hardware; it’s about understanding these technologies under the hood. The 100G speed becomes important here because it lets you push real workloads that mimic enterprise environments without hitting bottlenecks.

    Since SONiC runs on merchant silicon switches and supports VXLAN, I could simulate complex topologies like spine-leaf architectures and test network functions that are common in large data centers. This setup is a playground for anyone wanting to sharpen their networking skills or build a resume9 with practical experience.

    Why VXLAN and SONiC Matter

    VXLAN bridges and tunnels help network traffic flow smoothly across different parts of a big network without interruptions. They’re especially crucial when dealing with multi-tenant environments or hybrid cloud setups. SONiC, with its modular design and open ecosystem, offers the flexibility to customize network behavior and troubleshoot issues that proprietary OSes might hide from you.

    If you want to learn more about VXLAN, Cisco’s docs provide a solid introduction Cisco VXLAN Overview. And to dive into SONiC, the SONiC Project on GitHub has extensive resources to get started.

    What I’ve Learned and What’s Next

    Running a 100G home lab isn’t cheap or simple, but it’s rewarding. I’ve gained hands-on experience with network design, troubleshooting, and performance tuning that you just can’t get from theory alone. Plus, it’s set me up to be ready for job roles needing advanced networking skills.

    If you’re curious and have a bit of room and budget, I’d say giving a 100G home lab a try is worth it. Even if you don’t fully utilize the speed, the learning curve and exposure you get from working with VXLAN and SONiC can open doors.

    For those thinking this sounds intense but exciting, check out these labs and resources from tech communities and hardware vendors. It’s all about starting small and building your network knowledge from there.

    Happy networking, and remember: sometimes the best way to understand technology is just to dive in and try it yourself!

  • Building My Cozy Home Lab: A Personal Journey into Home Server Setup

    Building My Cozy Home Lab: A Personal Journey into Home Server Setup

    Exploring my compact yet powerful home server setup, from 3D-printed racks to running Plex and Pi-hole.

    I recently put together a neat little home lab that’s been a lot of fun to build and even more fun to use. If you’ve ever thought about diving into a home server setup but weren’t sure where to start, I wanted to share how I built mine from scratch with some clever tweaks and trusty gear.

    Starting With the Basics: The Case and Rack

    My home server setup all began with a Cooler Master Elite 130 case. It’s small but sturdy — perfect for what I had in mind. I wanted something compact that could fit in my workspace without taking up too much room. To keep everything organized and sturdy inside, I used a 3D-printed rack designed by Lab Rax. I actually modified the rack’s feet to bolt straight into the bottom of the case so everything fits perfectly and stays put. It’s those little personal touches that make the difference in a setup like this.

    Hardware Highlights in My Home Server Setup

    For the hardware, I combined a few essentials and some older stuff I had lying around. This includes a UniFi Ultra light 8 port PoE switch, which powers my network devices smoothly. Running the core of the server is some older gaming hardware, repurposed to handle my TrueNAS server efficiently. The mix of new and old tech keeps it budget-friendly and reliable.

    What My Home Server Setup Runs

    Currently, my system is juggling quite a few services:

    • Plex for media streaming around the house
    • Radarr, Sonarr, and Prowlarr to automate my movie and TV show downloads
    • Immich to handle photo backups and management
    • Pi-hole to block ads network-wide

    All these services run quietly in the background, making my daily digital life easier and more enjoyable. Next on the list is setting up Home Assistant for smart home control, which I’m really looking forward to.

    Why a Home Server Setup?

    I enjoy the control and privacy of running my own server at home. It’s like having a personal cloud without the recurring fees or privacy concerns that come with public cloud services. Plus, it’s a fun challenge and learning experience. If you’re curious about starting your own, I’d recommend checking out resources like TrueNAS documentation for servers and UniFi’s official website for network equipment info.

    Final Thoughts

    Building a home server setup doesn’t have to be intimidating or expensive. With some creativity — like using a custom 3D-printed rack — and a bit of patience, you can create a system that fits your needs and space. And the more you use it, the more you’ll find ways to expand and improve.

    If you want a setup that grows with you and keeps your data close, this might be a great project to start. I’m excited to share more updates as I get Home Assistant up and running next!

    For more info on building and managing home servers, sites like How-To Geek provide excellent guides and tips.

  • Why I Switched to Rackmount Servers for My Home Lab

    Why I Switched to Rackmount Servers for My Home Lab

    Exploring the advantages of a rackmount setup over traditional shelves and towers in home server setups

    If you’ve ever toyed with home servers or a home lab, you might’ve stuck with good old shelves and tower cases like I did. But recently, I made the jump to rackmount servers, and honestly, it’s been a breath of fresh air. In this post, I want to share why I switched to rackmount servers and what that change brought to my setup.

    What Are Rackmount Servers?

    Rackmount servers are designed to fit into a standard server rack—a tall, metal frame with slots—that allows multiple devices to stack vertically. Unlike bulky towers or scattered shelves, this setup keeps everything neat and organized. For anyone managing several machines or networking gear, this is already a win.

    My Old Setup: Clunky and Power Hungry

    Before the switch, my home lab had a mix of tower PCs and an old Dell R710 that devoured power. The Dell R710 is a reliable server but not the lightest on power usage, which made me rethink my setup. My towers were just sitting on a shelf—some with i5 processors, others with a Celeron or Ryzen CPU—each running different roles from backup storage to game servers.

    Transitioning to Rackmount Servers

    The new rack includes a 24-port coupler patch panel on top, followed by an HP Aruba 2920 POE+ 48-port switch, and then the server units themselves:

    • An i5-9500T with 64GB RAM, 512 NVMe SSD, and 3x 12TB HGST drives for a backup NAS running Proxmox 9.0.
    • A Celeron J1900 with 16GB RAM and a 3TB HDD that handles multiple Discord bots.
    • A Ryzen 3900X with 128GB RAM, 4TB NVMe, and 2x 20TB EXOS drives running the main NAS, media servers like Jellyfin, Radarr/Sonarr/Jackett for media management, an IRC server with bot bridging to Discord, and a few game servers.

    Each of these is housed neatly in the rack, which replaced the shelf and towers. The space savings and cable management alone are huge pluses.

    Why Rackmount Servers?

    Using rackmount servers really helped me in a few ways:

    • Efficiency: They consume less power compared to the older gear they replaced, which is nice both for my electric bill and the environment.
    • Space-saving: Everything fits in one spot instead of spread across a shelf or desk.
    • Cooling: Airflow tends to be better in these racks, meaning the hardware can run cooler with less noise.
    • Organization: With a patch panel and structured cabling, troubleshooting network issues is a breeze.

    Things to Consider

    Of course, switching to rackmount isn’t for everyone. They can be louder, heavier, and sometimes pricier upfront. Also, you need a proper rack setup to mount them, so make sure you’ve got space for it.

    Conclusion

    If you’re running a home lab and looking for a way to streamline your gear, rackmount servers might be the way to go. The switch brought a cleaner, more efficient setup that’s easier to manage and scale.

    For anyone interested in exploring this further, check out the HP Aruba 2920 switch specs for reliable networking gear and the Proxmox VE documentation for virtualization options. Also, if you’re thinking about a rack, browsing Rackmount solutions on Newegg can give you a sense of options and pricing.

    Switching from shelves and towers to rackmount servers has genuinely made managing my home lab a pleasure. If you care about space, efficiency, and organization, it’s worth considering the upgrade.

  • There’s a Server Stuck on My GPU? Let’s Unpack This Tech Head-Scratcher

    There’s a Server Stuck on My GPU? Let’s Unpack This Tech Head-Scratcher

    Exploring the surprising intersection of servers and GPUs in everyday tech setups

    Ever come across something so oddly specific you just have to dig into it? That’s what happened when I bumped into the phrase “server stuck on my GPU.” It sounds like a glitch in the matrix or maybe a quirky tech joke, but it actually points to a very interesting dilemma some people face when mixing hardware and software in computing environments.

    Let’s get one thing clear first: a server and a GPU (graphics processing unit) are quite different pieces of tech. Servers are powerful computers or programs that manage data, services, or resources for other computers. GPUs, on the other hand, are specialized chips designed primarily to handle graphics rendering but have found wider use in fueling intense computing tasks like machine learning and video editing.

    So, what does it mean when someone says there’s a “server stuck on my GPU”? In many cases, this phrase pops up when software or virtual machines acting like servers lock onto GPU resources and just don’t let go—kind of like a clingy guest refusing to leave your living room. This can cause performance issues because your GPU remains tied up, affecting everything else that needs that processing muscle.

    Why Does a Server Get Stuck on a GPU?

    The short answer: resource allocation hiccups. When running servers that rely on GPU acceleration—think AI models or games streamed from cloud setups—sometimes the processes don’t shut down properly, leaving the GPU busy. Drivers or virtualization software bugs can also contribute. If a GPU-based server process crashes or hangs, you might see your GPU usage stuck at high levels.

    How to Fix a Server Stuck on GPU

    Here’s a quick rundown of steps you can try if you face this problem:

    • Restart GPU driver: Sometimes a simple driver reset can free up the stuck resources. Tools like NVIDIA’s Display Driver service or AMD’s equivalent often let you restart without rebooting the whole machine.
    • Kill stubborn processes: Use task manager or terminal commands to force-quit GPU-hogging apps.
    • Update drivers and software: Running the latest GPU drivers ensures you have crucial bug fixes.
    • Reboot the system: Classic but effective—rebooting resets hardware states.
    • Check virtualization settings: If using VMs, ensure GPU passthrough settings are correct and compatible.

    When to Seek Professional Help?

    If these DIY tricks don’t solve the problem, it might be time to reach out to support teams—be it for your GPU manufacturer like NVIDIA or AMD, or your server software provider. They often have patches or advice for specific quirks.

    Wrapping Up

    The idea of a server stuck on a GPU might sound strange at first, but if you’re venturing into setups involving GPU-accelerated servers, streaming, or virtual machines, it’s a situation you might encounter. Knowing why it happens and how to troubleshoot can save you some headache—and get your system running smoothly again.

    Want to dive deeper? Check out NVIDIA’s official guide on virtual GPU deployments or AMD’s GPU virtualization overview. They’re great resources for understanding how servers and GPUs can work together better.

    Technology can throw some funky curveballs, but with a little curiosity and the right info, it’s nothing we can’t figure out together.

  • Building My First Home Server: A Simple Setup with Big Possibilities

    Building My First Home Server: A Simple Setup with Big Possibilities

    Discover how a DIY home server setup can bring your digital projects to life, from gaming to media streaming.

    I’ve recently jumped into the world of DIY home servers, and I wanted to share what I’ve learned so far. Setting up a home server is a fun project that opens up a lot of possibilities for managing your own digital space. Whether you’re interested in gaming servers, media streaming, or just a way to centralize your files, a home server setup might be something you want to try.

    Why Start a Home Server Setup?

    A home server setup lets you take control of services that might otherwise rely on third-party providers. Instead of streaming movies or music from cloud services, you can host your own media server. You could also run game servers for you and your friends, back up your data automatically, or experiment with different software.

    My Server Rack: A 3D Printed Beginning

    To organize my gear, I 3D printed a custom rack. Printing your own rack is a neat way to tailor your setup to the space you have and the exact hardware you want to use. It also gives a bit of a personal touch to an otherwise technical project.

    I set up a TP-Link SG108PE switch — a solid choice if you want a reliable switch with Power over Ethernet (PoE) capability, which is handy for powering devices directly over the network cable. On that rack sit two Lenovo ThinkCentre M700 PCs.

    What My Servers Are Doing

    The top Lenovo machine runs a Minecraft server. It’s been a fun way to host gaming sessions privately with friends, and Minecraft is a light but versatile choice for a home server project. The bottom one is planned to run a Jellyfin media server, which allows me to stream my own movies and TV shows across devices without relying on subscription services. I’m also considering adding a music server there as well.

    Why Jellyfin? Live Your Media Your Way

    Jellyfin is an open-source media server that streams your music, movies, and TV shows to any device. It’s a great alternative to commercial services because it’s free, private, and fully controlled by you. You can learn more about Jellyfin at their official website.

    Tips for Your First Home Server Setup

    • Start small: Use spare PCs or low-power devices like Raspberry Pi to test out what you want.
    • Plan your network: A switch like the TP-Link SG108PE helps manage devices efficiently.
    • Think about cooling: Servers can get warm, so adequate ventilation is important.
    • Secure your setup: Keep your home server protected with good passwords and firewall settings.

    Resources to Explore

    If you want to dive deeper, check out official Lenovo documentation for setting up ThinkCentre devices here, and for networking gear, the TP-Link SG108PE product page is a useful resource here.

    Wrapping Up

    Diving into a home server setup has been rewarding and educational. It’s amazing to see how a couple of machines and some networking gear can power different services like gaming servers and media streaming. If you’re curious about starting your own setup, my advice is just to begin and learn as you go. There’s a lot of room for customization and growth, and it’s a practical way to understand more about how networks and servers work.

    If you’re thinking about your own home server, what projects would you start with? Or if you’ve been into it for a while, what tips would you share? I’d love to hear your thoughts!

  • Upgrading My Home Lab: Scoring Big with 34 Servers from a Government Auction

    Upgrading My Home Lab: Scoring Big with 34 Servers from a Government Auction

    Why picking up 34 servers is the start of a home server setup journey worth sharing

    If you’ve ever toyed with the idea of a home server setup, you know that finding the right equipment can sometimes feel like a mix of luck and hustle. Recently, I decided to dive deeper into upgrading my own home lab by grabbing a surprising haul: 34 servers snagged from a government auction. Yes, you read that right—34. It’s a bit wild, but it’s exactly the kind of opportunity that can kick your home server setup into gear.

    Why 34 servers?

    It all started with a bit of planning and a good eye on auctions. These servers weren’t just any servers—they were 26 Dell PowerEdge T320s and 8 R520s. Both are solid, reliable models that can handle quite a bit of virtualization and storage tasks, which is perfect for home enthusiasts like me looking to build a powerful lab without breaking the bank.

    Now, before you think it’s overkill, hear me out. My current setup was a bit of a mixed bag—old OptiPlex machines, some mini PCs, and even a Home Assistant Green device. Fun in its own way, but not ideal for expanding or stabilizing my home server setup.

    Getting Started: Migrating and Organizing

    First on the docket was migrating the Frigate container. For those unfamiliar, Frigate is a popular open-source NVR (network video recorder) that uses AI to detect objects and events from security cameras. It’s a great example of a practical service that benefits hugely from a reliable server setup.

    Along with migration, I picked up a used rack. A rack might seem like a minor piece, but trust me, it’s crucial for keeping things neat, cooling efficient, and future-friendly.

    The Benefits of a Thoughtful Home Server Setup

    Having a reliable home server setup isn’t just about flexing a large number of machines. It’s about stability and flexibility. With these new servers, I can run multiple virtual machines, host different services, experiment with clustering, and still have spare capacity for backups or media servers without lag or downtime.

    My Tips for Anyone Thinking of Upgrading Their Home Lab

    If you’re considering your own upgrade, here are a few things I learned:
    Check auctions and used markets: Sometimes you can score well-maintained, enterprise-grade equipment at prices way below retail.
    Plan your space: A rack might seem like a luxury but having a proper setup space saves headaches later.
    Start with migrating key services: Like I did with Frigate, begin by moving your most important workloads to see how the new system handles them.

    If you want to learn more about PowerEdge servers, Dell’s official PowerEdge page is a great resource to understand their specs and use cases (https://www.dell.com/en-us/work/shop/povw/poweredge-servers). Also, you can read about Frigate on their GitHub repository (https://github.com/frigatecms/frigate) for a deeper dive into its capabilities.

    Final Thoughts

    Buying 34 servers might sound crazy, but it’s turned out to be a really fun challenge and an exciting upgrade for my home server setup. It’s proof that sometimes, the best tech upgrades come from unexpected places. If you’re just starting or looking to expand, don’t overlook auctions or secondhand markets—they can be a goldmine for serious home lab enthusiasts.

    For more inspiration on building and upgrading home labs, sites like ServeTheHome (https://www.servethehome.com) offer tons of discussions, reviews, and tips on enterprise and home-grade hardware.

    So, here’s to upgrading, learning, and making the most out of your home server setup, no matter the scale!

  • Why 10Gb RJ45 Ports Are Worth Having at Home

    Why 10Gb RJ45 Ports Are Worth Having at Home

    Say goodbye to network bottlenecks with 10Gb RJ45 ports in your home setup

    If you’ve ever dealt with slow network speeds at home, you know how frustrating it can be when your devices are bottlenecked by older hardware. Recently, I got my hands on some 10Gb RJ45 ports that I was able to take home from work — and honestly, the difference is noticeable. In this article, I want to share why 10gb rj45 ports might be something to consider if you’re looking to boost your home network speed without a complicated setup.

    What Are 10Gb RJ45 Ports?

    10Gb RJ45 ports are Ethernet ports that support 10 gigabits per second data transfer speeds, using the familiar RJ45 connector. Unlike the traditional 1Gb Ethernet ports most home setups use, these give you a huge jump in bandwidth without requiring optical fiber or specialized cabling. If you’re using Cat6a or better cabling at home, you can take advantage of these ports to streamline everything from file transfers to streaming multiple 4K videos at once.

    Why Consider 10Gb RJ45 Ports for Your Home Network?

    Having 10gb rj45 ports is like opening up the lanes on a highway. Suddenly, data can flow with fewer slowdowns even if several devices are active at the same time. Here’s what I’ve noticed:

    • No Network Bottlenecks: Speeds from local NAS devices and high-bandwidth uses like gaming, video calls, or media servers are way smoother.
    • Ease of Setup: They use the same RJ45 connectors, so upgrading doesn’t mean rewiring your whole house, just swapping out your switches or NICs.
    • Future-Proofing: As internet providers offer faster speeds, having 10Gb ports means your home network can handle those increases without another round of upgrades.

    What You Need to Know Before Upgrading

    Before jumping into getting 10gb rj45 ports, check that your cables support the speeds — Cat6a or better is recommended for reliable 10GBASE-T connections. Also, your devices need compatible network cards, and your switch (or router with switch capabilities) must have corresponding 10Gb ports.

    If you’re curious for a deeper dive into the technical side, you can check out the official IEEE standards for 10G Ethernet or get practical tips on upgrading from websites like Network World.

    My Experience Using 10Gb RJ45 Ports

    Taking these ports home changed my perspective on what’s possible with consumer networking gear. Streaming and transferring files felt instant, even when multiple devices were connected and active. Plus, because these ports look identical to regular Ethernet ports, there’s no new kind of cable or gadget to worry about.

    Something else — if you’re into DIY or home lab projects, having 10gb rj45 ports opens up options for faster local storage solutions or virtual machine setups without having to get fancy with fiber optics.

    Wrapping Up: Are 10Gb RJ45 Ports Worth It?

    If your home network still feels like it’s stuck in the slow lane, 10gb rj45 ports might be what you need to speed things up without breaking the bank or overhauling your infrastructure. They’re a smart, straightforward upgrade that can make a big difference for anyone who demands a little more from their internet and local network.

    For more hands-on advice and up-to-date tech insights, definitely keep an eye on trusted tech sites like Tom’s Hardware and manufacturer pages such as Intel’s network adapters.

    So, if you’re thinking about bumping up your home network speeds, 10gb rj45 ports are a practical step worth considering. No fuss, just faster connections.