Category: AI

  • How AI Agents Manage IoT Devices: A Friendly Guide to Smart Edge Control

    How AI Agents Manage IoT Devices: A Friendly Guide to Smart Edge Control

    Understanding AI orchestration in IoT workflows with safe and dynamic device management

    If you’ve ever wondered how smart home devices like thermostats or security cameras seem to just ‘know’ what to do, you’re in the right place. Today, I’ll walk you through how AI agents IoT systems manage to plan and execute commands on these devices — not by magic, but by some clever design behind the scenes.

    What Are AI Agents in IoT?

    When we talk about AI agents IoT, we’re really looking at software components that can take initiative: they can sense the environment, make decisions, and then act on IoT devices like your smart lights or thermostats without you needing to lift a finger. But it’s not just about making predictions or analyzing data — these agents actually orchestrate entire workflow loops where sensors feed information and actuators carry out tasks safely and reliably.

    How Do AI Agents Plan and Execute Commands?

    The secret sauce lies in how these AI agents structure their operations. A well-designed agent uses something called the MCP tool design pattern. MCP stands for Modular Control Patterns, which means each action the agent takes is:

    • Atomic: Each operation handles one clear task from start to finish.
    • Validated: Inputs and outputs are checked with JSON Schema to avoid surprises.
    • Logged: Every action is recorded in logs for tracking and debugging.
    • Safe: Built-in error handling and security defaults help prevent mishaps.

    Imagine your thermostat adjusting the temperature. The AI agent detects room temperature via sensors, plans to cool or warm the room, commands the thermostat, and checks if the change happened correctly — all in a tidy chain of steps.

    Real World Example: Thermostat Pipeline

    A good illustration is the thermostat pipeline. The AI agent dynamically discovers devices it can control (say, a smart thermostat model you just installed). It then follows the MCP pattern to:

    1. Gather temperature data.
    2. Decide if the temperature should rise or drop.
    3. Send commands to adjust the thermostat.
    4. Validate the response.
    5. Log every step.

    This pipeline ensures your home stays comfy without you needing to micromanage. Plus, the system maintains safety checks to avoid sending wrong or conflicting commands, which can be crucial in homes and offices.

    Why This Matters for Edge AI

    When AI is operating on the “edge” — meaning close to where data originates, like a smart home device instead of a cloud server — reliability and security are vital. AI agents IoT acting as orchestrators, not just predictors, means they actively manage devices based on real-time conditions and adapt as new devices show up or environments change.

    Looking Ahead: Research and Innovation

    Researchers are exploring cool ideas like adaptive registries to let AI agents keep track of devices as they appear and disappear. There’s also growing interest in trust-aware execution, meaning the AI can judge when it’s safe to act and when it should ask for human input.

    Wrapping Up

    So next time you adjust your smart thermostat with a voice command or a phone app, remember there’s an AI agent behind the scenes doing quite a bit of planning and executing to make things just right. This kind of system, built on modular, safe, and dynamic patterns, is a great example of how smart tech quietly makes life easier.

    To dig a bit deeper into the technology, you can check out the official JSON Schema documentation or explore how AI on the edge works at NVIDIA’s Jetson platform.

    Understanding AI agents IoT is not just for techies but anyone curious about how the smart devices around us work in harmony. Feel free to share this with a friend who’s as intrigued by smart homes as you are!


  • When Your Cat Meets the New Home Security System

    When Your Cat Meets the New Home Security System

    Why Charlie isn’t exactly thrilled about the latest home tech upgrade

    Installing a new home security system should be straightforward, right? You get better protection, some peace of mind, and maybe even fancy features like alerts on your phone. But here’s the thing: if you have pets, the story can get a bit more interesting — or hilarious — than you might expect.

    Take Charlie, for example. Charlie just isn’t a fan of the new home security system that I installed last week. It’s funny because while the system itself works great from a technical standpoint, it’s the little things — like Charlie’s reaction — that really bring the experience to life.

    Why the Home Security System Matters

    A home security system isn’t just about guarding your front door. These days, they monitor every entrance, windows, and sometimes even motion inside the house. The primary goal is to keep your home safe from intruders.

    I went with a system that supports smart features, including motion sensors, cameras, and real-time alerts. For anyone considering an upgrade, checking manufacturers like SimpliSafe or Ring gives you a good idea of what’s available and how these systems can be tailored to your needs.

    Charlie’s Not Crazy About It

    As soon as the new system was up, Charlie started acting strange. Whenever the motion sensors activated — mostly when I was moving around the house — Charlie would stare intensely at the small blinking lights or sometimes even try to paw at the sensors.

    One evening, the alarm triggered accidentally because Charlie was chasing a shadow. While it was a little inconvenient, it made me realize how pets perceive the new gadgets we bring into our homes differently than we do.

    It’s worth noting that many home security systems have pet-friendly settings. These adjust sensor sensitivity to ignore smaller movements, which can help prevent false alarms. You can find more about these options on sites like ADT’s pet-friendly system tips.

    Adjusting to Your Pet’s Needs

    If you’re installing a home security system and have pets like Charlie, keep these tips in mind:

    • Choose motion sensors that are pet-immune or pet-friendly.
    • Position sensors thoughtfully, avoiding places where your pet spends most of their time.
    • Spend time observing how your pet reacts and adjust settings accordingly.
    • Use cameras to keep an eye without disturbing your pet’s routine.

    Final Thoughts on the Home Security System and Pets

    A new home security system can make a big difference in home safety, but it’s important to remember how it affects everyone at home — especially the four-legged family members.

    Charlie’s antics with the sensors have been a bit of a headache, but also a reminder that technology should adapt to us, and sometimes a little patience goes a long way.

    If you want more details on how to pick a system that fits both your family’s safety and your pets’ comfort, check out CNET’s guide to home security systems. It’s a solid starting point to understand your options.

    Ultimately, balancing security and pet comfort is doable, and it’s worth it for that extra peace of mind — for both you and Charlie.

  • Understanding the Emporia Vue 3 Connector Type: A Simple Guide

    Understanding the Emporia Vue 3 Connector Type: A Simple Guide

    Everything you need to know about the Emporia Vue 3 connector type and why it matters for your energy monitor setup

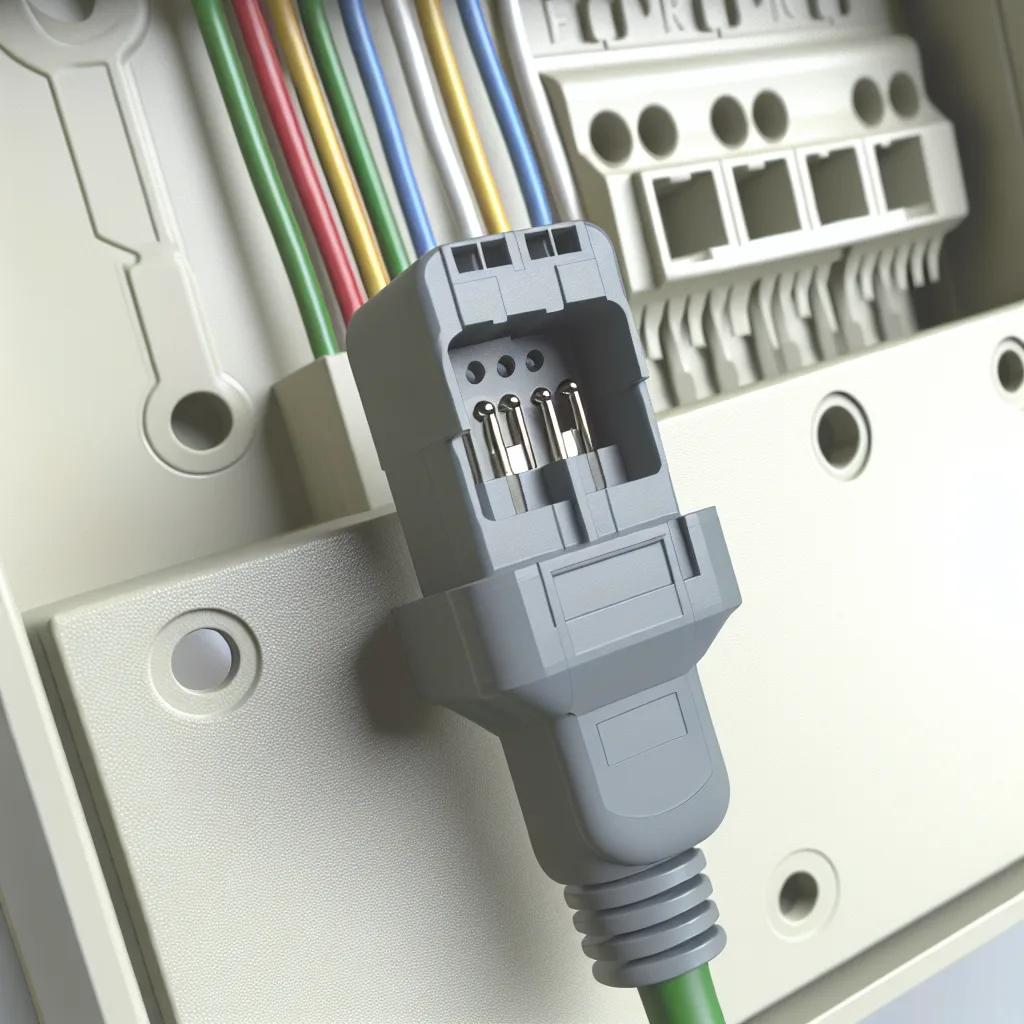
    If you’re looking into home energy monitoring solutions, you might have stumbled upon the Emporia Vue 3. One of the important aspects to consider when setting up your device is the Emporia Vue 3 connector. It’s a small detail but knowing exactly what kind of connector you need can save you a lot of headaches and make installation smoother.

    What is the Emporia Vue 3 Connector?

    The Emporia Vue 3 connector is essentially the part that connects the whole system together. It’s the interface between your device and your electrical panel, allowing the monitor to pull real-time data about your energy consumption.

    Getting the right connector type is crucial because it ensures that your Emporia Vue 3 will work accurately and safely with your home’s wiring. If this connector doesn’t match your panel or is faulty, the device might not give you the correct readings or worse, it might not function at all.

    Why Does the Connector Type Matter?

    You might wonder why the connector type is such a big deal. Well, electrical setups can vary widely between homes. Some use standard connectors while others might need specific types to fit their panels.

    For instance, Emporia Vue 3 typically uses a standard connector compatible with many common panel setups, but it’s always a good idea to check your panel’s requirements or consult the Emporia official installation manual before purchasing.

    Having the right connector type also keeps your installation tidy and safe, reducing the risk of loose connections or incompatible wiring.

    How to Identify Your Emporia Vue 3 Connector

    Identifying the connector type isn’t too tricky. The Emporia Vue 3 usually comes with a quick-connect setup, meaning the connectors are designed for easy snapping into place.

    If you are replacing a component or double-checking compatibility, the best approach is to look at the physical shape and pin layout compared to the official specs. For detailed specs and images, you can visit the Emporia Vue 3 product page.

    A Few Tips for Installation

    • Always turn off power when working with your electrical panel.
    • Double-check connector matching before finalizing installation.
    • If unsure, don’t hesitate to contact a licensed electrician or reach out to Emporia’s support team.

    Wrapping It Up

    The Emporia Vue 3 connector might seem like a tiny piece of the puzzle, but it’s definitely an important one. Getting it right means your energy monitor will communicate flawlessly with your home’s wiring, giving you accurate data to track and manage your energy use.

    For more details, you can browse forums or reach out to energy monitoring communities online. And if you’re curious about smart energy solutions generally, the U.S. Department of Energy offers good resources on smart meters and home energy management.

    Feel free to dive in and get hands-on, but always prioritize safety first.

  • How to Install Shelly 1PM Gen4 in a UK Wall Socket Without a Fuss

    How to Install Shelly 1PM Gen4 in a UK Wall Socket Without a Fuss

    A simple guide to getting your Shelly 1PM Gen4 smart switch up and running in UK homes

    If you’ve been diving into smart home gadgets lately, you might have come across the Shelly 1PM Gen4. It’s a neat little device that lets you control and monitor your home’s electrical appliances remotely. But when it comes to installing the Shelly 1PM in a UK wall socket, things can get a bit tricky if you’re not familiar with the wiring differences. Don’t worry—I’ve been there and figured out some practical tips that can help you breeze through your Shelly 1PM installation.

    What Is the Shelly 1PM Gen4?

    First off, the Shelly 1PM Gen4 is a smart Wi-Fi relay switch. It’s small, powerful, and capable of measuring power consumption while letting you control devices via an app or voice assistants like Alexa and Google Home. It’s popular for upgrading light switches, sockets, or any appliance you want to smarten up.

    Understanding UK Wiring: The Challenge for Shelly 1PM Installation

    One of the hurdles with Shelly 1PM installation in the UK is the wiring setup. Unlike some other countries, UK wall sockets follow strict wiring regulations with designated live, neutral, and earth wires. The catch? Shelly 1PM requires a neutral wire to function, but not every UK socket provides an accessible neutral wire inside, especially older fittings.

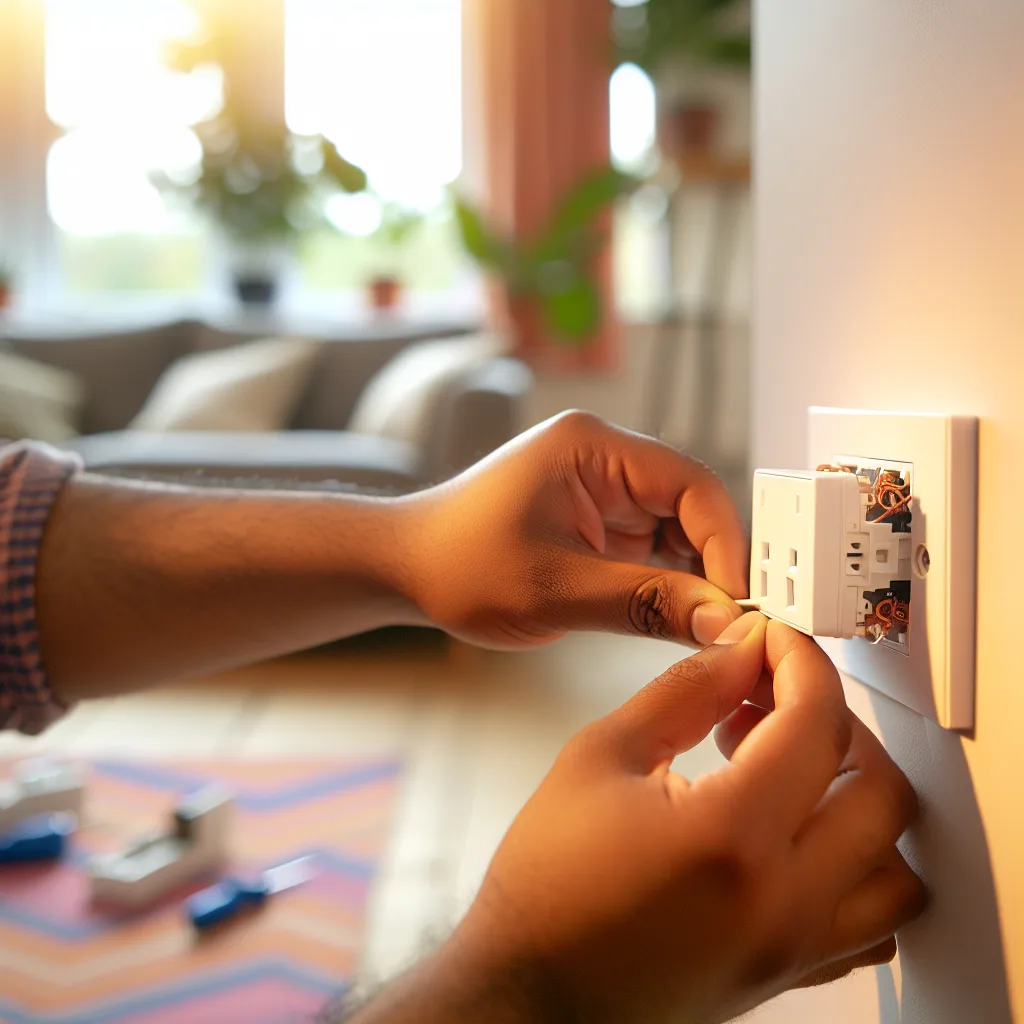
    This can be frustrating, but it’s not the end of the road. Before you even start, make sure to turn off the power at your consumer unit (the fuse box) to avoid any danger.

    Steps to a Smooth Shelly 1PM Installation

    Here’s what helped me get my Shelly 1PM working without calling an electrician immediately:

    • Check Your Socket’s Wiring: Open the socket faceplate carefully to examine if there’s a neutral wire present. Sometimes it’s tucked away or connected in a way that it’s hard to spot.
    • Use a Multimeter: If you’re confident, a multimeter will help verify which wires are live, neutral, and earth.
    • Consider the Switch Box: If your socket doesn’t have a neutral, the neutral wire might be at the light switch box instead. In those cases, running the Shelly 1PM there can be the solution.
    • Consult the Manual: Shelly’s official installation guide is super helpful. It includes diagrams specific for the UK wiring setups (Shelly UK Installation Manual).
    • Don’t Skimp on Safety: If in doubt, it’s always worth bringing in a qualified electrician. Electricity isn’t something to mess around with.

    Benefits of Getting It Right

    Once installed, the Shelly 1PM gives you real-time energy consumption data and remote control capabilities, which can genuinely make a difference in managing your home’s energy usage. Plus, integrating it with home automation systems is easier once you’ve got a solid installation in place.

    Additional Resources for Your Shelly 1PM Installation

    A Quick Word of Advice

    If you’re new to DIY electrical projects, the Shelly 1PM installation might seem daunting. But with a bit of patience and the right approach, it’s absolutely doable. Take your time, follow instructions closely, and always put safety first.

    Feel free to share your experiences or questions. Sometimes just talking through the process makes it a lot less intimidating!

  • Smart Ideas for Home Automation in New Construction

    Smart Ideas for Home Automation in New Construction

    Planning your perfect connected home with essential automation features

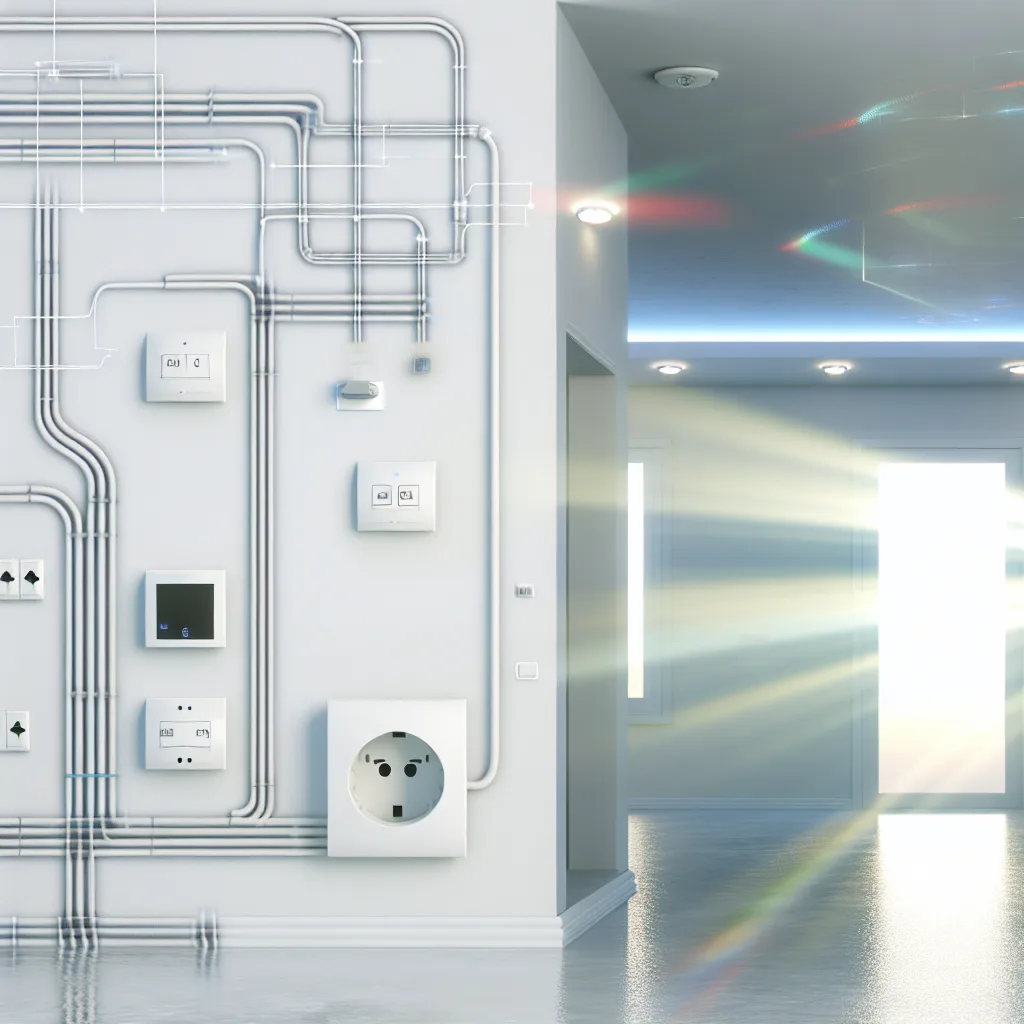
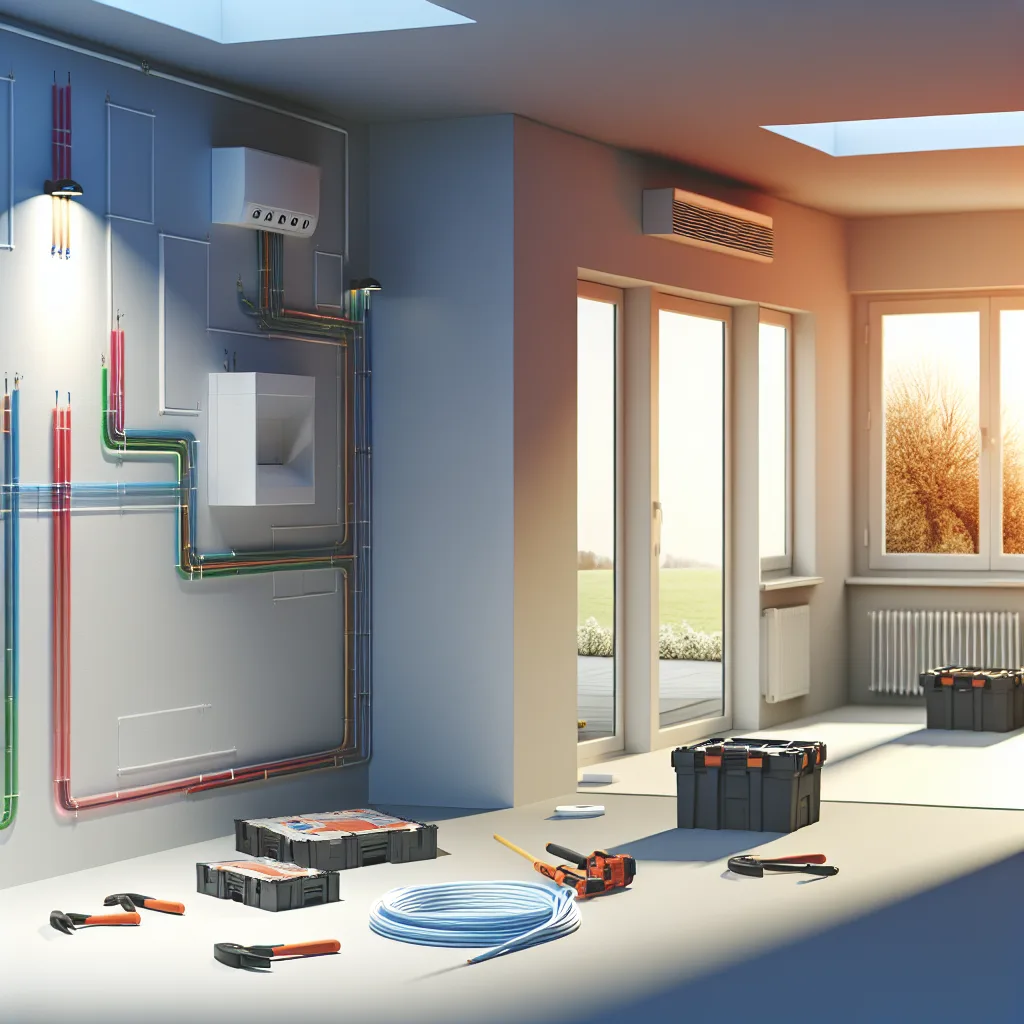
    If you’re starting from scratch on a new home build, the idea of integrating home automation right from the start is super appealing. Having a clean canvas means you can plan and install everything properly without costly retrofits later on. So, let’s dive into some essential home automation ideas to consider, especially if you’re planning to run Cat6 wiring everywhere for solid connectivity.

    Why Prioritize Home Automation in New Construction?

    When you build new, you have the freedom to embed smart tech the right way. The infrastructure supporting home automation, like wiring and placement of sensors, matters just as much as the devices themselves. Running Cat6 cables throughout your home is a smart move because it offers reliable, fast Ethernet connections for everything from security cameras to smart hubs.

    Must-Have Home Automation Features to Include

    1. Whole-Home Networking

    Start with a strong network backbone. Use Cat6 wires to create wired Ethernet connections in key spots—living rooms, bedrooms, and home offices. Wired connections are more stable than Wi-Fi, especially for devices like smart TVs, security cameras, and network-attached storage (NAS). Having a centralized hub or server can let you control many devices seamlessly.

    2. Smart Lighting System

    Automated lighting brings convenience and energy savings. Install smart switches or bulbs that you can control remotely or schedule. You can also add motion sensors to automate lights in hallways and bathrooms. Choosing a system compatible with popular platforms like Apple HomeKit, Google Home, or Amazon Alexa makes it easier to integrate.

    3. Security and Surveillance

    Running wires for security cameras and sensors during construction is ideal. Wired cameras don’t rely on spotty Wi-Fi signals and can continuously stream footage reliably. Consider sensors for doors and windows and smart locks for keyless entry. Integrating all security tools into a single app makes monitoring simple and stress-free.

    4. Climate Control

    Smart thermostats can learn your schedule and preferences, helping you save on energy bills. When wired properly, you can even integrate smart vents or humidity sensors for added comfort. Some systems can control multiple zones, which is great for larger homes.

    5. Audio and Entertainment

    Think about sound systems in different rooms controlled centrally or by voice. Wired connections ensure high-quality audio without dropouts. Multi-room audio systems can be a nice touch for entertaining or just daily enjoyment.

    Tips for Successful Installation

    • Plan your wiring map carefully. Document where all Cat6 cables go.
    • Centralize your network equipment in a clean, accessible location.
    • Consider future expansions — leave extra conduits or wiring paths.
    • Work with a professional installer experienced with smart home systems.

    Learn More

    Want to dive deeper? Check out CNET’s Smart Home guides for device reviews and automation tips. The Consumer Technology Association also offers great resources on smart home technologies.

    Final Thoughts

    Planning for home automation during new construction is about making your home more comfortable, efficient, and secure without the hassle later. Running Cat6 everywhere sets you up for reliable device connections. From smart lights to security, each automation choice builds a foundation for a more connected life.

    If you’re building your dream home, consider these home automation essentials to make it truly smart — without the headache of trying to retrofit later.

  • Choosing the Right Smart Lock for Your European Door

    Choosing the Right Smart Lock for Your European Door

    Finding a keypad-friendly smart lock that fits your European door setup without fuss

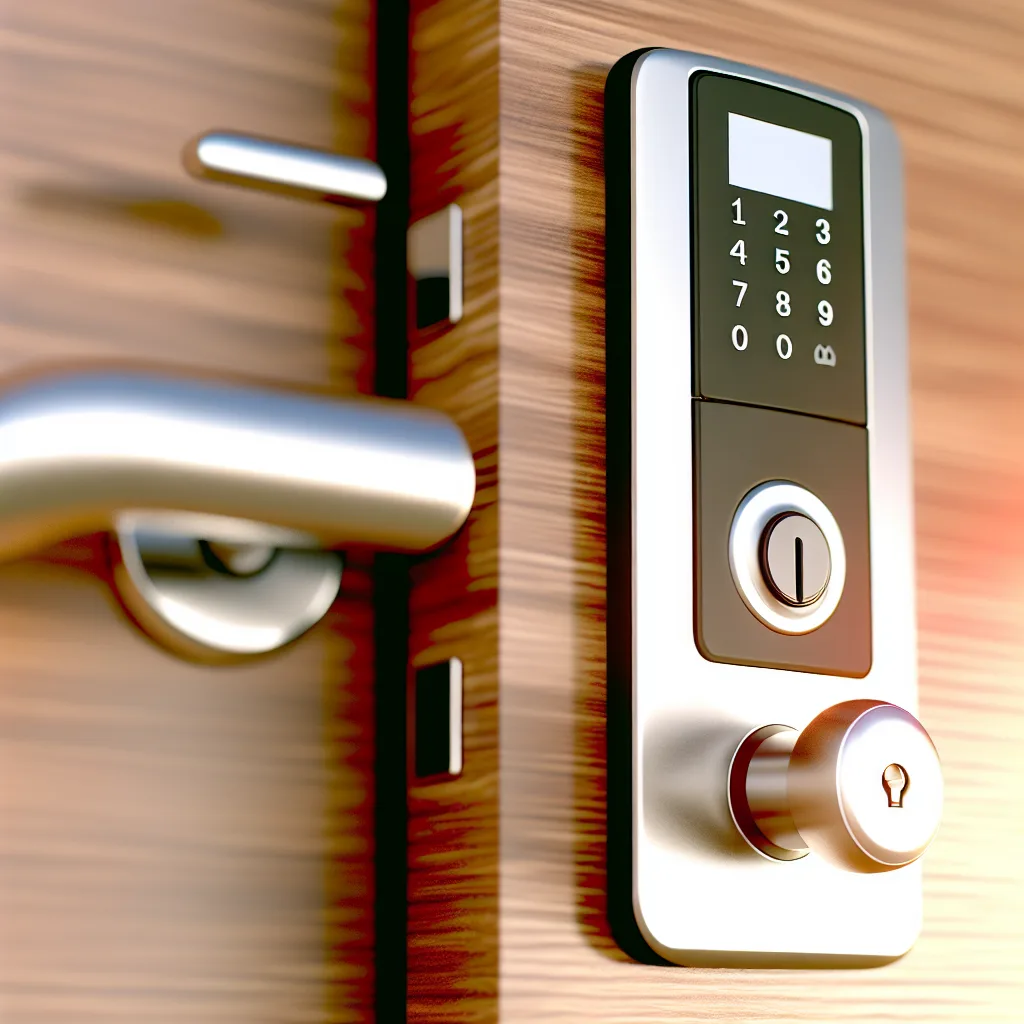
    If you’ve been on the lookout for smart locks Europe-style, you probably know how tricky it can be. European doors often have different setups compared to what’s common elsewhere, and not every smart lock fits neatly into that picture. I recently went through this exact search — hoping to find a smart lock that not only works well with my European door but also includes a keypad for unlocking from the outside without keys.

    Many smart locks on the market assume a bit more space or a different handle-and-lock layout. For European doors, where the internal lock and handle sit close together, finding the right lock means checking for compatibility carefully. The last thing you want is to buy a smart lock only to discover it jams or doesn’t cover your door’s mechanism properly.

    Why Keypad Access Matters for Smart Locks Europe

    Having a keypad on your smart lock is more than a convenience — it’s peace of mind. Imagine coming home with your hands full or worrying about losing your keys; a keypad lets you simply punch in a code and walk right in. For many, it’s the perfect blend of tech and practicality.

    I noticed that the keypad option narrows down the choices quite a bit when you add in the European door specifics. But don’t worry, there are products designed with these challenges in mind.

    The Challenge of European Door Lock Layouts

    European doors often have their lock and handle positioned closely together inside, which limits the types of smart locks that fit well. Some popular styles, like those with a large external unit or bulky internal parts, just aren’t compatible. If the lock overlaps with your handle or interferes with the door frame, it can cause usability issues or even damage.

    This is why checking measurements and style compatibility before purchasing is crucial. You might need to look for locks marketed specifically for European doors or that mention support for close-handle layouts.

    Why the Teedee Lock Stands Out

    Among the smart locks I found, the Teedee smart lock caught my eye. It’s designed with a sleek profile that works around tight spaces inside, which is typical for European doors. Plus, it includes a keypad for easy, keyless entry.

    The Teedee lock offers easy installation without needing to replace the entire lock mechanism and works with your existing keys — a bonus if you want to keep your current key setup. Its keypad is intuitive, and it supports remote management via a smartphone app, making it convenient to grant and revoke access from anywhere.

    If you want to check it out, the official Teedee website offers detailed specifications and installation guides.

    Other Options and Considerations

    While the Teedee is promising, it’s always good to consider a few alternatives. Brands like Nuki and Danalock also develop smart locks that sometimes fit European doors well, often with keypad accessories or alternative entry methods. Checking product specs and user reviews can help a lot.

    Here are a few tips when shopping for smart locks Europe needs:

    • Measure your door’s lock and handle spacing carefully.
    • Look for locks marketed for European doors.
    • Consider whether you want a keypad, Bluetooth, or app-only entry.
    • Check if the lock allows you to keep your existing keys.
    • Read reviews from users who have similar door setups.

    The Nuki Smart Lock 3.0 is a popular choice, but note it usually relies on your smartphone rather than a keypad, which might not fit everyone’s needs.

    Final Thoughts on Smart Locks Europe

    Finding a smart lock that fits both your European door and your lifestyle can take some digging, but it’s definitely doable. A keypad is a fantastic feature to have alongside traditional keys, giving you flexibility and security.

    The Teedee smart lock is a solid contender worth considering if your door handles and locks are close together inside. Don’t forget proper measurements and compatibility checks before buying.

    With smart locks, you’re not just upgrading your door — you’re making day-to-day life a bit smoother and safer. If you’re curious about the latest in smart home security for European doors, giving these locks a closer look is definitely worth your time.

    For more detailed info on smart lock technology, you might want to browse Wirecutter’s guide to smart locks, or dive into How-To Geek’s overview.

    Feel free to share what you find or any experiences you’ve had! Switching to a smart lock can be a great step toward modernizing your home, especially when it fits just right.

  • Future Proofing Your House Remodel: Simple Strategies for Long-Term Comfort

    Future Proofing Your House Remodel: Simple Strategies for Long-Term Comfort

    Future proofing your house remodel means thinking ahead about technology, materials, and design to keep your home ready for tomorrow.

    When you’re diving into a house remodel, the idea of future proofing can feel a bit abstract. But future proofing your house remodel is really about making smart choices now so your home stays comfortable, efficient, and adaptable for years to come. It’s easier than you might think, and it pays off by saving you time, money, and hassle later on.

    What Does Future Proofing House Remodel Actually Mean?

    At its core, future proofing a remodel means thinking ahead — about technology, materials, energy efficiency, and lifestyle needs. It’s not about guessing the future but about building flexibility and durability into your home.

    For example, installing extra conduit or wiring during your remodel lets you add or upgrade smart home features without ripping out walls later. Choosing durable, low-maintenance materials means your home will age well with less upkeep. And designing rooms that can evolve with your family’s changing needs keeps your space useful for longer.

    How to Start Future Proofing Your House Remodel

    Here are some practical strategies to consider:

    • Plan for Technology: Think about what tech you might want in the next 10+ years. Install high-quality wiring for internet and smart devices. Consider a smart thermostat, security systems, or even home automation hubs. Check resources like CNET’s Smart Home Guide for ideas.

    • Energy Efficiency: Build energy efficiency into the remodel by upgrading insulation, windows, and HVAC systems. The U.S. Department of Energy offers excellent tips on improving home energy efficiency.

    • Flexible Spaces: Design rooms that can serve multiple purposes. Think guest rooms that double as offices or playrooms that transform into study areas.

    • Quality Materials: Choose materials that stand the test of time — hardwood floors instead of carpet, durable siding, and low-maintenance finishes.

    • Accessibility: Even if you’re not planning to age in place, consider adding accessible features like wider doorways or walk-in showers to adapt to future mobility needs.

    Why Future Proofing Matters

    It might be tempting to cut corners or just go with current trends. But future proofing your house remodel means less hassle and cost down the line. When you’re ready to upgrade tech or adjust your living space, the groundwork has already been laid.

    Plus, it often adds value to your home. Buyers appreciate homes with thoughtful upgrades that anticipate evolving needs and technology.

    Final Thoughts

    Future proofing your house remodel isn’t about needing all the latest gadgets today or predicting exactly what life will look like in a decade. It’s about smart planning — putting in place practical elements and good materials so your home can grow and change with you.

    If you want to dig deeper, sites like HomeAdvisor’s remodeling tips offer plenty of practical advice on planning your remodel.

    So, start with the basics: think long-term about technology, energy, and your lifestyle. Your future self will thank you for making your house not just livable today, but ready for whatever tomorrow brings.


    External Resources:
    CNET Smart Home Guide
    U.S. Department of Energy – Energy Efficiency
    HomeAdvisor Remodeling Tips

  • Can Motorized Curtains Really Cut Your Summer Energy Bills? Here’s What I Found Out

    Can Motorized Curtains Really Cut Your Summer Energy Bills? Here’s What I Found Out

    Testing motorized curtains for energy savings and comfort during hot months

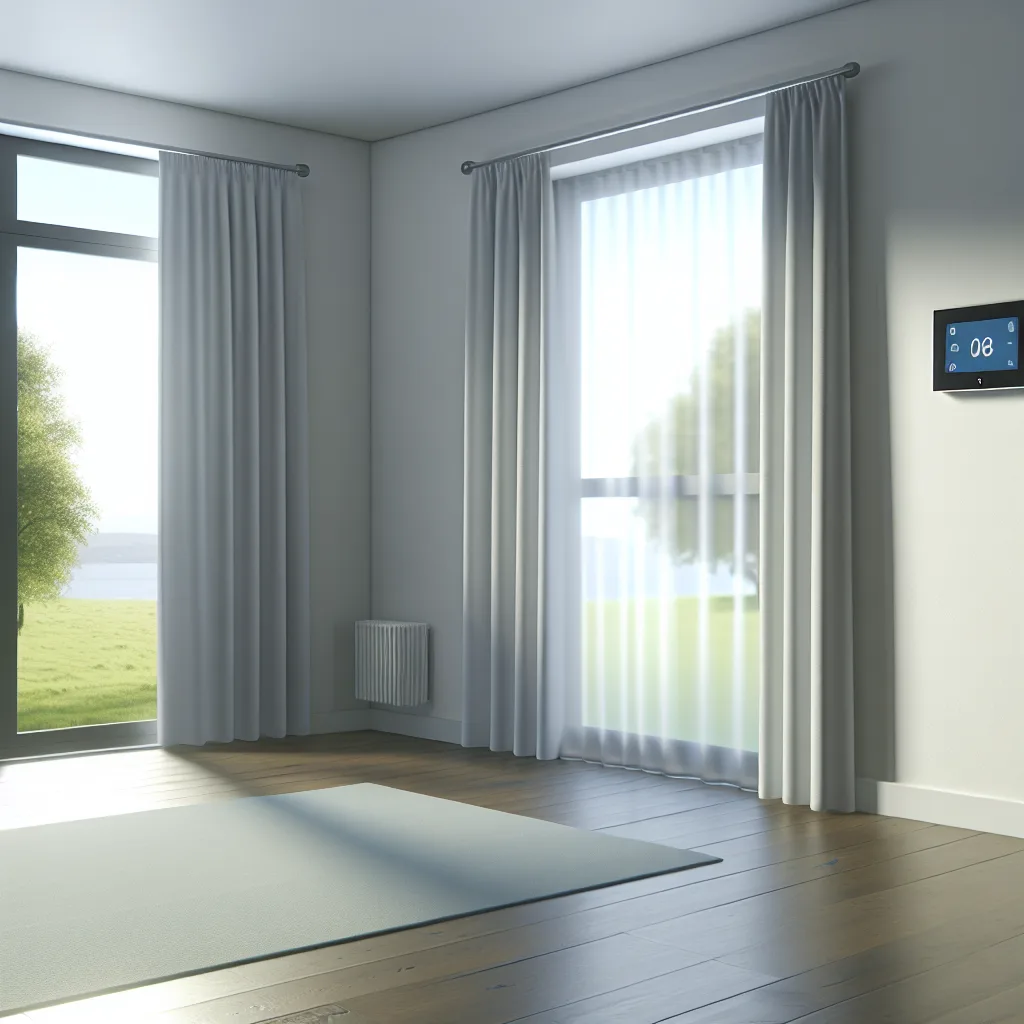
    I’ve always wondered if motorized curtains were just a fancy gadget or if they could actually make a difference when it comes to cooling your home—and saving money on energy bills. So this past summer, I decided to test motorized curtains energy savings for myself. I installed motorized curtains in my living room and set them to close around 10 AM and reopen at 5 PM, keeping the thermostat running as usual. After a few weeks, I noticed some interesting results that might surprise you.

    What Made Me Try Motorized Curtains for Energy Savings?

    The idea was simple: by closing the curtains during the hottest part of the day, I could block out sunlight and reduce the amount of heat entering the room. This should help the air conditioning unit work less and keep the room cooler. I chose a quiet, reliable model from Bringnox, which integrates smoothly with Apple’s HomeKit system. This made automating curtain control easy with predefined scenes, so I didn’t have to think about closing them.

    My Results: Did Motorized Curtains Save Me Money?

    • Lower Electricity Bills: Over the summer, my electric bill dropped by about 12–15%. It was noticeable without changing my usual thermostat settings.
    • More Consistent Room Temperature: The living room felt cooler during the day, and the temperature stayed more stable.
    • Seamless Automation: Integration with HomeKit worked like a charm, with curtains closing and opening right on schedule.
    • Quiet Operation: The Bringnox curtains were much quieter compared to others I tried, making it a non-intrusive addition.

    So yeah, motorized curtains energy savings are real, at least in my experience. Blocking direct sunlight during peak hours reduces heat gain, which lessens the cooling load on your AC.

    How to Get the Most from Motorized Curtains

    If you’re thinking of trying this out, here are a few tips:

    • Choose Quiet, Quality Motors: You don’t want loud creaks disturbing your peace.
    • Automate Based on Sunlight: Use smart home systems like HomeKit, Alexa, or Google Home to sync curtain movement with the time of day or sunlight levels.
    • Combine with Energy-Efficient Windows: Curtains help, but paired with good window insulation, you’ll see even better savings.

    Other Benefits You Might Not Expect

    Apart from saving energy, motorized curtains offer convenience and comfort. You can control them without leaving your seat, and they help protect your furniture from sun damage by blocking UV rays during the brightest parts of the day.

    If you want to learn more about how smart curtains work, check out this Bringnox product page and see what options fit your home. Also, the Energy.gov guide on window treatments is a great resource about how coverings can impact energy use.

    Final Thoughts on Motorized Curtains Energy Savings

    While motorized curtains aren’t a silver bullet for all cooling costs, they’re a practical piece of the puzzle. For me, the energy bill savings, combined with comfort and automation, made them worth considering. If you live somewhere sunny and want a smart way to keep your home cool without cranking the AC, these curtains might be a simple, effective answer.

    Have you tried motorized curtains or other smart window treatments? I’d love to hear how they worked out for you!

  • Getting Your Server Back Up: The Joy of Temporary Fixes and Fresh Starts

    Getting Your Server Back Up: The Joy of Temporary Fixes and Fresh Starts

    Why the first few days after rebooting your home server setup are both tricky and rewarding

    If you’ve ever had to bring your home server setup back online after it’s been down for a while, you know it’s a unique mix of excitement and a bit of chaos. I just went through one of those moments where, after a few months offline, I got my server back up and running. And yes, most of the cables are still temporary, but the important thing is that it’s alive again.

    Getting a home server setup running smoothly after months can feel like a fresh start. It’s that combination of familiar tech comfort and a little bit of a puzzle. You might find some cables swapped out temporarily, settings to revisit, or little updates you skipped during downtime. But then, when you see everything humming, it feels like you’ve brought something valuable back to life.

    Why Getting Your Home Server Setup Back Matters

    Servers are often called the backbone of your home network, storing files, running apps, or hosting websites. When your setup goes offline, it can disrupt a lot without you realizing just how much. For someone like me, piecing it back together is about reclaiming control over my data and tools.

    If you’re new to the world of home servers, setting one up can be a rewarding challenge. The process of getting it back adds a layer of troubleshooting and problem-solving that’s almost like revisiting an old project with a fresh perspective.

    Temporary Solutions That Keep Things Moving

    When I restarted my server, I didn’t have all the fancy permanent cables or new hardware at hand. Instead, I used what was available — mostly temporary cables and quick fixes. It’s not the ideal long-term setup, but it does the job. And that’s okay.

    Using temporary cables allowed me to test if my components still worked without committing to a full rebuild yet. This stage helped me identify what parts I might need to replace or upgrade. If you’re in this position, don’t stress about things looking perfect; just focus on functionality first.

    Tips for a Smooth Restart of Your Home Server Setup

    • Check Connections: Start with the basics. Loose or swapped cables can be the culprit behind many startup issues.
    • Update Software: Once your server is running, check for software updates. This can fix bugs and improve security.
    • Backup Data: If your server was down for a while, ensure your data is backed up regularly from now on.
    • Keep It Simple Initially: Use temporary setups to confirm system health before making permanent changes.

    Learning Through the Process

    Restarting a server isn’t just about flipping a switch. It’s a good reminder of how much technology quietly supports our daily lives and how small adjustments can make a big difference. The flexibility of temporary fixes also highlights the creative ways we can solve problems with what we have.

    If you’re interested in diving deeper into setting up and maintaining your home server, resources like How-To Geek’s Home Server Guides and the FreeNAS documentation are fantastic places to start. They offer clear explanations whether you’re just beginning or looking for advanced tips.

    Getting your home server setup back up—even temporarily—is a practical and satisfying step. It reminds us why these systems are worth the effort and how much you can learn just by getting your hands on the wires and tech again. So, for anyone about to reboot their own setup, take it one cable, one connection at a time. Before you know it, your server will be back to supporting your digital life in no time.

  • DIY Raspberry Pi NAS Setup: Simple Network Storage at Home

    How to turn a Raspberry Pi into a handy NAS for backing up your stuff with ease

    If you’ve ever thought about setting up your own network attached storage (NAS) but felt overwhelmed by complex setups, I want to share a simple approach to a raspberry pi nas setup that might just inspire you. Using a Raspberry Pi 5 I had lying around, I put together a basic shell script combined with a little Python server to create an easy-to-use NAS accessed via Tailscale. It’s not fancy, but it’s practical, especially for backing up photos and videos.

    Why Consider a Raspberry Pi NAS Setup?

    A NAS is basically a dedicated device that stores your files and shares them across your home network or even beyond. But commercial NAS boxes can be pricey. Using a Raspberry Pi for NAS is a budget-friendly alternative that also teaches you a lot about networking and file storage.

    How I Built My Raspberry Pi NAS Setup

    I started with a Raspberry Pi 5, which offers great performance for this kind of project, including USB 3.0 ports that help with faster data transfers when using external drives. I wrote a shell script to automate the basic setup — things like configuring the drives, setting permissions, and mounting file shares. On top of that, I created a simple Python server for controlling and interacting with the storage remotely.

    One key feature is accessing the NAS securely over the internet using Tailscale, a VPN service that’s easy to set up and maintain. This means I can back up my photos and videos whenever I want, even when I’m away from home, without messing with complicated network configs.

    Benefits of My Raspberry Pi NAS Setup

    • Cost-effective: Uses hardware you might already have.
    • Flexible: Customize scripts and server functions based on your needs.
    • Accessible: Tailscale makes remote file access seamless and secure.
    • Learning Experience: You get to understand your network and storage better.

    Getting Started Yourself

    If you want to try building a similar setup, here are some helpful resources:

    Wrapping It Up

    This raspberry pi nas setup isn’t going to replace enterprise solutions. It’s modest but practical — perfect if you want a simple, personal backup system or a mini server to tinker with. If you’re into DIY tech projects, it’s a satisfying way to reuse hardware and get a hands-on understanding of your home network.

    Give it a shot and see what you can create with a little scripting and a Raspberry Pi!