Category: AI

  • Solving NFS Issues Between Proxmox and TrueNAS

    Solving NFS Issues Between Proxmox and TrueNAS

    A straightforward guide to fixing NFS connection problems in your home lab setup

    If you’ve been tinkering with a home lab or running virtual machines, chances are you’ve bumped into file sharing headaches—especially when using network file systems like NFS. I recently faced an NFS issue between Proxmox and TrueNAS, two popular choices for virtualization and storage, and I thought sharing my experience might help someone out there.

    Understanding the NFS Issue

    Network File System (NFS) is a way to share folders over a network so multiple systems can access the same data. Proxmox, a versatile virtualization platform, often pairs with TrueNAS, a reliable storage server, to create powerful setups. But when NFS doesn’t play nice, it can be frustrating.

    The main symptoms of my problem were connection refusals, interrupted mounts, and files not syncing correctly between the Proxmox host and the TrueNAS storage. If you’re seeing similar issues, it’s usually down to a few common culprits.

    Common Causes of NFS Issues

    1. Permissions and Ownership: NFS relies heavily on user IDs and permissions. If Proxmox can’t access the NFS share because of permission issues on TrueNAS, it throws errors.
    2. Network Configuration: A misconfigured firewall or network settings can block NFS traffic. Since NFS uses specific ports, those need to be open.
    3. NFS Version Mismatch: Sometimes, Proxmox and TrueNAS are set to use different NFS versions (like NFSv3 vs NFSv4). This difference can cause mounting problems.
    4. Exports Configuration: TrueNAS exports (shares) need to allow the Proxmox IP addresses and the right security options.

    How I Fixed My NFS Problem

    Here’s the quick rundown of my troubleshooting process:

    • Checked Permissions: I logged into TrueNAS and made sure the NFS share permissions included the Proxmox user or at least allowed the IP range of my Proxmox server. Also, I ensured the user IDs matched or used ‘all_squash’ with ‘anonuid’ settings where needed.

    • Verified Network Settings: A quick firewall check confirmed that TCP ports 2049 (NFS) and 111 (RPC) were open between the two systems.

    • Unified NFS Version: I set both Proxmox and TrueNAS to use NFSv3 because sometimes the newer NFSv4 has compatibility quirks.

    • Updated Exports: On TrueNAS, I edited the NFS export settings to explicitly allow my Proxmox server’s IP and used the right security and access options.

    After these tweaks, I restarted the NFS services on TrueNAS and remounted the drives on Proxmox. Voila! Everything worked smoothly.

    Helpful Tips for Your Setup

    • Use the showmount -e <truenas-ip> command from Proxmox to see what shares are available.
    • On Proxmox, mount NFS shares with the vers= option to specify NFS version explicitly.
    • Keep an eye on logs (/var/log/syslog or dmesg) for clues if things go sideways.

    Additional Resources

    If you want to dive deeper or get official guidance, check out the TrueNAS NFS Documentation, and Proxmox’s own Storage Documentation.

    Wrapping It Up

    An NFS issue between Proxmox and TrueNAS can feel like a bit of a puzzle at first—permissions, network settings, versions—it all matters. But getting it right means your storage and virtual machines communicate smoothly without hitches. This setup is great for anyone looking to maximize their home lab, so don’t be afraid to tinker and troubleshoot. If I can get through it, so can you!

    Remember, the key is patience and checking each piece step-by-step. Good luck, and happy lab-building!
  • Getting the Most Out of Your Promise Vess RAID 1840i: A Beginner’s Guide

    Getting the Most Out of Your Promise Vess RAID 1840i: A Beginner’s Guide

    Understanding how to optimize your Promise Vess RAID 1840i storage setup

    If you’ve recently picked up a Promise Vess RAID 1840i or are thinking about diving into RAID systems, you might be scratching your head about how the storage sizes work — especially when mixing different hard drive capacities. I was there too, and I want to share a few insights and tips that helped me make the most of this system, hopefully saving you some time and frustration.

    What is Promise Vess RAID 1840i?

    The Promise Vess RAID 1840i is a storage array designed for handling multiple drives — up to 16 bays, supporting drives like 3TB hard disks to build a large storage pool. It’s great for those needing centralized storage, whether for backups, media libraries, or small business needs. But RAID systems can be tricky, especially when it comes to drive sizes.

    Why Does My Total Storage Only Reflect the Smallest Drive?

    One common thing I noticed right away is with RAID arrays like this, if you mix bigger and smaller drives, the system often limits each drive’s use to match the smallest one in the set. For example, if you have twelve 3TB drives and add a 12TB drive, the RAID will usually only count 3TB from that larger drive.

    This is normal behavior because RAID levels (especially RAID 5 or RAID 6) require uniform drive sizes to balance data across disks for redundancy and performance. The Promise OS, which manages the array, isn’t designed to flexibly use the extra space from bigger drives in a mixed environment.

    Should I Keep Using Promise OS or Switch?

    I wondered the same. The Promise OS is great for a straightforward, traditional RAID setup. But it isn’t flexible for mixing different drive sizes or using them beyond the smallest drive’s capacity.

    Alternatives like UNRAID are popular because they allow different sized drives and use only the space you add, but they require specific hardware compatibility. The Promise Vess RAID 1840i’s hardware RAID controller doesn’t work with UNRAID since UNRAID relies on a software-based approach and direct disk access.

    So unless you replace your hardware RAID array with a software solution on a standard PC or server, you’re mostly sticking with Promise OS.

    What Are My Options?

    Here’s what I gathered:

    • Stick with matched drives for full capacity: If you want to maximize space, you’ll want drives all the same size. This avoids wasting space capped by the smallest disk.

    • Use the extra space on larger drives outside the RAID: You can sometimes partition the extra space on bigger drives and use it separately if the system supports it.

    • Upgrade hardware or rebuild with a different system: If your setup needs flexibility with mixed drive sizes, consider creating a NAS or server running something like TrueNAS or FreeNAS, which can handle drives differently but require more technical knowledge and different gear.

    Helpful Resources

    Final Thoughts

    The Promise Vess RAID 1840i is solid gear if you want a traditional RAID setup with matched drives. If you’re looking to mix drive sizes and use their full capacity, you might hit some constraints because of how RAID and Promise OS handle capacity. It’s a balance between hardware capabilities and what you want from your storage.

    If you’re just starting out, keeping your drives uniform and sticking with Promise OS is the simplest path. But if you grow more adventurous with storage flexibility, exploring software-driven solutions like UNRAID or TrueNAS might be worth it. Either way, having a clear picture of your setup needs is key to making RAID work for you.

    Hope this helps you get the most from your Promise Vess RAID 1840i setup!

  • Building a High-Availability k3s Cluster with Mac Minis

    Building a High-Availability k3s Cluster with Mac Minis

    How I set up a reliable k3s deployment using Mac mini M4 models and simple networking gear

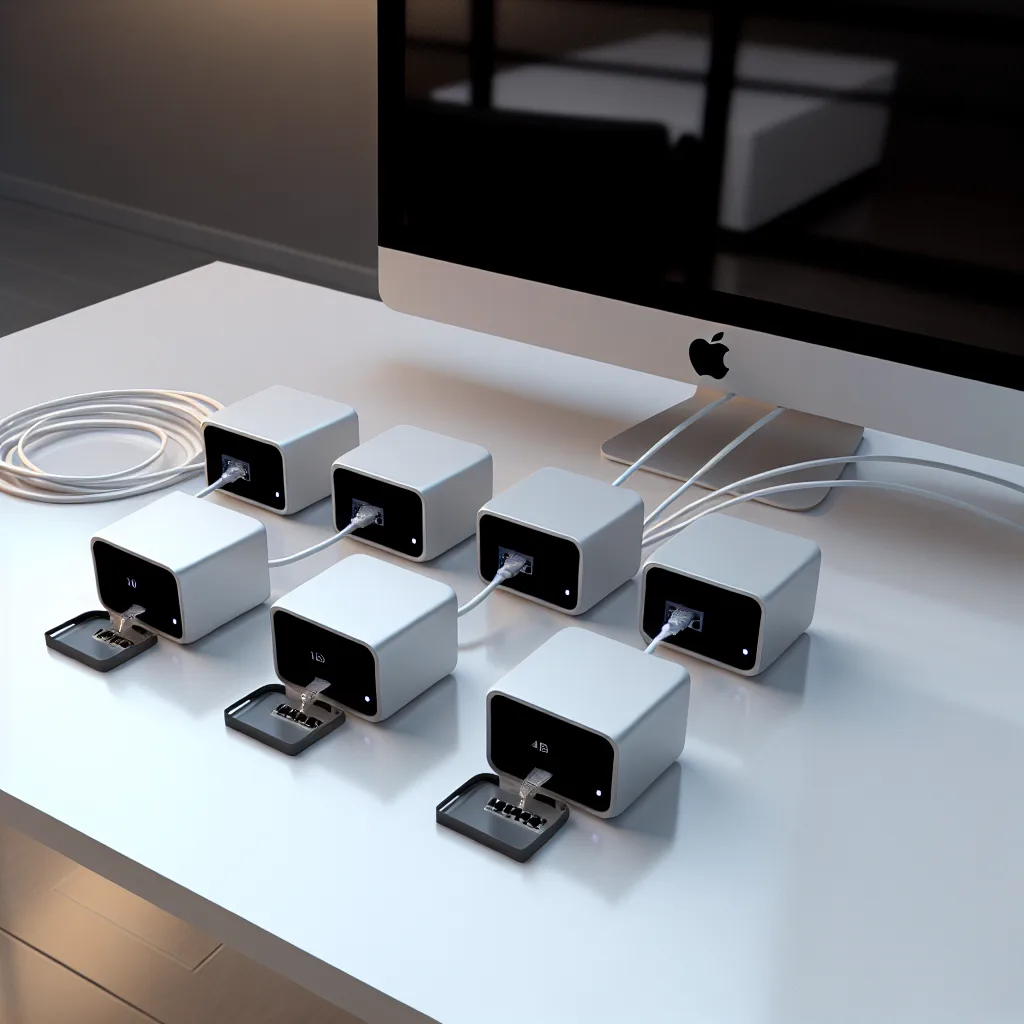
    If you’ve ever thought about running your own Kubernetes cluster at home or a small office setting, a high-availability k3s cluster is a neat project to dive into. Recently, I embarked on building one myself using six Mac mini M4 base models — yes, those little powerhouse machines Apple released recently. Here’s how it went, and what I learned along the way.

    Why a High-Availability k3s Cluster?

    When it comes to Kubernetes, a high-availability (HA) setup means your cluster can keep running smoothly even if some nodes fail. For me, using lightweight Kubernetes distributions like k3s makes it much easier to manage this at home without massive servers. Plus, k3s is known for its simplicity and efficiency.

    The Hardware Setup: Mac Minis M4

    I chose six Mac mini M4 devices. Each came with 256GB of internal storage and 16GB of RAM — a solid base configuration. These machines are known for their powerful CPU and efficiency, which suits running container workloads well.

    To boost storage, I hooked each Mac mini up to a passive cooling enclosure that expanded their storage to 1TB. This extra space is quite handy, especially when running multiple containers or experimenting with different workloads.

    A crucial piece in this setup is networking. I connected all six Mac minis using a 10Gbps switch. The 10Gb Ethernet ports built into these Mac minis make a big difference. This high-speed connection helps keep communication between nodes fast and reliable, which is vital for HA clusters.

    Cluster Architecture: Controllers and Workers

    I split the Mac minis into two groups:

    • Controllers: Three Mac minis act as controller nodes. Initially, I also ran workloads on two of these controllers, which helped manage resources flexibly.
    • Workers: The other three Mac minis are dedicated worker nodes.

    This division helps maintain your cluster’s availability and stability. If one controller goes down, the others keep things running.

    Software Side: Lima with RedHat and k3s

    To run k3s on the Mac minis, I used Lima — a Linux VM manager designed for macOS. Inside each Lima instance, I ran a lightweight RedHat-based Linux distribution. This approach lets the Mac minis run Linux containers smoothly.

    From there, I deployed k3s on each node, configuring the cluster to work together across the network.

    Why This Setup Works Well

    • Efficient hardware: Mac minis offer a powerful, compact solution without the noise and power draw of traditional servers.
    • Storage expansion: Passive cooling enclosures with extra SSDs mean more room for containers.
    • Fast networking: 10Gb Ethernet ensures quick data exchange between nodes.
    • Simple but resilient architecture: Three controller nodes for HA, plus dedicated workers.
    • Flexible software: Running k3s on Linux inside macOS using Lima is a smart way to bridge platforms.

    Things to Consider

    • The Mac mini M4s with 10Gb Ethernet are a crucial foundation. Slower networking would bottleneck the cluster.
    • Running workloads on controller nodes is okay for this scale but might complicate things as the cluster grows.
    • Lima adds a virtualization layer, which might add a little overhead compared to native Linux nodes — but it’s a fair trade-off for macOS compatibility.

    Final Thoughts

    Building a high-availability k3s cluster using Mac minis is a rewarding exercise in mixing consumer hardware with cloud-native technologies. Whether you want to learn more about Kubernetes, experiment with edge computing, or just tinker with a smart home lab, this setup shows you can do a lot with small, accessible gear.

    If you’re curious to explore k3s further, their official documentation is a great place to start. For Mac mini specs, Apple’s official site has the detailed breakdown. And if you wonder about Lima, their GitHub page provides all the setup tips.

    Thanks for reading along my journey — maybe this inspires you to build your own high-availability k3s cluster!

  • Is Your Micron 9550 Pro Drive Real? What to Watch Out For

    Is Your Micron 9550 Pro Drive Real? What to Watch Out For

    Spotting fake Micron 9550 Pro drives before they cause trouble

    I recently came across an unsettling situation involving a potential fake Micron 9550 Pro drive, and I wanted to share the details with you. If you’re working with high-capacity enterprise SSDs, this might be something worth paying attention to. The main concern here is how to identify a fake Micron 9550 Pro, especially since these drives are expensive and crucial for data integrity.

    When the drive first arrived from what should have been a reputable distributor, it looked legit on the outside. The box had the typical Micron branding and SKU numbers that seemed in order. But, as anyone familiar with Micron’s 9300 and 9400 series drives will tell you, the devil is in the details.

    How to Spot a Fake Micron 9550 Pro

    First red flag? The serial number on the drive itself didn’t match the one on the box. For genuine Micron drives, these numbers should align perfectly because the serial number encodes the year of manufacture and other details. For instance, Micron 9300 and 9400 series drives use the year as the first two digits of the serial number.

    Next, the NVMe inquiry response from the drive was noticeably different from what you’d expect. When checking Micron 9300 or 9400 drives via commands like nvme list on a Linux system, you’ll see a consistent pattern in the model number and firmware revisions. However, this ‘9550’ drive showed a model number format that was one character shorter and firmware details that didn’t match known Micron standards.

    Strange Performance Behavior

    To dig deeper, the drive was tested in two systems: one with PCIe 3.0 and another with PCIe 4.0. Comparing it to a Micron 9400 in both setups provided some eye-opening insights. In each case, the sequential read bandwidth of the ‘9550’ started higher but then rapidly decreased to about half the performance of the 9400 after just 10-15 seconds.

    This drop happened without any corresponding spike in temperature, ruling out thermal throttling as a cause. The stable temperature readings around 50-55°C suggested the drive was simply underperforming.

    Why This Matters

    If this turns out to be a fake drive, it’s a big deal. It means counterfeiters have gotten very sophisticated, enough to produce hardware that even comes through legitimate distributors. That puts consumers and businesses at risk, especially when purchasing such high-value storage components.

    What You Can Do

    • Always verify the serial numbers on both the box and the drive.
    • Check the NVMe inquiry data if you have the tools — legitimate drives will have a consistent model and firmware pattern.
    • Don’t hesitate to perform basic performance tests if you can. Unexpected drops in throughput can signal trouble.
    • Purchase from trusted suppliers and don’t be shy about asking them for authenticity confirmations.

    Additional Resources

    For more on verifying SSD authenticity, you can check out Micron’s official documentation Micron SSD Support and some community-driven guides like How to Spot Fake Hardware.

    Keep an eye out for these signs if you’re buying high-end SSDs. It’s not just about paying a premium — it’s about protecting your data and your system’s integrity.

    Stay safe out there!

  • My Homelab Journey: Building a Personal Tech Haven

    My Homelab Journey: Building a Personal Tech Haven

    Discover how a simple homelab can fuel your tech curiosity and learning

    If you’ve ever been curious about setting up your own homelab, you’re not alone. A homelab setup can be a fantastic way to explore technology at your own pace, learn new skills, and tinker with different systems without worrying about breaking anything important. I found that building my homelab was not just about having cool gadgets; it became my personal little playground where I could experiment and grow.

    Why I Chose a Homelab Setup

    For me, the appeal of a homelab was simple: total control and freedom. I wanted a space where I could try out software, servers, networking gear, and all kinds of configurations, without restrictions. Having this setup at home lets you learn in a real-world context, which beats reading about tech in books or watching tutorials alone.

    Essentials in a Homelab Setup

    Starting out, I kept things basic but expandable. Here’s what I found crucial:

    • A reliable server or old PC: It doesn’t have to be the latest model. An old desktop or a dedicated server works great.
    • Networking gear: A good router and switches, ideally with support for VLANs and other advanced features.
    • Storage: SSDs or HDDs depending on your needs — I went with a mix to balance speed and capacity.
    • Virtualization software: Tools like VMware or Proxmox help to run multiple OSes and services without needing extra hardware.

    These basics set me up for running virtual machines, hosting websites, and even trying out home automation.

    What I Learned Working with My Homelab

    Through my homelab setup, I got hands-on with networking protocols, server administration, and even some cybersecurity basics. One cool part was automating backups and monitoring system health with open-source tools. If you want, you can dive deeper into topics like virtualization with Proxmox or explore powerful server OS options like FreeNAS for storage solutions.

    Tips for Your Own Homelab Setup

    Thinking of setting up your own homelab? Here are a few tips:

    • Start small: You can always add more hardware or software as you go.
    • Keep it organized: Label cables and document your configurations.
    • Focus on learning: Use this space to experiment without fear.
    • Stay safe: Make sure to secure your network and devices properly.

    For more inspiration and advice, checking out sites like ServeTheHome can give you ideas about gear and homelab projects.

    A Place to Explore

    In the end, my homelab setup turned into more than just a tech project. It’s a spot where curiosity meets hands-on practice. Whether you want to mess with servers, build your own cloud, or learn networking, setting up your own homelab might just be the best way to jump in. It’s about creating a space that fits your interests, where you can learn by doing, without any pressure.

    If you’re curious and ready to try, go ahead and start planning your homelab setup today — you might be surprised how much you enjoy the journey!

  • Upgrading to a PowerEdge T330: My Journey to a Local AI-Ready Home Server

    Upgrading to a PowerEdge T330: My Journey to a Local AI-Ready Home Server

    Discover how a free PowerEdge T330 transformed my home server setup and opened doors to local AI for Home Assistant.

    If you’ve ever toyed with the idea of upgrading your home tech, you might relate to my recent adventure with a home server setup. It all started when a friend gave me a PowerEdge T330 server — a solid machine, with 2 enterprise 1TB drives already installed. This was a big step up from my old, tired laptop that had been running Home Assistant.

    I know, some might raise an eyebrow about running a server on the carpet (yep, I get it, it’s not ideal), but hey, we’re all figuring this stuff out as we go. My previous experience was pretty limited—mainly just tinkering with Home Assistant on a low-power laptop. This PowerEdge gave me a chance to dive deeper into the world of servers.

    Why Upgrade Your Home Server Setup?

    Switching from a laptop to a dedicated home server setup like the PowerEdge T330 means more power, better reliability, and the ability to run more complex tasks. For me, it meant I could finally explore running local large language models (LLMs) or AI for Home Assistant voice commands — something I couldn’t even dream of on the old setup.

    Getting Hands-On: Flashing the RAID Controller

    One of the trickiest parts was flashing the server’s RAID controller firmware from H330 to HBA330 IT firmware. It took hours of trial, error, and coffee, but it was worth it. This step is crucial if you want your drives to behave as simple HBAs rather than RAID arrays, especially when using software like Proxmox for virtualization.

    If you want to learn more about flashing RAID controllers and what it entails, check out Broadcom’s official HBA330 documentation.

    Why Proxmox?

    I installed Proxmox as the hypervisor on this server because it’s free, stable, and well-suited for managing multiple virtual machines or containers. It makes running not just Home Assistant, but also other services like local AI models or media servers, much more manageable.

    If you’re new to Proxmox, the official Proxmox documentation is a fantastic resource.

    Exploring Local AI for Home Assistant

    With the new setup, I’m excited about running local AI models. Using local LLMs for voice commands can boost privacy (since data stays home) and reduce latency compared to cloud services. There’s a growing community experimenting with projects like Mycroft AI or even deploying smaller versions of open-source language models locally, which can be a fun challenge.

    Tips for Anyone Looking to Build a Similar Setup

    • Expect some learning curves: flashing firmware or setting up a hypervisor isn’t always straightforward.
    • Keep an eye on cooling: Servers aren’t always designed for home environments, so good airflow matters.
    • Don’t hesitate to tap into online forums and communities — there’s tons of shared wisdom out there.

    Upgrading your home server setup is rewarding. Whether it’s for smart home projects, local AI, or just having a dedicated box to experiment with, the PowerEdge T330 is a great platform once you get it running right. And for those of us stepping up from minimal setups, well, the journey’s half the fun.

    I’m looking forward to what I can build next — maybe a custom voice assistant that actually understands me!

  • Inside My Homelab: A Peek at the Organized Chaos and Plans Ahead

    Exploring my evolving homelab setup with Proxmox, custom dashboards, and practical networking

    Hey there! If you’re curious about what a homelab setup looks like in real life, I’m happy to share a glimpse into mine. Since diving into the homelab world back in 2020, it’s gone through multiple moves and changes. The setup I have now is a mix of gear I’ve collected from old IT jobs and some budget buys. The fun part? It’s a bit messy right now — life has been busy — but I’ll walk you through the essentials and what I’m planning next.

    What’s a Homelab Setup Anyway?

    Simply put, a homelab setup is where you run servers, networking, and other tech at home to experiment, learn, or support your personal projects. For me, it’s centered around Proxmox, a great open-source server virtualization platform. I’ve even built a custom dashboard as my homepage to keep track of it all, which you can check out if you want to see a cool example of homebrew tech management.

    Core Components of My Homelab Setup

    Networking

    • Gateway: UDM-Pro, which handles my network’s central command.
    • Switches: A Cisco 2960-X 48-Port POE managed switch plus a Dell Powerconnect 2816 and a pair of Netgear 8 Port POE+ switches to spread the network across different areas.
    • Access Points: Three UniFi access points (two U6-Pro, one U6+) to keep wireless strong throughout the space.

    The network is segmented with VLANs — think of them like separate lanes for different types of traffic:
    – Server network
    – Surveillance network
    – General home network
    – Guest network
    – IoT devices

    Hardware

    My Proxmox cluster runs on a collection of Dell Optiplex micros and a custom-built machine. Specs are pretty solid, including i7 CPUs, lots of RAM (up to 64GB), and high-speed NVME drives, perfect for virtualization. I also have separate machines for RDP access and gaming, plus surveillance gear with multiple UniFi cameras.

    The Reality: Cable Management and Cooling

    Yes, the mess is real. Cable management is a work in progress, along with organizing my racks and improving airflow. Right now, I have a strong grow fan pulling hot air out, and I’m considering adding vents and more fans to keep things cool. It’s a constant balancing act — keeping gear organized and running efficiently.

    What’s Next?

    I plan to make a dedicated network just for Proxmox VMs and containers, which should help keep things clearer when managing devices on the Unifi controller. Also, improving cooling and mounting are high on the list.

    Why Homelabs Matter

    Having a homelab setup lets you customize, tinker, and learn hands-on — way beyond what you get with typical consumer gear. If you want to explore virtualization, networking, or just a bit of DIY tech fun, setting up a homelab is a rewarding challenge.

    Resources to Learn More

    Thanks for dropping by to see how one homelab setup looks behind the scenes! If you’re thinking of building your own, remember it’s about learning and making your tech work for you — wires, fans, and all.

  • How to Get a Clean Look with Cable Pass-Through Boxes

    How to Get a Clean Look with Cable Pass-Through Boxes

    A simple guide to managing cables through studs for a tidy finish

    If you’re tackling a home improvement project or setting up a media room, you’ll soon discover that managing cables neat and tidy is more than just a nicety—it’s key for a clean, professional look. That’s where a cable pass-through box comes in handy. Let me share what I’ve found on using these boxes to run wires cleanly from studs through drywall.

    What Is a Cable Pass-Through Box?

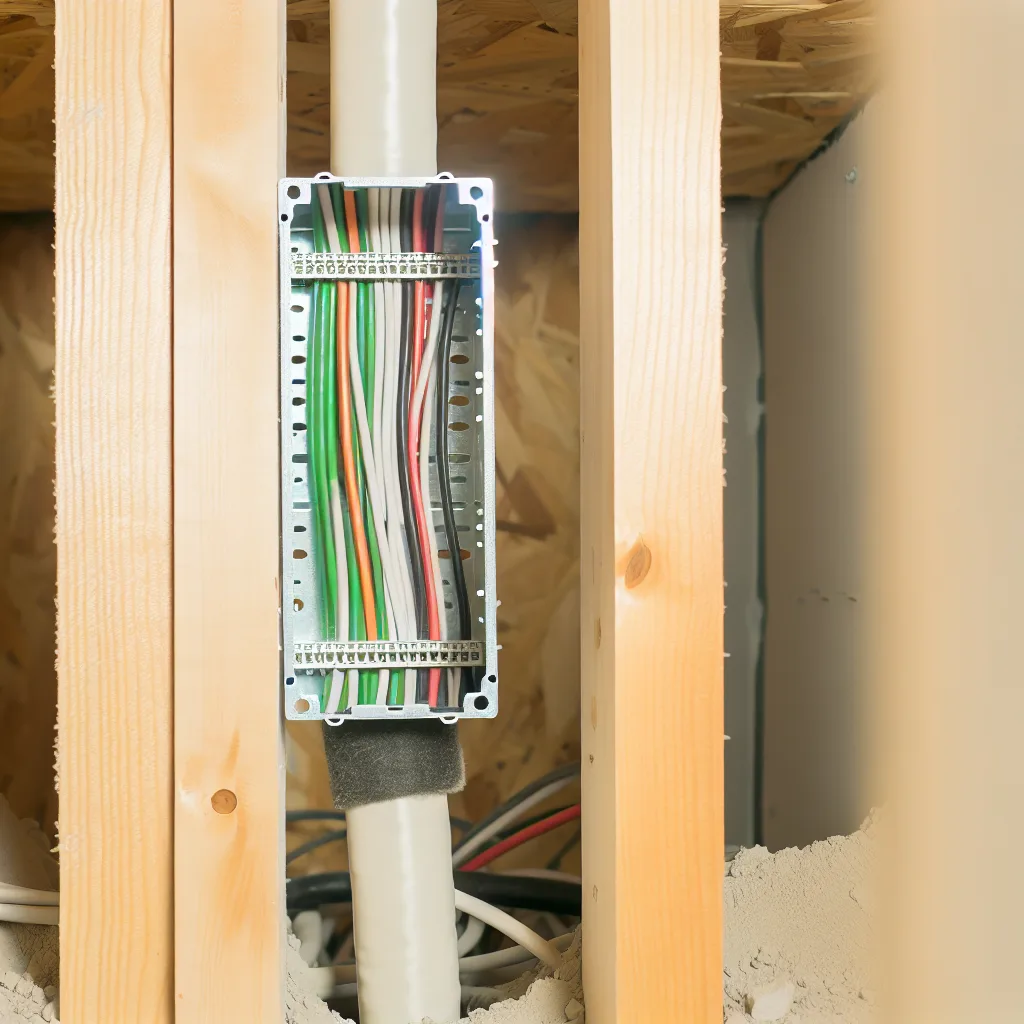
    A cable pass-through box is basically an installation tool designed to route cables through the wall studs and drywall without leaving a mess of holes or tangled wires. Instead of cutting ugly holes and figuring out how to hide cables, this box helps keep your wires organized and concealed.

    Why Use a Cable Pass-Through Box?

    One of the big reasons to use a cable pass-through box is to avoid the tangled cables that can turn your space into chaos. Plus, if you’re planning to spray foam your walls for insulation, having your cables neatly set in place inside a cable pass-through box is crucial. The spray foam spray won’t get tangled or damage your cables.

    I had to figure this out myself when I was prepping for spray foam insulation, and I knew I needed a clean, zip-tied cable bundle through the studs. The beauty of using pass-through boxes is they provide a neat opening to pass wires through without any fuss.

    How to Use a Cable Pass-Through Box for a Clean Look

    1. Pick the right location: Position the pass-through boxes between your studs where the cables need to run through.
    2. Cut the drywall cutout wisely: Follow the instructions of the box for the right size of drywall hole. Too big, and cables can be loose; too small, and running cables is tough.
    3. Secure cables inside: Use zip ties or cable ties to group wires together. Run them through the box so they stay aligned and ready.
    4. Install the box and drywall: Snap or screw in the box according to its design, then attach the drywall over it, creating a clean cable channel.

    Tips for Cable Management Behind the Walls

    • Use flexible conduits or cable sleeves inside the pass-through box to protect your wires.
    • Label your cables for easier maintenance later.
    • Double-check cable length and slack before closing the wall to avoid future headaches.

    Helpful Resources

    For more detailed installation instructions, you can check out the official guide from Leviton on cable management solutions. Additionally, the Insulation Institute has great advice on coordinating wiring with spray foam insulation. If you want to get a sense of cable pass-through boxes on the market and user reviews, Home Depot is a good place to browse.

    In short, using a cable pass-through box drastically improves the look and function of how you run cables through drywall. Whether you’re mounting a TV, hiding network cables, or prepping for insulation spray foam, it saves time and stress and keeps your walls looking sharp.

    Give it a shot during your next wall project—you’ll appreciate the tidy finish and easier cable maintenance down the line.

  • Setting Up My First Home Lab Rack: A Beginner’s Journey

    Setting Up My First Home Lab Rack: A Beginner’s Journey

    Discover the essentials of home lab setup and what gear you really need for a solid start

    If you’ve ever thought about diving into a home lab setup, maybe to tinker, learn, or just have your own private network and storage, I’m right there with you. Starting a home lab can feel overwhelming with all the gear out there, but getting the basics in place is really the key, and that’s exactly the story I want to share with you today.

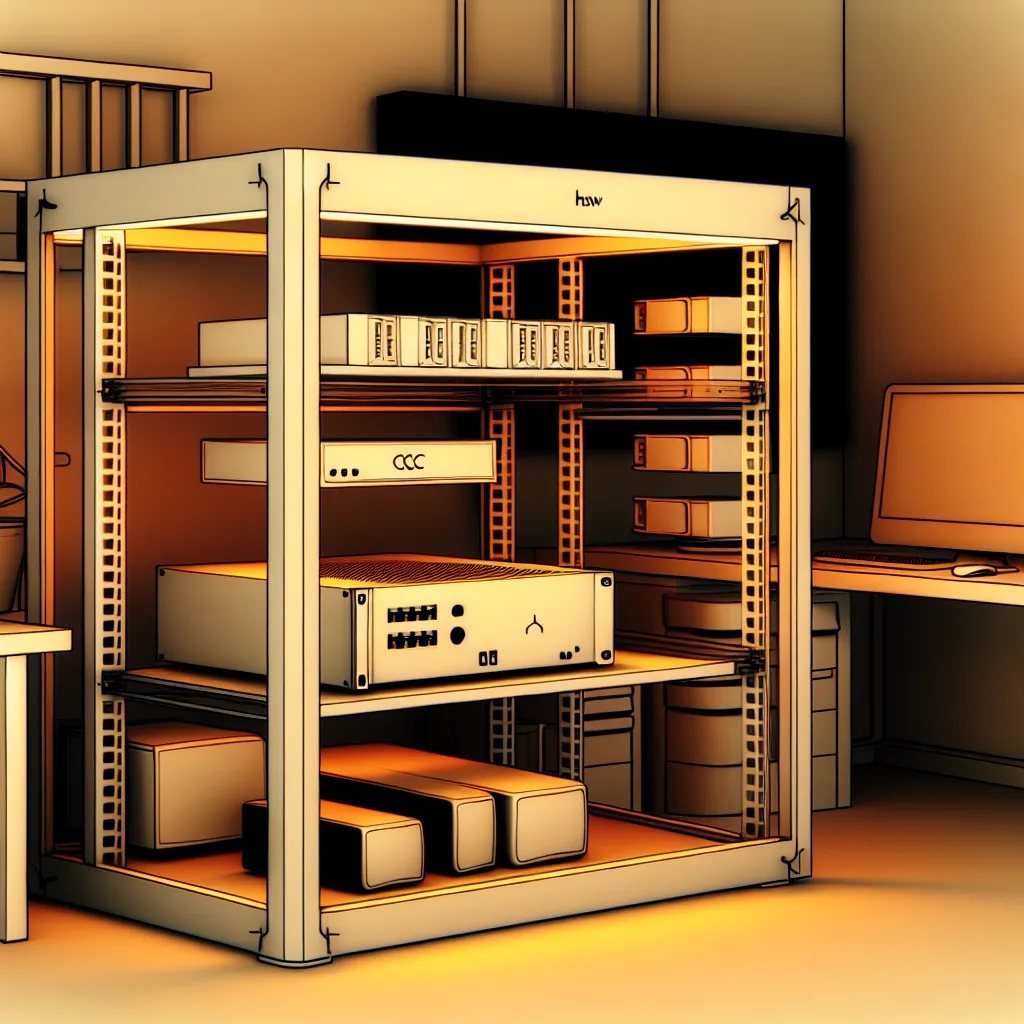
    To kick things off, I used a StarTech 12U open frame rack. It’s sober, practical, and it gives me enough vertical space to keep my gear neat and accessible without crowding my workspace. For the brain of the system, I went with an Intel NUC 10 running ESXi and loaded it with 64 GB RAM. This setup handles the virtualization I need for my projects and plays nicely with various networking tools.

    Storage is king in any home lab, so I included a couple of QNAP units — the TS-EC879U-RP and the TES-1885U. These aren’t just pretty boxes; they provide solid storage capabilities and are great for experimenting with different storage protocols and backups. For networking, I picked Ubiquiti switches: an EdgeSwitch 16XG that supports 10GbE for a dedicated storage network to keep things fast and efficient, plus an EdgeSwitch 48 Lite for general 1GbE connectivity to cover the rest of my devices.

    Why This Home Lab Setup?

    You might wonder why choose these components. Well, starting with virtualization using the NUC allowed me to run multiple virtual machines without needing a massive server. The high RAM helps with smooth operation across these VMs. Using Ubiquiti switches gives me reliable, scalable networking equipment often seen in prosumer and enterprise setups, but within a price range that makes sense for a home lab.

    Getting The Most Out of Your Home Lab Setup

    One tip I learned early was to keep my network segmented for better performance and security. Having a dedicated 10GbE switch just for storage means I’m not mixing traffic, which helps keep file transfers snappy. Plus, the QNAP devices support a wide range of RAID configurations and backup options, so it’s flexible as my needs grow.

    Some Advice For You

    If you’re eyeing a similar path, start small and expand as you go. Don’t chase every shiny new gadget – focus on what gives you value and learning. Also, make sure your rack is open and breathable like the StarTech 12U to avoid overheating. Lastly, explore the official sites for your hardware — they have great docs and forums:

    This setup is still early in the process, but having these essentials in place is already opening doors to countless projects and experiments. Building your own home lab is not just about hardware; it’s about the experiences and growth that come with it. If you’re curious or planning your own setup, I hope this gives you a clear starting point and inspires you to start building.

    If you have thoughts or questions, I’m all ears! Home labs are all about community and shared learning, after all.

  • Why Rackmount UPS Systems Cost More: What You Should Know

    Why Rackmount UPS Systems Cost More: What You Should Know

    Understanding the price gap between rackmount and tower UPS units

    When you’re setting up your system and looking at uninterruptible power supplies (UPS), one thing you’ll probably notice is the price difference between rackmount UPS units and their tower counterparts. For devices in the 750-1000VA range, you might find tower UPS models for as low as $150, while rackmount versions often start at around $300, sometimes even more. So why is the rackmount UPS cost so much higher? Let’s break it down.

    What is a Rackmount UPS?

    First off, a rackmount UPS is designed to fit into a server or equipment rack. These are common in data centers and professional setups where equipment is organized in standardized metal frames. Tower UPS units, on the other hand, stand upright like a small tower — think of the kind you might put next to your desk.

    Why Does the Rackmount UPS Cost More?

    The difference in price boils down to a few key factors:

    • Form Factor Engineering: Rackmount UPS devices need to be engineered to fit specific sizes (usually 1U or 2U in height) and be sturdy enough to handle the rigors of rack installation and transport. This tight space constraints and structural requirements mean more precise manufacturing.

    • Cooling and Ventilation: Because these units are packed tightly in rack enclosures alongside other heat-generating equipment, they often require specialized cooling solutions to keep everything running safely.

    • Connectivity and Features: Rackmount UPS models may offer advanced features suited for enterprise use, such as network management cards or remote monitoring capabilities. These add to the overall cost.

    • Market and Demand: The rackmount UPS market is narrower and more niche, leading to less mass production and slightly higher prices per unit compared to the more general tower UPS market.

    Can You Use a Tower UPS in a Rack?

    Some people consider taking a tower UPS and simply placing it on a shelf inside their rack. This is possible but not always ideal. Here’s why:

    • Space Efficiency: Tower UPS units don’t optimize rack space, potentially wasting room.
    • Airflow Interference: Cooling within racks relies on consistent airflow, which an awkwardly placed tower UPS can obstruct.

    • Safety and Stability: Rackmount units are secured in place to prevent movement or damage, while towers might not be stable in such an environment.

    Still, for small setups, if space or budget are tight, this can be a practical workaround.

    Finding Affordable Rackmount UPS Options

    If you’re like me, you prefer a neat rack-mounted unit but don’t want to pay double or triple. Here are some tips:

    • Refurbished Equipment: Look for reputable sellers of refurbished UPS units. Sometimes you can find good deals, though availability varies.
    • Watch for Sales: Sometimes manufacturers or retailers offer discounts on rackmount UPS products.

    • Consider Feature Needs: Don’t pay for features you won’t use. Sometimes a simpler model meets all your requirements.

    • Check Manufacturer Websites: Brands like APC and CyberPower often have detailed comparisons and might have models that fit your budget.

    For example, the CyberPower CP1000PFCLCD is a popular tower model, but its rackmount equivalents might cost double. Understanding your setup’s needs helps decide where it’s worth spending.

    Bottom Line on Rackmount UPS Cost

    The higher rackmount UPS cost is mostly about engineering for a specific, smaller form factor that fits into racks, plus added features and market factors. While it might be tempting to just grab a tower UPS and shelf it in your rack, think about the long-term setup, airflow, and equipment safety.

    If you prefer a clean, professional-looking rack environment, investing in a proper rackmount UPS makes sense. But if you’re on a budget or running a home lab with limited space, a tower UPS on a shelf can be a decent alternative.

    For more details, you can check out APC’s official UPS buying guide here and CyberPower’s product pages here.

    In the end, it’s about what fits your setup and budget best. Knowing the reasons behind the price difference helps make that choice easier.