Category: AI

  • Tidying Up and Powering Forward: My Home Server Rack Journey

    Tidying Up and Powering Forward: My Home Server Rack Journey

    Exploring the joys and future plans of a personal home server rack setup

    If you’ve ever thought about building a home server rack or upgrading your existing setup, let me share my recent experience tidying up my home server rack. It’s surprisingly rewarding to turn what once was a jumbled mess into a well-organized, functional workspace that not only looks good but actually makes your tech life easier.

    Starting with the Basics: What’s in My Home Server Rack?

    I recently dedicated some time to reorganize my home server rack, aiming for a cleaner setup that’s easier to work on. What really helped was assessing what I currently have and realizing just how much room I’ve freed up!

    Here’s a quick rundown of my core gear:
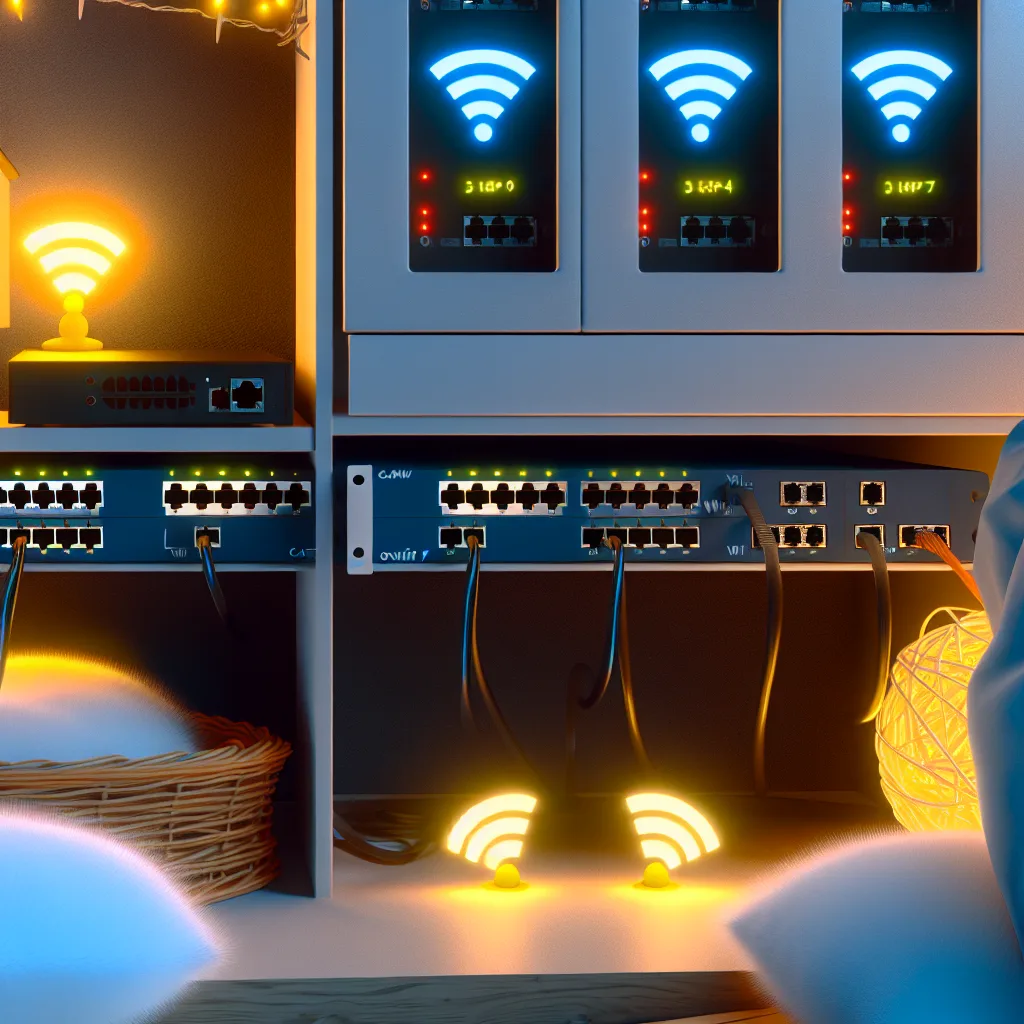
    Topton N100 router/firewall: Running Proxmox and OPNsense, it handles my network with fiber from my ISP going directly into the SFP for WAN tasks. Sadly, the fiber caps at 1 Gbps, but removing the ISP’s combo router/modem was a big plus.
    UniFi Pro Max 16 PoE switch: Connected via a 10G SFP+ DAC cable for high-speed data flow. I even 3D printed a custom side piece to fit it neatly in my 19″ rack.
    Patch panel: Currently being optimized with keystones and short, matching etherlighting cables to keep the mess down.
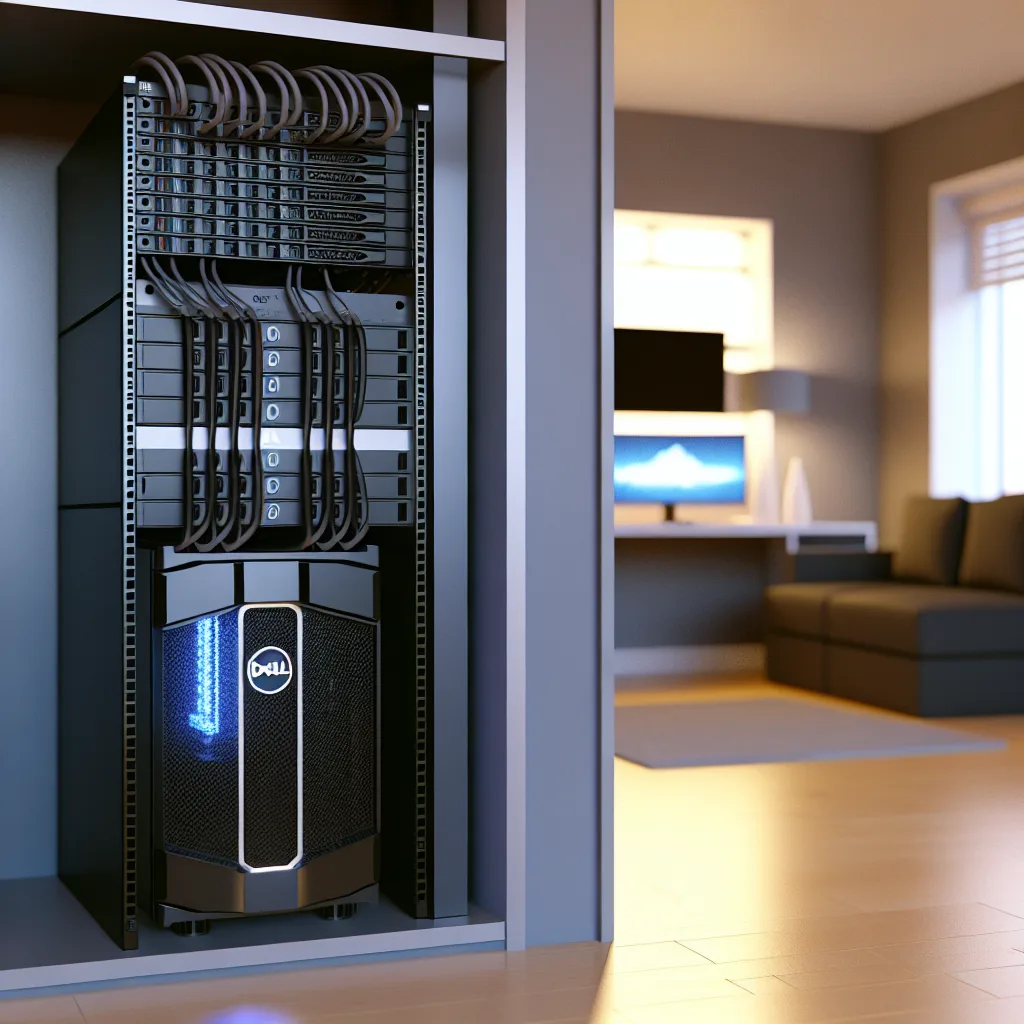
    4U Inter-Tech server: Runs Unraid with over 40 containers including Plex, and houses over 100TB of storage plus some NVMe SSDs. Powered by a 13700K CPU and 64GB of RAM, it’s a beast for any home lab setup.
    2200 VA UPS: A reliable PowerWalker unit protecting everything from power interruptions.
    PoE ESP32 device: Connected to my solar inverter via RS485, this little guy helps monitor and integrate my solar power system.

    Tidying Up: Why It Matters

    Having a neat home server rack isn’t just about aesthetics. It’s about ease of access, maintenance, and future-proofing your setup. Everything from organizing cabling to labeling ports makes troubleshooting a breeze. Plus, I’m really into the idea of a clean workspace helping me think more clearly.

    What’s Next for My Home Server Rack?

    With plenty of space left to fill, I’ve started thinking about how to expand and improve my rack:

    • More keystones and tidy cabling: I’ve ordered additional keystone jacks, including one specifically for fiber connections, which will save me from fiddling with delicate fiber cables from my ISP.
    • Upgrading HBAs: Planning to swap my dual HBAs for one with 4x SFF-8087 ports. This will free up slots inside the server, letting me add a GPU to run a remote gaming virtual machine—a fun way to get more out of the same hardware.
    • IP KVM solution: I currently use a NanoKVM without WAN access but would love to incorporate a fully-fledged IP KVM that fits well into my rack for easier remote management.

    Free Power and Efficiency

    One exciting factor in my setup is that I’m mostly running on “free power” from my solar battery bank. My entire rack averages about 130W consumption, which is incredibly efficient considering what it’s doing. This setup can run sustainably and stay online even during power outages.

    Ideas to Consider Adding to a Home Server Rack

    Thinking about your own rack or upgrades? Here are some ideas that might inspire you:

    • Network monitoring tools: Things like dedicated network analyzers or smart switches with enhanced monitoring and alerting.
    • Environmental sensors: Temperature, humidity, and even airflow sensors help protect your gear.
    • Backup solutions: Automated backup systems or even a second NAS for redundancy.
    • Upscale remote access tools: Better IP KVMs or management cards for servers that facilitate full control without physical access.

    Wrapping Up

    Tidying up my home server rack has been more than just a project; it’s been a journey of making my tech environment smarter and more efficient. The future plans mean it’ll keep evolving alongside my needs, from gaming VMs to better remote management. If you’re on the fence about organizing or upgrading your rack, just start small and appreciate how even little changes can make a big difference.

    For more info on networking gear, check out UniFi’s official site and for server setups, the Unraid community is super helpful. Also, the OPNsense documentation is a great resource if you’re into firewall and routing software.

    Happy tinkering!


    References:

    • UniFi Pro Max 16 PoE – https://www.ui.com
    • Unraid OS – https://unraid.net
    • OPNsense Firewall – https://docs.opnsense.org
    • PowerWalker UPS products – https://powerwalker.com
  • Upgrading My Home Network in 2025: A Cozy Tech Journey

    Upgrading My Home Network in 2025: A Cozy Tech Journey

    How I revamped my home network with Cat6a cables, WiFi 7, and a touch of Tolkien magic

    Hey there, friends! Today, I want to share a little story about my recent experience with home network upgrades—a project I finally wrapped up in 2025. If you’ve ever felt the itch to get your home tech setup just right, hopefully, my journey will offer some useful tips and maybe a bit of inspiration.

    Why I Chose to Do Home Network Upgrades

    Starting the year, I knew it was time to bring my entire network up to speed—literally! With so many devices in a household these days, having a fast and organized network isn’t just a luxury; it’s essential. The primary goal was to replace aging infrastructure with robust solutions that can handle modern demands.

    Cat6a Cables and Organized Patch Panels

    I ran 8 new CAT6a cable lines throughout the house. These cables support higher data rates and give me plenty of speed headroom, which is great as we move toward more connected devices. I organized the patch panel meticulously, arranging everything logically by room and access points. It almost felt like putting together a puzzle, ensuring the order on the panel matched up perfectly with the wall plates.

    This makes troubleshooting and future changes way easier. If you want to peek into a good patch panel setup, take a look at Fluke Networks’ overview.

    Consolidating to a Single Powerful Switch

    Before the upgrade, my network was running on three separate switches. I consolidated those into a single switch with 24 10GbE POE++ ports and 8 SFP+ ports. This means all my wired connections now enjoy blazing-fast speeds, and devices powered over Ethernet benefit from cleaner cabling.

    Enter WiFi 7 Access Points

    I replaced all the access points with brand-new WiFi 7 models that have multi-gig uplinks. Six access points now cover every corner of my home, ensuring solid wireless performance, even for the most bandwidth-hungry devices. If you’re curious about what WiFi 7 can do, you might find Wi-Fi Alliance’s WiFi 7 explainer quite enlightening.

    Rack Organization and Cable Management

    One of the most satisfying parts of this project was cleaning up my equipment rack. I decked it out from top to bottom: patch panel, new wire brush grommets, switch, router, blanks for future expansion, a shelf for non-mountable gear, and my PDU. Routing new bendable 90° patch cables through the grommets gave everything a neat, professional feel.

    Smart Network Topology

    The network isn’t just about speed; it also needed to be smart. I set up VLANs and multiple SSIDs to separate management, primary users, kids, IOT devices (both those needing LAN and WAN, and those only needing WAN), and guests. This separation helps keep things secure and running smoothly.

    Adblocking and Network Security

    I’m running multiple Pi-hole VMs to keep ads off my network for management, primary users, and guests. Interesting enough, child and IoT VLANs are set up as blackholes, so they get even stricter filtering. If you want to explore Pi-hole for yourself, check their official site at pi-hole.net.

    A Touch of Fun: Lord of the Rings Naming

    Because why not? Every device, VLAN, and SSID has a Lord of the Rings-inspired name. I call the rack itself “Teleperion”—it adds a bit of personality and makes recalling devices a tad more enjoyable.

    What’s Next?

    As of August 2025, funds are all spent, but next year I hope to add a rack-mounted NAS, UPS, and a server if the budget allows.

    If you’re considering home network upgrades this year, remember it’s not just about the equipment. It’s the planning, labeling, and organization that make living with your network a joy. Thanks for tagging along on this little tour!


    For more detailed guides, browsing SmallNetBuilder is always a good move.

    Feel free to share your own network upgrade stories or questions—I’d love to hear them!

  • Building a Small-Time Home Lab with Dell R640 Servers

    Explore the journey of creating a powerful home lab with Dell R640, NVMe storage, and high-speed networking.

    If you’ve ever thought about diving into the world of home servers and virtualization, building a small home lab can be both fun and rewarding. Over the years, I’ve tinkered with virtual machines on some old gaming rigs, but recently, I decided to step up my game by investing in real servers. Specifically, I went for Dell’s R640 model, and it’s been quite the learning and upgrade journey so far.

    Why a Small Home Lab?

    A small home lab offers a playground for experimenting with different virtualization technologies, network setups, and storage solutions without affecting your daily devices. It’s a place to learn and grow your IT skills at your own pace. Plus, having your own hardware means better performance and more control compared to renting cloud services.

    The Gear: Dell R640 Servers

    I started with one Dell R640 server and shortly after added a second. These servers are surprisingly powerful and versatile. The specs I’m running look like this:

    • 2 x Intel Xeon 8280L CPUs
    • 256GB RAM at 2666 MHz
    • 10 x Intel 15.36TB NVMe drives
    • Dell NVMe expander cards
    • TPM 2.0 security module
    • iDRAC 9 Enterprise for management
    • Dual 700W power supplies
    • 10/25Gb NIC plus a quad 1Gb NIC
    • BOSS-S1 card with an Intel 150GB M.2 SATA SSD

    That’s a pretty solid foundation for running multiple virtual machines (VMs), and it’s been great to see the performance firsthand. Using NVMe drives for storage means VM disk speeds can go over 3000MB/s for read and write, even when running around 20 VMs simultaneously.

    Upgrading and Expanding

    One of the best parts about a home lab is that you can upgrade as you go without having to buy completely new systems. For example, I upgraded one server’s drive bays from 8 to 10 to fit more NVMe disks. I also upgraded CPUs, replaced storage backplanes with NVMe expansions using ribbon cables, installed high-performance fans for better cooling, and added TPM 2.0 modules for improved security.

    Next on my upgrade list are more RAM and better network interface cards (NICs) to boost throughput. I’m also looking into improving the surrounding network infrastructure with high-density 100Gb switches and adding battery backups for reliability.

    Networking: Switch vs. Direct Connect?

    This part got me thinking: If you have a handful of servers like mine, is it better to connect them directly with dual 100Gb NICs or invest in a 100Gb switch? Direct connections can be faster between two machines, but a switch allows multiple devices to communicate easily and scales better in the long run.

    There are some good deals on high-density 100Gb switches right now, so I’m leaning towards getting one to create a high-speed network backbone for all my servers. If networking is currently your bottleneck, upgrading your network gear will make a noticeable difference.

    Experimenting with Hypervisors

    I started out with Proxmox and VMware vSphere to manage my VMs but recently became interested in Microsoft’s Hyper-V Server. The challenge? I’m learning to set up and manage Hyper-V VMs using Server Core without a graphical interface. It’s a bit different but worth mastering for the control and efficiency.

    Why Go Through This?

    A small home lab isn’t just about having fancy hardware—it’s about hands-on experience with enterprise-grade tech without the enterprise price tag. Whether you’re aiming to improve your skills, host your own services, or just geek out, there’s something satisfying about the DIY approach.

    If you’re interested in the R640, you can check out Dell’s official page here and read more about NVMe technology on Intel’s site here.

    Final Thoughts

    Building a small home lab is a continuous journey. You start small, learn a lot, and gradually build something that’s not only powerful but also tailored to your unique needs. Whether it’s tweaking hardware, optimizing storage performance, or experimenting with different hypervisors, it’s a rewarding hobby that deepens your understanding of modern tech.

    So, if you’re on the fence, don’t be. Start with what you have, learn along the way, and have fun setting up your own small home lab!


  • Breaking Down Homelab Electric Bills: What You Should Know

    Breaking Down Homelab Electric Bills: What You Should Know

    Understanding the real costs of running a homelab setup

    If you’re diving into the world of tech and servers, you’ve probably wondered about the cost of keeping your setup running, especially when it comes to homelab electric bills. It’s one thing to buy hardware, but the monthly energy charge can be a bit mysterious until you track it down. Let’s talk about what those bills really look like and what you might expect when running a homelab.

    What Are Homelab Electric Bills?

    Homelab electric bills are simply your monthly energy costs associated with running your personal server setup at home. Depending on how powerful your hardware is and how long it runs, these bills can vary dramatically. It’s important to get a sense of this cost early on so you can budget properly.

    Is Colocation Cheaper Than Running a Homelab?

    An interesting angle to consider is whether it’s more cost-effective to colocate your servers—that is, rent space at a data center—instead of running everything at home. Some folks find that for a full half-rack with good networking (like 1 Gbps uplinks and 10 Gbps internal speeds), they pay around £350 a month for colocation, including power. This covers strong internet connectivity and reliable infrastructure without the hassle of home cooling or noise.

    However, electric bills for a home setup might still be less, especially if you’re careful with power limits. For example, if you run dual GPUs and a packed half-rack but keep your power draw under 6 amps, you might find your electricity costs surprisingly reasonable.

    How to Manage and Estimate Your Home Lab Power Usage

    To get a handle on your homelab electric bills, start by estimating your power consumption. Here’s a quick way to do it:

    • List your hardware and its power specs.
    • Calculate the total wattage you expect to draw.
    • Multiply by the number of hours you run the equipment daily.
    • Multiply by your local electricity rate per kWh.

    Monitoring tools and smart plugs can also track usage and help you see where most of the energy goes. This insight is handy to avoid surprises.

    Why Hardware Costs Aren’t in the Electric Bill

    One thing to keep clear is that the electricity bill doesn’t include the price of your hardware. Sometimes, folks get gear heavily discounted from places like Facebook’s hardware resales, making the initial cost effectively negligible compared to retail prices. But no matter how you get your servers, the ongoing electric bill is a recurring expense you should plan for.

    Final Thoughts: Balancing Convenience, Cost, and Control

    Running a homelab is a balancing act between control, cost, and convenience. Paying for colocation means you avoid some power headaches and get premium network access, but at a fixed monthly price. Running your own homelab means more freedom and possibly cheaper power costs, but you need to manage your electric bills and your setup carefully.

    If you want to dig deeper into estimating electricity costs or exploring colocation deals, sites like Energy Saving Trust and server colocation providers can give more detailed info. And for equipment reviews and homelab setups, check out ServeTheHome.

    Thinking about your homelab electric bills early saves money and headaches later. It’s just part of the fun and challenge of running your own tech space at home!

  • Is Tech Getting More Complicated or Am I Just Out of Touch?

    Is Tech Getting More Complicated or Am I Just Out of Touch?

    Exploring the challenge of modern tech and why simple used to be better

    If you’re like me, someone who’s been around computers since the days of Windows 95 and early internet chat rooms, you’ve probably felt it too: modern tech frustrations have taken over what once felt like an exciting, useful tool. The internet and technology used to feel straightforward — or at least simpler. But now? It sometimes seems like the opposite is true.

    Why Modern Tech Frustrations Hit Home

    Remember how it used to be? Maybe you’ve only ever had one or two emails, and a handful of passwords you could reliably recall that changed every so often. Now, it feels like you’re juggling dozens of accounts, each with their own unique passwords, requiring frequent resets or multi-step verifications.

    Even playing a simple game can feel like a mission. Instead of just clicking and launching, there’s a labyrinth of apps, logins, and sometimes, confusion over which platform to use. The promise that technology would make our lives easier definitely still holds, but modern tech frustrations can sometimes make it feel like we’re just running in place.

    When Complexity Overtakes Convenience

    Security is a big reason. There’s no denying it— keeping our data safe means added steps: stronger passwords, two-factor authentication, tricky apps that require updates or permissions. These things protect us but also add layers between us and what we want to do. The balancing act between security and convenience isn’t perfect.

    Then there’s the joy of homelabs. For those of us comfortable with tech, setting up a personal server or network attached storage (NAS) sometimes feels like the only way to escape the maze. It’s satisfying to control your own data, your own backups, and avoid the artificial hoops that big tech companies sometimes create.

    Is Simpler Tech Possible Again?

    It might sound nostalgic, but there’s real appeal in going back to simpler setups:

    • Managing fewer accounts with trustworthy passwords
    • Paying bills by check, or even cash, instead of wrestling with multiple websites
    • Downloading and adjusting apps without feeling lost in menus

    While tech has evolved, maybe it can evolve again—to find that sweet spot of helpful without being a hassle.

    Finding Your Own Balance with Modern Tech Frustrations

    Not everyone needs to run a homelab or be a power user to enjoy technology. Sometimes, the best move is cutting back on complexity. That might mean using password managers (to ease the burden), consolidating accounts, or finding apps with clean, intuitive interfaces.

    Remember, technology should serve you—not the other way around. It’s okay to say no to complicated setups, choose simpler tools, or ask for help when things get muddy.

    Helpful Resources for Managing Modern Tech

    • For password management and security tips: Have I Been Pwned? is great to check if your accounts have been compromised.
    • To explore homelabs and private setups, check out r/homelab for community insights.
    • For simplifying digital life and tools, Lifehacker is full of practical advice.

    At the end of the day, tech should make our lives easier, not harder. If you feel like technology has gotten a bit much, you’re not alone—and there are ways to get back some of that simplicity and ease.

  • Setting Up a Simple Yet Loved Home Network Lab

    Setting Up a Simple Yet Loved Home Network Lab

    How a straightforward home setup can still bring lots of joy and function with a few personal tweaks

    Have you ever put together a home network setup that isn’t flashy or cutting-edge but somehow just feels right? That’s exactly how I feel about my personal home lab. It’s nothing groundbreaking or revolutionary, but it works well, and I genuinely love checking on it — even if there’s a tiny imperfection that makes me itch every time I see it.

    Why Keep It Simple?

    When I started my home network setup, I wasn’t aiming to invent something unique or push the limits of technology. Instead, I wanted a system that’s reliable, functional, and fits comfortably in my space without causing clutter or headaches. Sometimes, simple beats complex, especially when the setup serves my daily needs smoothly.

    The Hardware Lineup

    Here’s a peek at what I’m working with:

    • Dlink Unmanaged 8-Port Switch: This is the traffic controller for wired devices. It’s straightforward and does exactly what I need—no fuss.
    • Unifi Express Hue Hub: Managing smart lighting at home can get complicated, but this hub keeps it seamless.
    • Optiplex 3050 running OMV7 + Docker: This small but mighty machine acts as my media server and Docker platform.
    • Wyse 5070 with ProxMox: Running virtual environments for various small tasks.
    • Behind the scenes: There’s a Draytek Vigor 165 VDSL Modem handling my internet connection and a Beaglebone Black Rev C acting as a Pi-hole for network-wide ad blocking.
    • Onlogic Fanless 4-core DIN PC: This handles my Jellyfin server to stream media smoothly.
    • 6TB external drive: Ample storage for media and backups.

    I’m also waiting for my new Unifi U6 Mesh to arrive. It’s replacing an old TPLink extender to improve wireless coverage and speed, which should make a noticeable difference around the house.

    The Little Imperfections

    I have to admit, there’s a small gap at the bottom of my setup that annoys me visually every time I glance at it. It’s a minor thing but it sticks with me. Maybe it’s my inner perfectionist talking! Despite that, I still appreciate my setup—it’s my personal tech corner that manages several of my home’s digital needs effortlessly.

    Why a Home Network Setup Like This?

    The beauty of this kind of setup is in its balance. It’s manageable enough to maintain without stress but powerful enough to support everyday activities like streaming, working, and smart home management.

    For anyone thinking about starting their own home lab or upgrading an existing one, I’d suggest considering what you truly need. You don’t have to go all out with the latest and greatest gear. Often, a carefully chosen collection of reliable components can offer great performance and a lot of satisfaction.

    If you’re curious about some of the gear I use, take a look at D-Link’s official site for their switches, check out Unifi’s product pages for networking and smart hubs, and explore Proxmox VE if you want to learn about virtualization solutions for home labs.

    Wrapping It Up

    My home network setup isn’t a flashy showpiece, but it’s a comforting space where tech meets practicality. Sometimes, it’s the small setups that feel the most personal and satisfying. If you’ve got a corner of your home filled with blinking lights and humming fans, treasure it—it’s your own little hub of activity and convenience.

    Thanks for hanging out and letting me share a bit about my setup!

  • Setting Up a Home Server Rack: My Dell r610 Journey

    Setting Up a Home Server Rack: My Dell r610 Journey

    How organizing my Dell r610 and gaming PC in a rack setup changed my workspace

    If you’re thinking about a home server rack setup, you’re not alone. Recently, I decided to organize my Dell r610 server alongside my gaming PC, and honestly, it’s been a pretty cool project. Having everything tidy, accessible, and expandable right near my desk (or tucked away in the closet if it gets noisy) has made a huge difference in how I use my tech gear daily.

    Why I Chose a Home Server Rack Setup

    Before, my workspace was kind of chaotic: lots of devices stacked without much organization. Then I got a rack — specifically a Dell r610 server — with shelves and a Netgear PoE switch. The idea was to have all my network and computing hardware in one neat place. The Dell r610 is a solid, reliable server, well-suited for a home lab or even small business use. Although there aren’t many current rack mount servers widely available, the Dell r610 is a classic choice you can still find plenty of info and support for online, like on Dell’s official documentation.

    Setting Up My Gaming PC in the Rack

    Here’s a twist: I also decided to install my gaming PC into a rack-mount case. This is a bit uncommon but works well if you want your high-performance PC close to everything else. It saves space and keeps cables tidy. It can get a bit loud, though, so I’m ready to move the whole rack into a closet if it starts bothering me. Using a rack mount case for a gaming PC is a neat way to integrate your gaming and server tech into one setup.

    Noise and Expansion Considerations

    One thing I learned quickly is that rack-mounted equipment, especially servers and switches like my Netgear PoE switch, can be noisy. PoE might be a shiny feature but for now, I don’t need it, which means I might replace that switch with a quieter one down the line. Still, the rack has plenty of room for expansion, which is exciting. If you’re into tinkering or have growing tech needs, having the space and structure is a big plus.

    Getting Rails and Accessories

    Currently, I’m waiting on some rails to properly mount the Dell r610 in the rack. Rails make it easier to slide the server in and out, which is super handy for maintenance or upgrades. The right hardware can make your home server rack setup smoother and more efficient.

    Final Thoughts

    Overall, this project has made me appreciate how a good home server rack setup can streamline your tech life. It might seem like a lot of effort at first, but the payoff is in the neatness, accessibility, and potential for growth. If you’re thinking about organizing your servers or making room for your gaming PC alongside your home lab, a rack is definitely worth considering.

    For more ideas on home server setups and rack equipment, check out resources like ServeTheHome and AnandTech’s enthusiast section. They’re great for deeper dives into rack mounts and server gear.


    Thanks for reading! Hope my experiences help you figure out your own home server rack setup plan.

  • Building My Own Network Monitor: A Simple Homelab Tool in the Making

    Building My Own Network Monitor: A Simple Homelab Tool in the Making

    Why I decided to create a custom network monitor for my servers and services

    If you’re into tech or running a homelab, you probably know how helpful a reliable network monitor can be. I’ve been there, procrastinating for ages trying to find one that really fits my needs without all the bloat. So I finally took the plunge and started building my own network monitor from scratch—something straightforward, easy to run on my local network, and exactly tailored to what I wanted.

    Why Build a Network Monitor?

    Sure, there are plenty of options out there like Nagios, Zabbix, and PRTG. But they can feel overwhelming or just don’t hit the mark for some of us who want something lightweight or custom. I teamed up with a good friend who’s a web developer, and together we kicked off this project with a simple goal: create a user-friendly website that you can run in your own network to keep an eye on servers, services, and the health of your homelab setup.

    What It Does So Far

    We’re still in the very early stages—we’re talking version 0.0.0.0.5—but it’s already showing promise. The tool can ping servers to check availability, monitor some basic services, and display status in a clean, simple web interface. It’s not packed with features yet, but the core idea is there: a lightweight, no-frills network monitor you actually want to use.

    What Could Make It Better?

    That’s where I’d love to hear from others. What do you think is essential in a network monitor? Maybe you need detailed alerts, custom dashboards, or integration with popular tools like Grafana or Prometheus? The beauty of building your own is you can tailor it exactly to your needs, but it’s easy to miss something important without feedback.

    Why It Matters

    Running your own custom network monitor helps take the guesswork out of maintaining your homelab. You get immediate info if something goes down, so you can fix issues before they become a bigger headache. A simple but effective monitor saves time and stress.

    Getting Started with Your Own Setup

    If the idea of building or customizing your own network monitor sparks your interest, here are a few resources and ideas to get going:

    • Check out Nagios, a veteran in network monitoring with tons of plugins.
    • Look into Zabbix, which offers a robust feature set but can be complex.
    • Consider lightweight tools like Netdata for real-time metrics without heavy setup.

    Building your own tool from scratch can be as simple or elaborate as you want, but it’s definitely rewarding. Plus, having a network monitor that fits your brain and setup is a win.

    If you’re curious about making your own or improving an existing monitor, you might want to start small and expand from there. Sometimes, less really is more.


    Curious to hear what you think is important in a network monitor. Drop your thoughts or ideas—who knows, maybe your suggestion will shape the next version!

  • Replacing My R730xd: A Watt-Saving Hardware Shuffle

    Replacing My R730xd: A Watt-Saving Hardware Shuffle

    Exploring the challenges and surprises of upgrading server hardware with a focus on efficiency

    If you’re like me, always poking around to shave a few watts off your hardware setup, then replacing an old server like the R730xd is something you might consider. The journey isn’t as straightforward as it sounds, though. Let me walk you through what I encountered when upgrading my system recently.

    Why Replacing R730xd Matters

    Older servers like the Dell R730xd were great for their time, but they tend to gulp power down like there’s no tomorrow. Saving energy not only cuts down on your electricity bill but also helps with heat management and can even reduce noise levels. So, replacing the R730xd with something more efficient seemed like a no-brainer.

    Pulling Out the Hardware: The Surprise

    When I finally got down to it, I pulled out all the components from the R730xd to see what I’d be working with:

    • 16 NVMe drives
    • 100Gbps NIC (Network Interface Card)
    • External SAS connections for disk shelves

    Right away, you realize this isn’t just about swapping some parts—it’s about dealing with a full setup that’s been carefully built and now needs a new home.

    Finding New Space

    One challenge? Finding spots to put all that hardware. Every drive, card, and external connection has to fit somewhere, and with the new system being different, it’s not always plug-and-play. In fact, the new setup, a PowerEdge P720, is going to be pretty full once I cram everything in.

    Tips for a Smooth Hardware Upgrade

    Based on my experience, here are some tips if you are thinking about replacing your R730xd or similar server:

    1. Inventory Your Components: Know exactly what hardware you need to accommodate. This helps you plan the layout.
    2. Check Compatibility: Verify that your new chassis or server supports all your drives and cards, especially high-speed NICs.
    3. Plan for Expansion: Think about future growth. Is the new system flexible enough?
    4. Prepare for Cable Management: Extra hardware means more cables; plan how you’ll keep them neat.
    5. Consult Documentation: Dell’s official guides and forums are treasure troves. For example, the Dell PowerEdge Guides are super helpful.

    Final Thoughts

    Replacing hardware isn’t just a hardware swap—it’s a small project that involves planning, patience, and sometimes a bit of creativity. But cutting down a few hundred watts while keeping your powerful setup intact is worth the effort.

    If you want to dive deeper into server hardware upgrades and understand more about NVMe drives or 100G NICs, check out resources like How-To Geek on NVMe and Broadcom on high-speed networking. They really make the technical details accessible.

    So, if you’re thinking of replacing your R730xd, just remember: it’s harder than you might think, but with the right prep, it’s doable and can save you some serious watts.

  • Building My Homelab: HP Servers and a GPU Beast

    Building My Homelab: HP Servers and a GPU Beast

    How I set up a lightweight but powerful home lab environment with ESXi and Proxmox

    If you’ve ever thought about tinkering with servers at home, you might relate to the surprise and excitement I felt when two HP DL380 servers and a custom GPU rig somehow ended up in my homelab.

    My homelab setup started almost by chance, but it’s become a fun and rewarding project. For this setup, I’m running ESXi 7.0.3 on a Generation 9 HP DL380 and ESXi 6.5.8 on a Gen 8 model. The hefty custom GPU server is running Proxmox, giving me a good balance between virtualization powerhouses and specialized workloads.

    Why I Chose This Homelab Setup

    The HP DL380 servers are well-known solid workhorses in the server world. ESXi, VMware’s bare-metal hypervisor, is a great choice for virtualization because it’s stable, widely supported, and suitable for many enterprise and hobbyist scenarios. Meanwhile, Proxmox complements this by offering flexibility and support for containers and virtual machines, which is perfect for the GPU server.

    Challenges: The Sound Issue

    One thing you don’t hear about often enough is the noise these kinds of servers can generate. My setup isn’t quiet. The fans on the HP DL380s and the custom GPU server are definitely loud. It’s a constant hum, almost like having a small airplane nearby. While it can get distracting, I learned that keeping the Linux VMs running light and the core infrastructure slim cuts the load significantly, which helps keep temperatures and noise somewhat manageable.

    Keeping the Load Low

    The key to a successful homelab setup like this is balancing performance with efficiency. Running lightweight Linux machines on these servers means they don’t have to work harder than they need to. The slimmed-down core infrastructure makes a real difference. Instead of overloading the servers, I focus on essential services, which keeps everything smooth and responsive.

    What I’ve Learned So Far

    1. Hardware can find its way to you in unexpected ways—sometimes you just have to say yes.
    2. ESXi and Proxmox are powerful combos for virtualization and container management.
    3. Managing noise and heat is crucial, especially with older or beefier servers.
    4. Keeping the workload light and focused helps maintain stability and longevity.

    Taking It Further

    This setup is a work in progress. I’m planning some tweaks to the sound insulation and maybe experimenting with more container-based workloads on Proxmox. For anyone wanting to build their own home lab, my advice is to start simple, pick hardware you can manage, and learn along the way.

    Here are some helpful resources if you want to dive deeper:
    – Official VMware ESXi documentation: VMware ESXi Documentation
    – Proxmox VE overview and docs: Proxmox VE
    – HP DL380 Server specs: HPE ProLiant DL380 Gen9 Server

    In the end, your homelab setup should reflect what you want to learn and experiment on. For me, it’s about mixing traditional servers with specialized hardware, running a lean but flexible system, and yes, occasionally tuning out the fan noise. If you’re curious about home labs, I hope my experience gives you a little nudge to start your own!

    Happy labbing!