Unleashing the Power of Personal Servers in 10-Inch Racks
Introduction
In the vibrant world of home computing, building a personal server, or “homelab,” offers unparalleled control and flexibility. Forget the limitations of off-the-shelf solutions or the ongoing costs of cloud services; a compact homelab setup empowers you to create a customized environment tailored precisely to your needs. This deep dive explores how a passionate DIYer transformed a vision into a functional, space-efficient powerhouse, embracing the quirks and opportunities of personal builds. From robust virtualization to innovative storage and networking, we’ll uncover the strategies and components that make a bespoke homelab both practical and incredibly rewarding. Get ready to explore the beauty of combining powerful tech with a personal touch, proving that a high-performance server doesn’t need to dominate your space or your wallet.
Designing Your Compact Homelab Setup: Rack and Compute Considerations
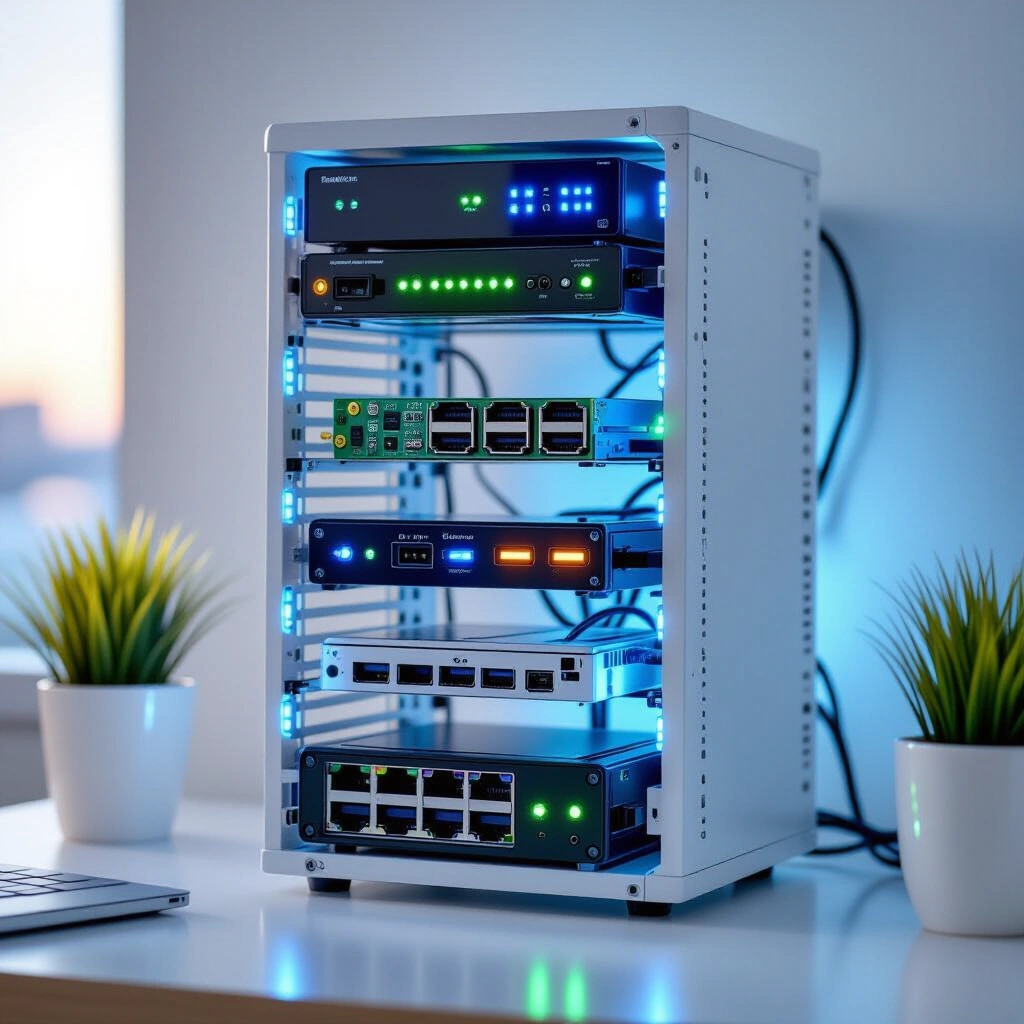
Embarking on a homelab journey often starts with defining your compute and physical infrastructure. For those with limited space, the traditional 19-inch server rack can be overkill. This is where the charm of a 10-inch server rack truly shines, offering a footprint that blends seamlessly into a home environment while providing ample structure for various components. These smaller racks allow for a dense, organized setup without consuming an entire closet or corner of a room. Many enthusiasts, like the inspiration for this guide, even leverage 3D printing to create custom mounts and enclosures, further optimizing space and airflow within these compact frames.
Powering this compact structure requires thoughtful component selection. A common and highly effective strategy involves a Proxmox cluster, which enables robust virtualization and containerization. For instance, a 3-node Proxmox cluster built with efficient processors like the Intel 6500t can handle multiple virtual machines and services with ease. This provides a resilient and scalable foundation for various applications, from media servers to home automation. Alongside a dedicated cluster, many homelabbers integrate an ITX-based system. This could serve as a powerful workstation, like an editing rig running Windows 11 with an AMD Ryzen 7 7700 and an NVIDIA 4060Ti, offering remote access for heavy computational tasks. The key lies in balancing performance needs with power efficiency and physical dimensions, ensuring your setup is both potent and practical.
Optimizing Homelab Networking and Storage: The 2.5GbE Raspberry Pi NAS
High-speed networking and reliable storage are the backbone of any effective homelab, even a compact one. Traditional gigabit Ethernet, while sufficient for many tasks, can become a bottleneck when transferring large files or managing multiple high-bandwidth services. This is where upgrading to 2.5 Gigabit Ethernet (2.5GbE) offers a significant advantage. Even with budget-friendly switches, integrating 2.5GbE can drastically improve data transfer speeds within your local network. Many mini PCs and custom builds, including those using SBCs like the Raspberry Pi, can achieve 2.5GbE speeds through readily available USB 3.0 to Ethernet adapters. These adapters provide a cost-effective way to enhance network throughput without requiring expensive hardware upgrades.
Storage, especially for data-intensive tasks like media streaming or backups, demands a robust and scalable solution. A particularly ingenious approach involves building a Raspberry Pi NAS, converting a modest single-board computer into a powerful network-attached storage device. Imagine a 24TB RAIDZ1 configuration, effectively creating a resilient storage pool that safeguards your data. Running Ubuntu Server with Samba and NFS services, such a setup transforms the Raspberry Pi into a versatile file server accessible across your network. By leveraging 2.5GbE USB adapters, the Raspberry Pi NAS can overcome its built-in 1GbE limitation, ensuring swift data access. This innovative combination of affordable hardware and open-source software demonstrates how creativity can yield high-performance solutions for your homelab storage needs. For more details on configuring network performance, explore resources on optimizing 2.5GbE in home networks (rel=”noopener noreferrer” target=”_blank”).
The Art of DIY: 3D Printing for Homelab Customization
The spirit of DIY is arguably at the heart of every homelab. This isn’t just about assembling components; it’s about crafting a solution that fits your unique vision, often pushing the boundaries of what’s commercially available. DIY server rack 3D print projects have revolutionized homelab customization, allowing enthusiasts to design and fabricate bespoke mounts, brackets, and even entire enclosures. The open-source community provides a treasure trove of STL files for everything from mini PC trays to specific component mounts, making it easier than ever to tailor your setup. Platforms like Makerworld host a vast collection of user-contributed designs, offering creative solutions for common homelab challenges.
The beauty of 3D printing lies in its ability to solve seemingly niche problems. Need a specific mount for an ITX board? Want to organize power supplies neatly within a 10-inch rack? Chances are, someone in the community has designed it, or you can design it yourself. The “Labrax” 10-inch racks, for instance, are a testament to brilliant community-driven design, providing an excellent foundation for many compact builds. This collaborative approach not only saves time and effort but also fosters a sense of community among homelabbers. Embracing these resources means you don’t have to be an expert designer; you can leverage the collective ingenuity of others to bring your perfect homelab to life. This hands-on, problem-solving ethos is what makes the homelab journey so engaging and ultimately, so rewarding. You can find many open-source designs and inspiration on Makerworld (rel=”noopener noreferrer” target=”_blank”).
Building Your Own Compact Homelab: A Step-by-Step Framework
Creating your ideal compact homelab setup is a journey, not a sprint. Follow this framework to guide your build:
- Define Your Needs and Budget: What do you want your homelab to do? (e.g., media server, virtualization, home automation, editing workstation). This dictates component choices and helps set a realistic budget.
- Component Selection: Focus on mini PCs, single-board computers, and ITX form factors for their compact size and power efficiency. Consider processors that balance performance with thermal design power (TDP).
- Rack and Enclosure Planning: Decide on a 10-inch rack or a custom enclosure. Explore 3D printable designs (like Labrax racks) for maximum customization and space utilization. Plan for proper airflow.
- Operating System and Virtualization: Choose your primary operating system (e.g., Proxmox for virtualization, Ubuntu Server for specific services, Windows for desktop tasks). Understand how different OSes interact.
- Networking and Storage Integration: Plan your network topology. Consider 2.5GbE for internal transfers and a robust NAS solution (e.g., Raspberry Pi with RAIDZ1). Ensure power supplies are strategically placed for efficiency.
- Testing, Refinement, and Documentation: Once assembled, thoroughly test all components and services. Be prepared to troubleshoot and refine your setup. Document your configuration—this saves immense time later.
Expect this process to be iterative. Initial setup might take a weekend, but refinement and expansion can be an ongoing hobby.
Common Pitfalls in Compact Homelab Setup
While building a homelab is rewarding, it’s not without its challenges. Being aware of common pitfalls can save you time and frustration.
- Power Consumption Oversight: Compact builds often prioritize efficiency, but powerful components (like a dedicated GPU) can still draw significant power. Monitor your total wattage and consider the long-term electricity costs.
- Cooling Issues in Small Spaces: Cramming components into a 10-inch rack or tight enclosure can lead to overheating. Ensure adequate airflow, strategically placed fans, and proper cable management.
- Network Bottlenecks: Underestimating the need for faster networking can limit your homelab’s potential. Even with 2.5GbE adapters, ensure your router and switches can handle the increased traffic.
- Underestimating Storage Needs: Data grows rapidly. What seems like sufficient storage initially can quickly fill up. Plan for future expansion, especially for a NAS, and consider redundancy like RAIDZ1.
- Complexity Creep: It’s easy to add more services and VMs than your hardware can comfortably handle. Start simple and expand gradually, ensuring each new service integrates smoothly without bogging down the system.
“I have no idea why I build or design things the way I do, it’s just what my brain thinks about by default. Some of the ways I do things I question if they’re practical or make any sense, and that’s the beauty of homelab and DIY.” This personal philosophy highlights that sometimes the most unconventional solutions are the most innovative, but a critical eye on practicality remains essential.
FAQ: Your Compact Homelab Questions Answered
Q: Why build a compact homelab instead of using cloud services?
A homelab provides complete ownership and control over your data and services. While cloud services offer convenience, a homelab can be more cost-effective in the long run, especially for consistent usage. It also offers invaluable learning opportunities in system administration, networking, and virtualization, all within your private network.
Q: Is a Raspberry Pi suitable for a serious NAS?
Yes, a Raspberry Pi can be surprisingly effective as a NAS, especially for home use. With robust operating systems like Ubuntu Server, file sharing protocols like Samba and NFS, and high-speed USB 3.0 to 2.5GbE adapters, it can deliver excellent performance for media streaming and personal backups. The key is proper configuration and understanding its limitations compared to enterprise-grade solutions.
Q: How do 10-inch racks compare to standard 19-inch racks?
10-inch racks are significantly smaller and designed for home or small office environments where space is at a premium. They accommodate mini PCs, single-board computers, and compact networking gear. In contrast, 19-inch racks are industrial standards for data centers, supporting larger, heavier, and more powerful servers. The choice depends entirely on your scale and space availability.
Q: What are the key components for a beginner’s homelab focused on virtualization?
For a beginner’s virtualization homelab, start with a powerful mini PC or an older desktop with a capable CPU (Intel i5/i7 or AMD Ryzen) and at least 16GB of RAM. Install Proxmox VE or a similar hypervisor. You’ll also need decent storage (SSD for OS/VMs, HDD for bulk data) and a basic gigabit switch. Expand with more nodes or specialized components as your skills grow.
Q: How can 2.5GbE networking improve my homelab experience?
2.5GbE significantly boosts data transfer speeds within your local network, making activities like moving large files between your NAS and workstation, or streaming high-bitrate media, much smoother. It’s a noticeable upgrade from 1GbE, especially beneficial for anyone frequently dealing with large datasets or multiple network-intensive applications simultaneously.
Key Takeaways
- Compact Homelab Setup empowers personal control and offers significant learning opportunities beyond cloud solutions.
- 10-inch racks provide a space-efficient foundation, often enhanced by DIY 3D printing for custom mounts and enclosures.
- Innovative solutions like a Raspberry Pi NAS paired with 2.5GbE networking can deliver high-performance storage and data transfer at a reasonable cost.
- Careful planning of compute, networking, and storage, along with continuous refinement, are crucial for a successful and evolving homelab.
- Embrace the DIY ethos and leverage the open-source community for designs and inspiration, transforming challenges into unique solutions.
Your journey into building a personalized homelab is just beginning. Take the leap, experiment, and enjoy the profound satisfaction of creating a powerful, tailor-made server environment. Start by outlining your first project today!