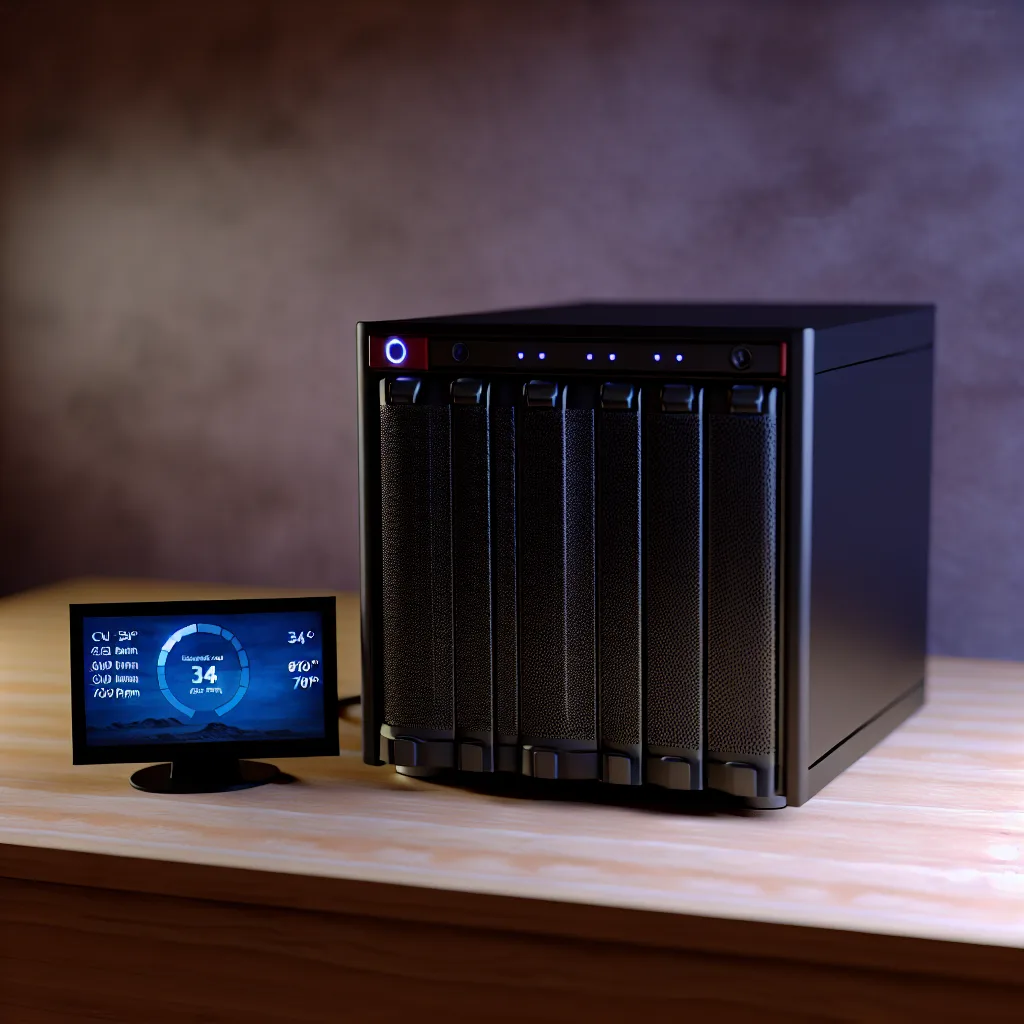
Sometimes the coolest upgrades aren’t about more power—they’re about smarter ideas. This custom ‘ThinkLab’ server with an ESP32 monitor is a perfect example.
I was scrolling through some online communities the other day and stumbled upon a project that made me stop and say, “Okay, I need to do that.” It wasn’t a multi-thousand-dollar rack server or a super-powered gaming rig. It was a clean, clever, and incredibly thoughtful DIY home server build that someone had nicknamed the “ThinkLab.” And it had one little feature that made it stand out from everything else I’ve seen.
It’s easy to go down the rabbit hole of building your own server. You start with an old PC, add a few hard drives, and before you know it, you’re looking at network diagrams and debating file systems. But this project reminded me that the most satisfying builds aren’t always about raw power. They’re about creativity and solving little problems in smart ways.
So, What’s Special About This DIY Home Server Build?
At first glance, the “ThinkLab” is a tidy, 6-bay server. The name is a nod to the classic, no-nonsense design of Lenovo’s ThinkPad laptops—matte black everything, with a few subtle red accents. It’s a look that says “I mean business,” and it’s a perfect aesthetic for a home server that just quietly does its job in a corner.
But the real magic isn’t the case. It’s a small, separate module connected to the server: an ESP32 microcontroller with a tiny screen.
This little device acts as a dedicated, external system monitor. Instead of having to log into the server’s operating system to check on temperatures, fan speeds, or system load, the builder can just glance at the screen. It’s a simple idea, but it’s brilliant. It turns the server from a mysterious black box into something that gives you immediate, useful feedback.
The ESP32 Controller: Your Server’s New Best Friend
If you’re not familiar, an ESP32 is a tiny, low-cost microcontroller with built-in Wi-Fi and Bluetooth. You can buy one for just a few dollars. They’re popular in the DIY electronics world for everything from weather stations to home automation sensors. You can learn more about them on the official Espressif Systems website.
So why use one for your DIY home server build?
- At-a-Glance Info: The most obvious benefit is having a persistent, low-power display showing you key stats. Is the server running hot? Are the fans spinning correctly? You know in a second, without touching a keyboard.
- Independent Control: Because the ESP32 is a separate computer, it can run independently of your server’s main OS. This means you could program it to manage fan speeds based on its own temperature sensors. If your server’s OS ever crashes, the ESP32 could keep the fans running to prevent overheating or even send you an alert.
- The “Wow” Factor: Let’s be honest—it’s just cool. It adds a layer of customization that you’d never get from an off-the-shelf NAS. It makes the machine truly yours.
Thinking About Your Own DIY Home Server Build Upgrade?
Seeing this project got my own gears turning. How could I add something similar to my setup? It turns out, it’s a pretty accessible project, even if you’re not a coding genius.
The basic idea involves connecting a few components:
1. An ESP32 Board: These are widely available and cheap.
2. Sensors: You’d likely want a temperature sensor (like a DS18B20) to place near your hard drives or CPU heatsink.
3. A Display: A small OLED or LCD screen to show the data.
4. Software: You can program the ESP32 using the Arduino IDE, which is very beginner-friendly, or use platforms like ESPHome that integrate with home automation software.
The server would send its data (CPU temp, load, etc.) over the local network or a USB serial connection to the ESP32. The ESP32 then takes that data and puts it on the display. It’s a simple, elegant solution.
This is the kind of project that defines the home lab community. It’s not about spending a ton of money; it’s about being creative, learning a new skill, and building something that’s uniquely suited to your own needs. For more inspiration on projects like this, communities and sites like ServeTheHome are fantastic resources for seeing what others are building.
So, if you’re sketching out your next DIY home server build, maybe think beyond just the specs. Think about how you interact with it. A small, thoughtful addition like an external monitor might just be the most satisfying part of the entire project. I know it’s going on my list.
