Why assembling your own mini rack can be surprisingly rewarding and sturdy
If you’ve ever wanted a compact yet sturdy solution for housing your server or network equipment, making your own DIY mini rack might just be your next rewarding project. Recently, I dove into building an 8U mini rack that’s both small enough to fit in a cozy workspace and strong enough to hold all the gear without any worries. I want to share what I learned along the way and why this little rack turned out better than I imagined.
What Is a DIY Mini Rack and Why Build One?
A DIY mini rack is essentially a custom-built, small server or equipment rack that can house various hardware — think NAS drives, routers, switches, or even a small home lab. The freedom to design your own means you can tailor it to the space, size, and specific equipment you have on hand, without paying a premium for something too big or unnecessary.
Starting the Build: Materials and Design
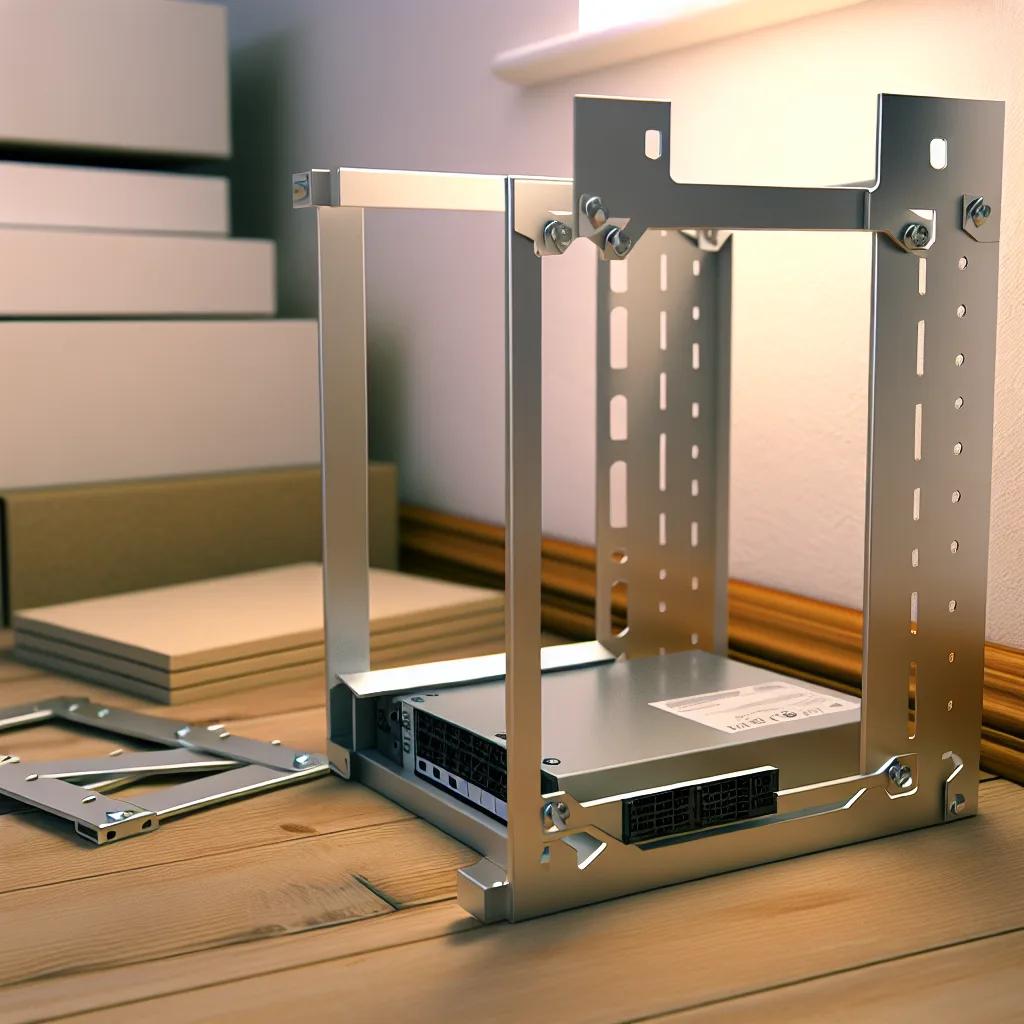
I began with some thin angle brackets and wooden panels. I’ll admit, I was a bit skeptical about using thin brackets for structural support — after all, the stability of the rack is crucial. But once assembled, it was surprisingly rock solid. It just goes to show that smart design and careful assembly can go a long way even with modest materials.
For anyone planning a similar project, make sure to plan your dimensions carefully, based on what you want inside. 8U in rack sizing means roughly 14 inches of vertical rack space, which is enough for many standard pieces of equipment.
What’s Next: The Missing Pieces
While the rack’s frame feels solid, there are still some parts to finish. For example, mounts for the NAS motherboard and hard drives will be added soon. These will secure the key components safely and neatly. Planning for these mounts ahead of time helps avoid last-minute headaches and makes your setup cleaner.
How This Project Helped Me Understand Rack Stability
One great takeaway from building a DIY mini rack is learning how important frame support really is. Before starting, I wondered if thinner hardware would suffice, but assembling the frame proved that with the right angles and proper attachment, even thinner materials can hold up well. For anyone concerned about durability, consider structural design just as much as component strength.
Useful Tips for Your DIY Mini Rack
- Measure Twice, Cut Once: Careful measurements will save you from costly mistakes.
- Plan Mount Points: Think about where each device will sit and make sure you have a plan to secure it.
- Materials Matter: While the thin brackets worked here, assess what tools and materials you have.
- Keep the Future in Mind: Leave room for expansion or upgrades.
Wrapping Up and Resources
Building a DIY mini rack isn’t just about saving money—it’s also a hands-on way to tailor your hardware setup exactly to your needs, with an added sense of pride in what you’ve crafted. If you want to learn more about rack sizes and specs, check out resources like the RackSolutions site. For sourcing NAS components, Synology’s official site has helpful guides and compatible hardware recommendations.
If you’re thinking about trying your hand at a DIY rack, don’t hesitate—start small and build your confidence with each step.
Happy building!