Turning Raspberry Pi Pico W into a versatile IoT tool for Home Automation with Home Assistant
If you’re someone who loves tinkering with tech at home, the idea of creating your own smart devices can be really exciting. Recently, I dove into a project that involved turning a Raspberry Pi Pico W into a generalized IoT device. What’s cool about this setup is that every Pico W runs the same firmware, making it super easy to deploy multiple devices without fuss. I’ve been using these Pico Ws to optimize my HVAC system, making my home a little smarter and more efficient.
What is DIY PicoW IoT?
Simply put, the DIY PicoW IoT project uses the Raspberry Pi Pico W—an affordable, small microcontroller with built-in Wi-Fi—to create smart sensors and controllers that connect with Home Assistant, a popular home automation platform. The beauty is that all your Pico Ws can run the same code (kind of like having a universal firmware), which streamlines managing multiple devices.
How It Works in My Home
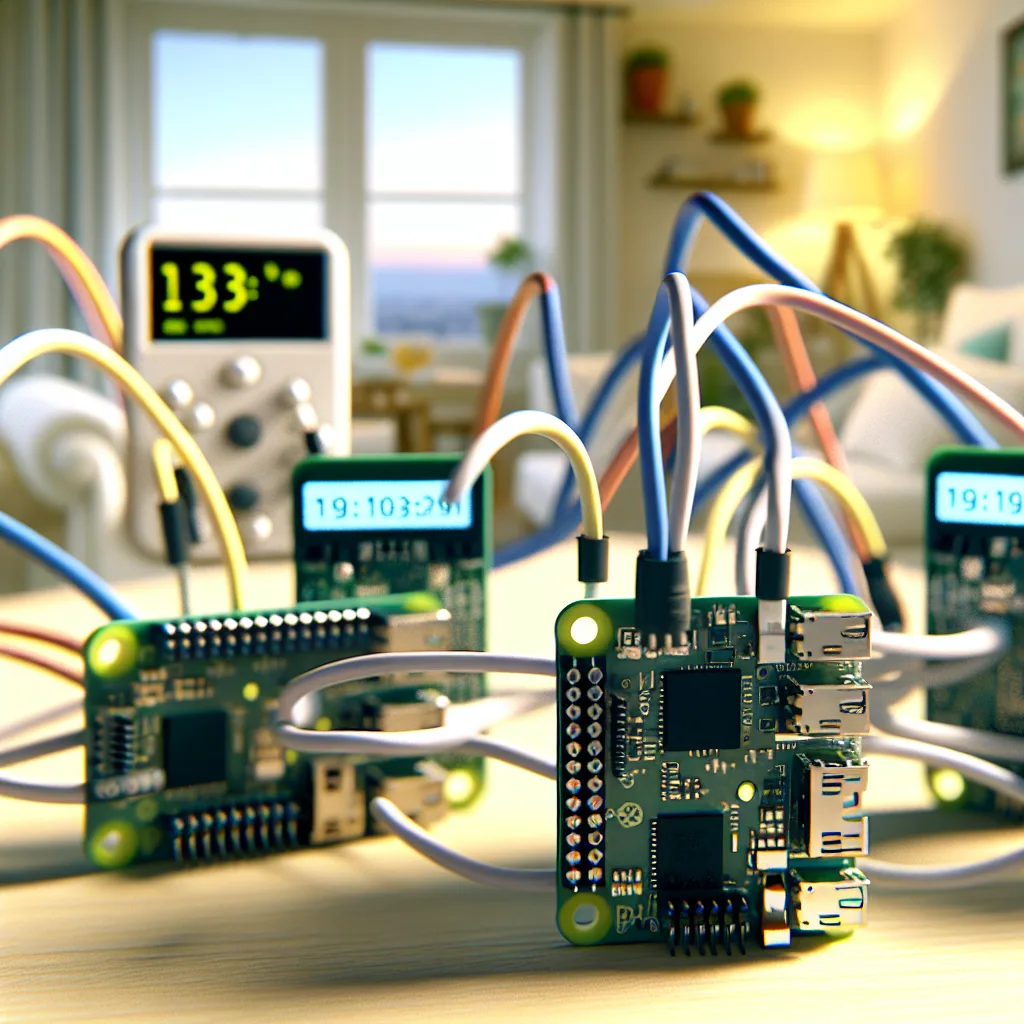
For my HVAC optimizer, I use two Pico Ws to monitor room temperatures. These sensors send data over MQTT, a lightweight messaging protocol perfect for IoT devices. Another Pico W watches the HVAC unit’s air-in and air-out temperatures. This one not only reports data but also receives control commands via MQTT, coming from a Python script that decides how the HVAC should adjust. This approach helps maintain a comfortable temperature while improving energy efficiency.
Why Use DIY PicoW IoT with Home Assistant?
If you’re new to smart home automation, using the Raspberry Pi Pico W with Home Assistant offers a flexible and budget-friendly entry point. It allows you to customize your smart setup the way you want while keeping costs low. Plus, MQTT support means you’re using an industry-standard way of messaging among IoT devices. You can find more about MQTT and its benefits on the official MQTT website.
Getting Started with DIY PicoW IoT
Here are some tips if you want to try this yourself:
- Uniform Firmware: Use the same codebase for all your Pico Ws to simplify updates and maintenance.
- MQTT Setup: Set up a reliable MQTT broker; Mosquitto is a popular option and easy to install.
- Integration: Connect your Pico Ws with Home Assistant, which supports a wide range of devices and protocols.
There’s a great community and plenty of resources online. Check out the official Raspberry Pi documentation for detailed guides on the Pico W, and explore Home Assistant’s website for integration tips.
Final Thoughts
DIY PicoW IoT devices can be a practical, low-cost way to add smart functionality to your home. Whether you’re monitoring temperature, controlling devices, or just experimenting, the flexibility and community support around the Raspberry Pi Pico W and Home Assistant make this a satisfying project to take on. It’s a neat example of how DIY electronics can blend into everyday life without much fuss.
If you like diving into home automation, this could be a fun, rewarding way to start small and build your system step by step with devices you control.