You don’t need expensive gear to start your home lab journey. Here’s how a couple of coffee tables and some creativity kicked off my setup.
It All Starts with an Idea (and a Coffee Table)
Have you ever gotten that itch? The one where you want to take control of your digital life, build something cool, and maybe learn a ton along the way? That’s how I ended up building my first home lab. And let me tell you, the biggest initial hurdle wasn’t the complex software or the server hardware; it was finding a simple, affordable DIY server rack to put everything in. Professional racks can be surprisingly expensive and, honestly, overkill for a beginner. So, I decided to make my own.
It turns out, the solution was waiting for me at IKEA. This whole project is a testament to the idea that you don’t need a massive budget or a dedicated server room to start exploring the world of home servers and networking. You just need a little creativity and the willingness to try.
What’s a Home Lab, and Why Should You Care?
Before we get into the nuts and bolts, you might be wondering what a “home lab” even is. Think of it as your personal tech playground. It’s a setup of one or more computers and networking gear in your home that allows you to experiment with technology that you might not encounter in your everyday life.
For me, it was about a few key things:
* Smarter Home: I wanted to run Home Assistant, an amazing open-source platform that puts you in control of your smart devices without sending your data to the cloud.
* Better Networking: The basic router from my internet provider just wasn’t cutting it. I wanted more control, better performance, and robust security.
* A Place to Learn: This is the big one. A home lab is the perfect environment to learn about server administration, virtualization, and networking concepts hands-on.
It’s your space to build a media server, host your own cloud storage, or just tinker without the fear of breaking something important.
Building My Budget-Friendly DIY Server Rack
This is where the fun really started. After searching for racks online and being put off by the prices, I stumbled upon a classic, time-tested solution in the home lab community: the IKEA Lack table rack.
Yes, that simple, inexpensive coffee table. It just so happens that the space between the legs of a Lack table is almost exactly 19 inches—the standard width for rack-mountable equipment. It’s a perfect coincidence.
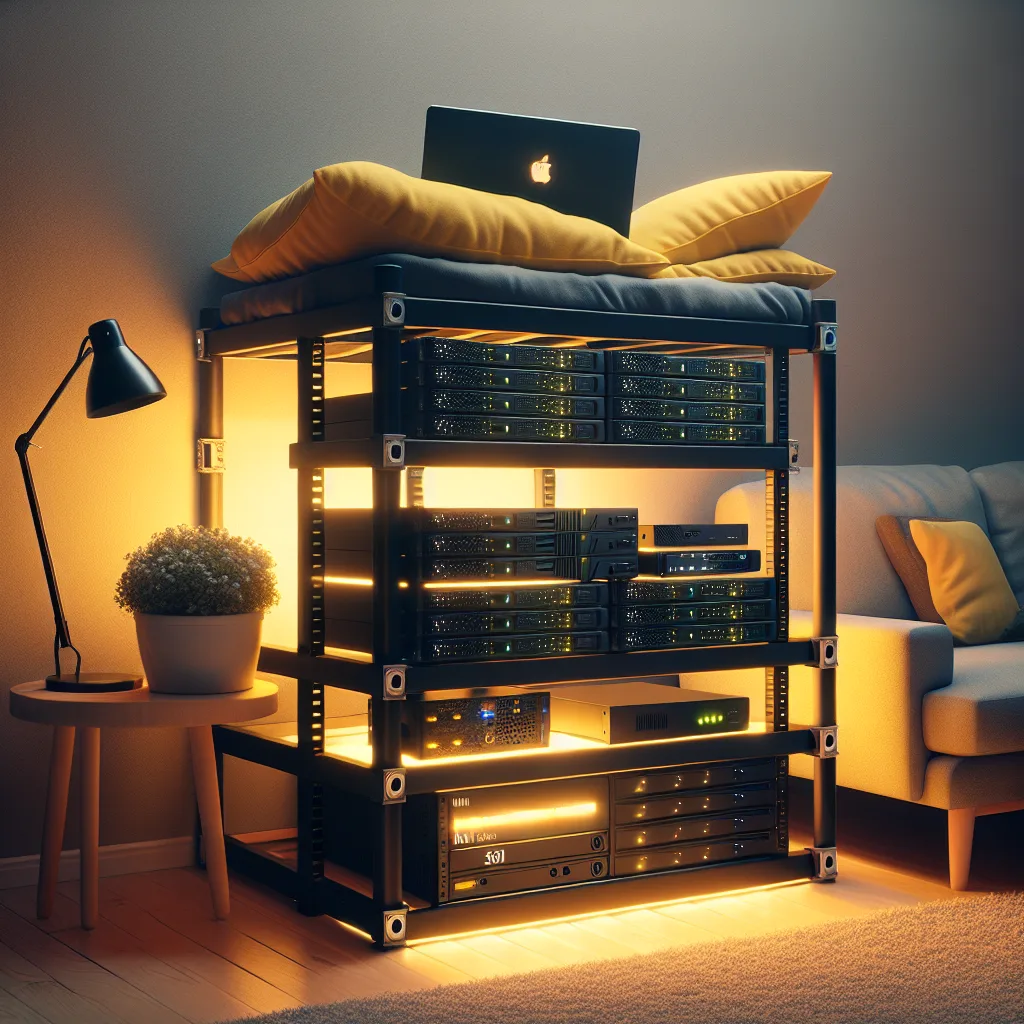
I grabbed two black Lack coffee tables. By stacking one on top of the other, I created a simple, two-tiered open-frame rack. It’s sturdy enough for beginner equipment and blends into the room much better than an industrial metal cabinet. The best part? It cost me next to nothing. This simple DIY server rack proves that you can get started with items you might already have.
The Gear That Powers the Lab
A rack is just a piece of furniture without the tech inside it. My setup is pretty modest, but it’s a powerful starting point. I focused on reliable, often second-hand, gear to keep the costs down.
Here’s a look inside my DIY server rack:
- Networking: I’m using gear from Ubiquiti’s UniFi line. It’s known for being pro-level equipment that’s still accessible for home users. I have a UniFi switch and a gateway to manage my network traffic. The level of control and insight you get is incredible compared to standard consumer routers.
- The Brains (Home Automation): A small, power-efficient Dell computer is dedicated to running Home Assistant. It’s on 24/7, orchestrating all the smart devices in my home.
- The Workhorse (Server): The main event is a Dell PowerEdge R720XD server. This is an enterprise-grade server that I bought refurbished. It has tons of storage (that’s what the “XD” means) and processing power for running virtual machines, a media server like Plex, and other services I want to experiment with.
- The Magic Touch (3D Printing): To mount the UniFi gear, which isn’t standard rack size, I used custom 3D printed brackets. I found the models on a site like Thingiverse, and it was so satisfying to print a part that solved a real-world problem perfectly. It adds a personal, custom-made feel to the whole setup.
- Clean Power: Everything is plugged into an Eaton PSU (Power Supply Unit), which is essentially a big battery backup and surge protector. It ensures that a brief power outage won’t corrupt my data or damage my hardware.
It’s Not Perfect, But It’s Mine
Looking at my little setup, I feel a huge sense of pride. It’s not the cleanest, most professional-looking home lab you’ll see online. The cables could be managed better, and the gear isn’t the latest and greatest. But it doesn’t matter.
I built it. Every component was chosen, installed, and configured by me. It’s a functional, powerful tool that I use every single day, and it started with nothing more than a couple of coffee tables and an idea.
If you’ve been thinking about starting your own tech journey, I hope this inspires you. Don’t wait for the perfect equipment or the perfect budget. Start small, get creative, and build something that you can be proud of. You’ll be amazed at what you can accomplish.