Exploring a practical and budget-friendly home server setup that keeps everything connected and running smoothly
If you’ve ever wondered what a practical, budget-friendly home server setup looks like, I recently put together one in my basement that I’m excited to share. It’s not flashy or over the top, but it’s built with the right mix of devices to keep everything running smoothly—from routing and switching to storage and gaming. Maybe it’ll give you some ideas for your own network project.
Why a Home Server Setup?
A solid home server setup isn’t just for tech enthusiasts or hardcore gamers. It’s for anyone who wants to improve their home network’s reliability, boost storage space, and get a bit more control over their internet experience. Mine started as a way to stop fighting over Wi-Fi dead zones and expand my storage capacity. Over time, it grew to include some fun extras like a Minecraft server and robust privacy tools.
The Core Components of My Setup
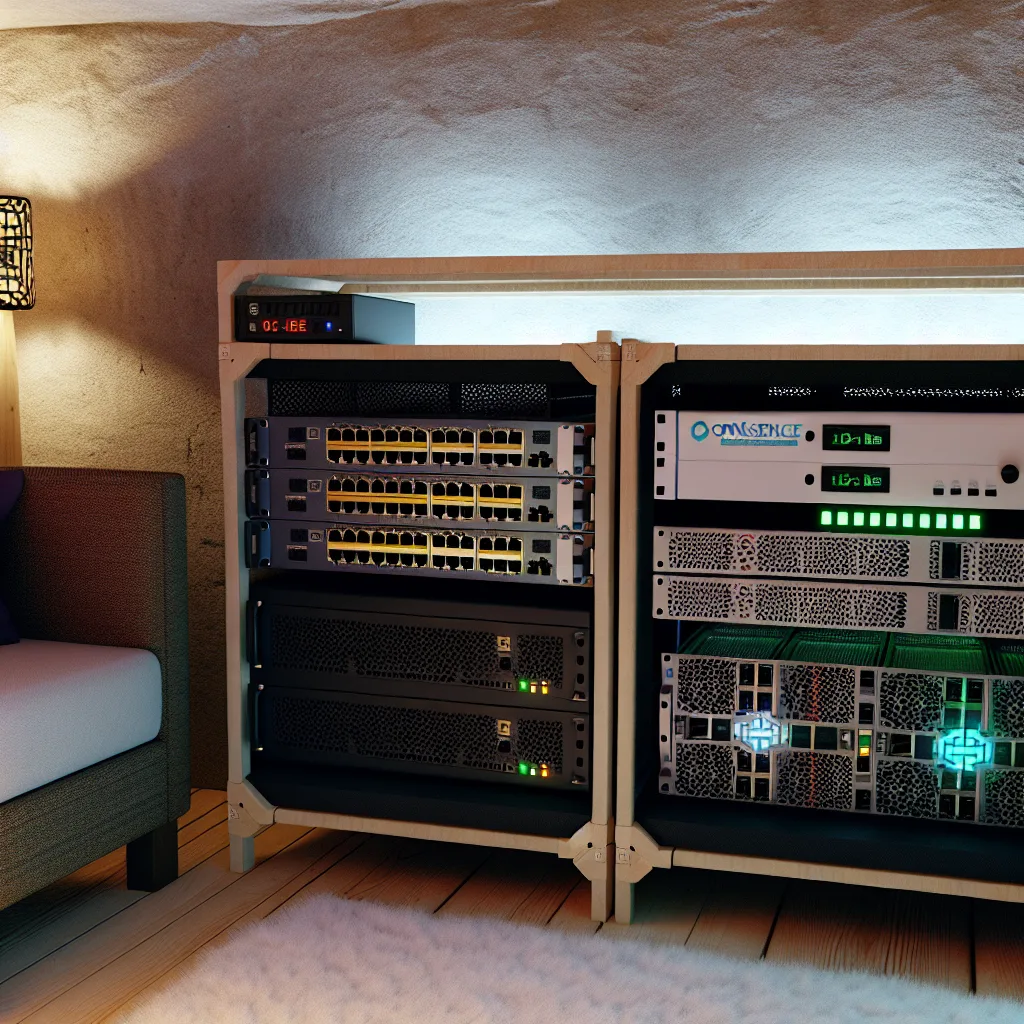
Here’s a quick rundown from the basement rack to the Wi-Fi mesh system upstairs:
- OPNsense Router: This open-source router handles all my traffic routing, firewall, and VPN connections. It’s affordable and flexible, helping me secure the home network.
- 1GbE and 10GbE Switches: To keep things speedy and sortable, I use a 1 Gigabit Ethernet switch for regular devices and a 10 Gigabit Ethernet switch for high-bandwidth tasks like transferring files to the NAS.
-
Pi-hole Server: This little guy blocks ads and trackers at the network level, making browsing cleaner and faster for everyone on the network.
-
Minecraft Server: It’s a simple server running for friends and family. It’s modest but fun, showing how versatile home networks can be.
-
30TB NAS: Storage is king! This Network-Attached Storage holds my media library, backups, and more. Having this centralized means I can access my files anytime from anywhere in the house.
-
Uninterruptible Power Supply (UPS): Protects the whole setup from power outages or surges.
-
Budget TP-Link Wi-Fi 6E Mesh System: Although it’s not shown in the rack, I have a mesh network that blankets the house with Wi-Fi, handling devices wirelessly with ease.
What Makes This Setup Practical
This setup covers all the essentials without breaking the bank. Starting with an open-source router like OPNsense means I’m not locked into pricey subscriptions or hardware. The switches let me sort traffic efficiently, separating normal devices from high-demand hardware.
The Pi-hole is a bit of a hidden gem—blocking unwanted content at the DNS level speeds up browsing and helps with privacy, something that paid services can’t always guarantee.
Plus, having a dedicated Minecraft server is a reminder that your home setup can be for fun and productivity at the same time.
How You Can Start Your Own
You don’t have to duplicate this exact setup, but the principles apply broadly. Think about what you want to achieve (better security, more storage, smoother gaming), then pick devices that fit the need and your budget. Sites like OPNsense’s official site and TP-Link offer great resources to help beginners.
NAS systems come in all sizes and price points — check out reviews on Tom’s Hardware to find a suitable one. And remember, even a basic Pi-hole setup can make a noticeable difference in your network.
Wrapping Up
Setting up a home server doesn’t need to be intimidating. With a bit of planning and the right gear, you’ll have a reliable, secure, and fun network right in your basement or wherever you choose. And the best part? You’ll often find yourself wondering how you ever managed without it!