Struggling to install a 2.5-inch HDD or SSD in your HP EliteDesk 800 G3 Mini? This simple guide shows you the two essential parts you need to make it fit.
So you got your hands on one of those awesome little PCs, like an HP EliteDesk 800 G3 Mini. They’re fantastic little workhorses—compact, quiet, and surprisingly powerful for their size. And like many of us, you probably have a spare laptop hard drive or a 2.5-inch SSD lying around, thinking, “Perfect! I’ll just pop this in for some extra storage.”
You grab your screwdriver, slide off the sleek metal case with a satisfying click, and then… you stop. You stare at the beautifully engineered internals, a marvel of miniaturization, and you see absolutely nowhere to put your drive. There are no obvious brackets, no empty bays screaming “install drive here.” It feels like trying to solve a puzzle with a missing piece.
If this is you, don’t worry. You’re not crazy, and you haven’t missed something obvious. I’ve been there myself. The truth is, you’re not missing a piece of the puzzle—you’re missing two very specific, very necessary parts.
The Secret: It’s All About the Caddy and the Cable
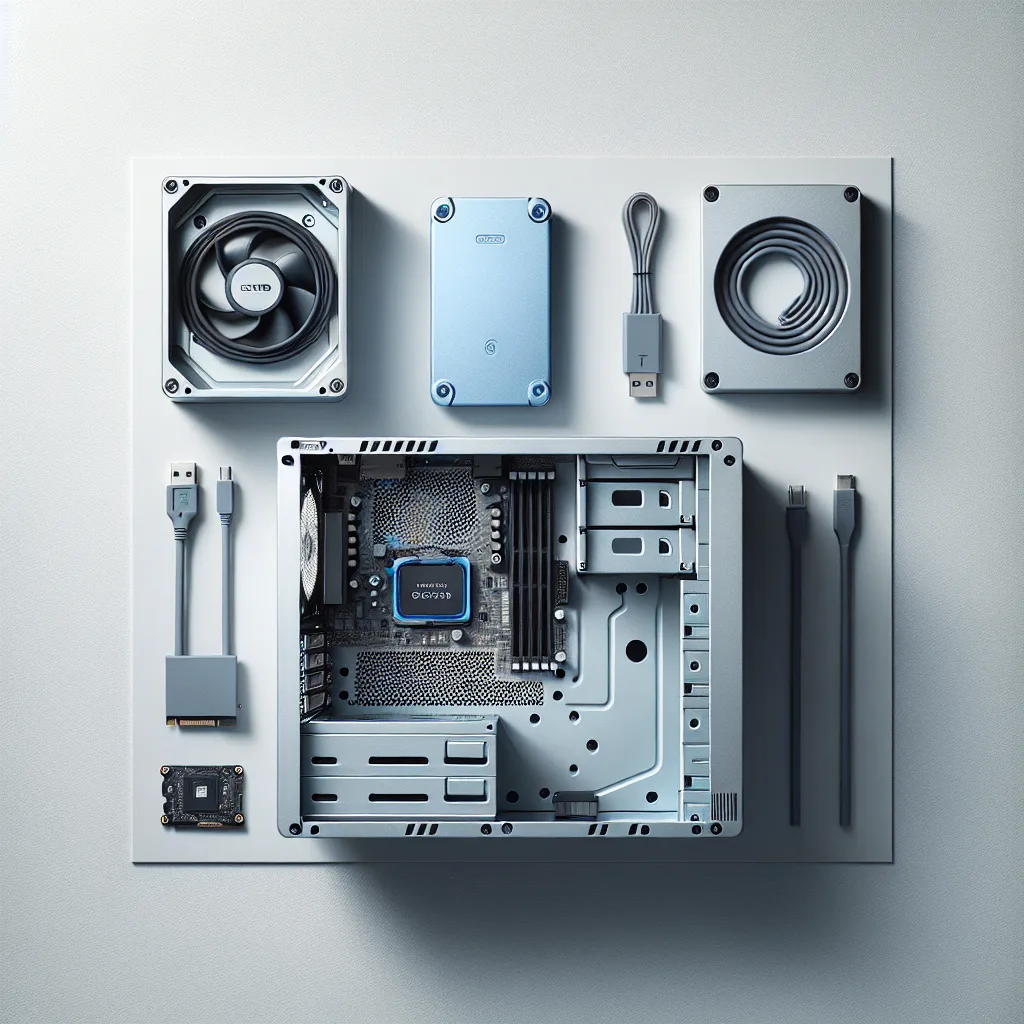
Unlike big, boxy tower PCs with standardized drive cages, these Small Form Factor (SFF) and Mini PCs from brands like HP, Dell, and Lenovo rely on proprietary parts to save space. To add a standard 2.5-inch drive (the size used in laptops), you can’t just screw it directly to the chassis. You need two things:
- A 2.5-inch Drive Caddy: This is a custom-molded plastic or metal bracket that your hard drive or SSD screws into first.
- A Proprietary SATA Cable: The motherboard doesn’t have the standard SATA power and data ports you’re used to seeing. Instead, it has a single, small connector that requires a special combo cable.
Without these two parts, that extra drive is just a paperweight. But once you have them, the installation is a breeze. Here’s how you do it.
Step 1: Get the Right Parts
This is the most important step. You need the specific caddy and cable for your model. For the HP EliteDesk 800 G3 Mini, you’ll want to search online marketplaces like eBay or Amazon for:
HP EliteDesk G3 Mini 2.5 inch drive caddy(Part number is often912328-001)HP EliteDesk G3 Mini SATA cable(Part number is often904494-001)
It’s crucial to get the parts designed for the G3 model, as parts from other generations might not fit. You can often find them sold together as a kit. Expect to spend around $10-$20 for both.
Step 2: Open Up Your EliteDesk
This is the easy part. Make sure the computer is unplugged. There’s a single thumbscrew on the back of the PC. Loosen it, and the top cover will slide right off toward the back. Set it aside.
Step 3: Locate the Drive Bay
Now that you’re inside, look for the main cooling fan and heatsink assembly. It looks like a black plastic shroud covering a metal fin stack. This entire assembly is usually hinged. Gently lift it up and it will pivot, revealing the space underneath. That empty spot below is where your new drive is going to live.
Step 4: Prepare Your Drive
Take your 2.5-inch HDD or SSD and your new drive caddy. Place the drive into the caddy. You’ll see four small screw holes that line up with the screw holes on the side of your drive. Use the small screws that likely came with the caddy to secure the drive. Don’t overtighten them—just snug is good.
Next, take your special SATA cable. One end has the standard L-shaped connectors for data and power that plug into your drive. The other end has a small, single white or black connector. Plug the standard end into your drive.
Step 5: Install the Drive and Connect It
With the drive now nestled in its caddy, it’s time to put it in the PC.
- Slide it in: The caddy is designed to slide perfectly into the bay you just uncovered. It should click or drop into place securely.
- Connect the cable: Take the small end of the SATA cable and find its matching port on the motherboard. It’s usually located near the drive bay and is often labeled
SATA1or something similar. It only fits one way, so don’t force it.
Step 6: Close Up and Power On
That’s pretty much it for the hardware part. Gently lower the fan assembly back into place until it clicks. Slide the top cover back on and tighten the thumbscrew.
Plug everything back in and boot up your computer. Your PC’s BIOS/UEFI should automatically detect the new drive. Once you’re in your operating system (like Windows), you’ll need to initialize and format the drive before you can use it. Just search for “Disk Management” in the Start Menu, find your new drive (it’ll show as unallocated), right-click it, and follow the prompts to create a new simple volume.
And there you have it. That seemingly impossible task is done. It’s one of those things that feels complicated until you know the secret. Now you can enjoy all that extra storage for your games, files, or media. Happy upgrading!