My journey to silence a loud HPE server. Follow along as I replace every fan, even the tricky PSU fan, in a high-stakes DIY hardware modification.
I have this fantastic server, an HPE ML110 Gen10. It’s powerful, reliable, and the heart of my home lab. But it came with one massive problem.
It was loud. Like, really loud.
If you’ve ever run enterprise-grade equipment at home, you know what I’m talking about. The stock fans in these machines are designed for performance, not peace and quiet. They’re meant to keep things cool in a data center, where the noise floor is already high. In a home office or a corner of the living room? Not so much.
The constant whirring was driving me nuts. It was the kind of background noise you can’t ignore, slowly chipping away at your sanity. I knew I had to do something about it. So, I decided to replace all the fans.
The Point of No Return
This wasn’t my first time modding a piece of hardware, but there’s always a little voice in the back of your head when you start taking things apart. Are you sure you know what you’re doing? What if you break it?
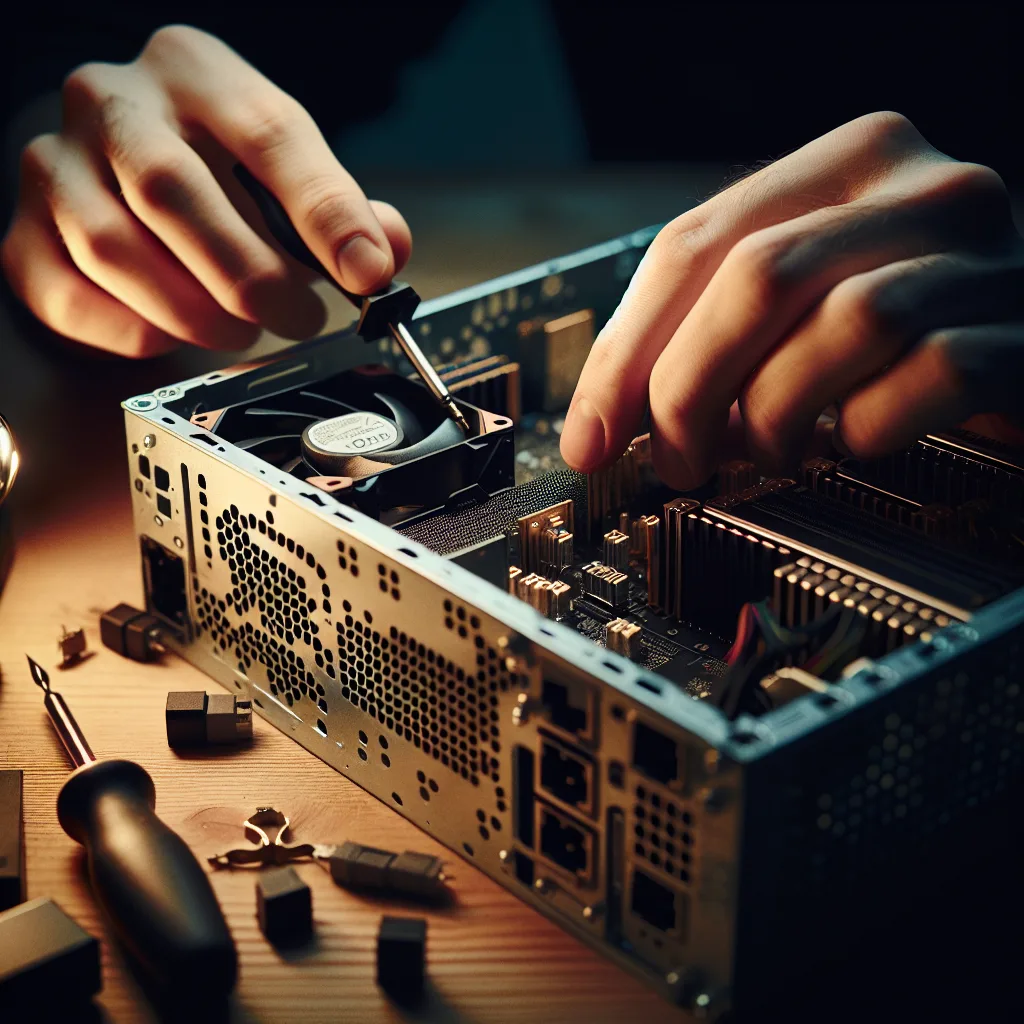
I pushed that voice aside and got to work. The case fans were the first to go. I researched quieter alternatives, found some that matched the specs, and carefully swapped them out. It was satisfying work. With each fan I replaced, I could feel a small victory. The process was straightforward enough: unplug the old, plug in the new. The server was getting quieter, and my confidence was growing.
But then I got to the last one. The final boss of this quiet-computing quest: the power supply unit (PSU) fan.
PSUs are the black boxes of the computer world. They’re not really designed to be opened. Stickers often cover the seams, warning you that breaking the seal will void your warranty. And for good reason—they hold a lot of electrical charge, even when unplugged.
But I was too far in to turn back now. The case fans were quiet, which only made the high-pitched whine of the PSU fan even more noticeable. It was the last hurdle.
Down the Rabbit Hole
So, I did it. I took a deep breath, broke the seal, and carefully disassembled the power supply.
And that’s when I saw it. The fan connector. It wasn’t standard. Of course, it wasn’t. Why would it be? Instead of the typical 3-pin or 4-pin connector you see on every case fan, this one was a proprietary little thing. My heart sank.
This is the moment every DIY project has. The point where you’re standing in front of a problem you didn’t anticipate, with your expensive hardware in pieces all around you. You have two choices: put it all back together and admit defeat, or push forward and hope for the best.
I looked at the tiny connector, then at the standard connector on my brand-new, whisper-quiet fan. They wouldn’t mate. But the wires were the same colors. The pinout looked like it was probably the same as a standard case fan. Probably.
There was only one way to find out.
I decided to go for it. With my fingers crossed, I carefully de-pinned the proprietary connector and swapped it with a standard housing. It was delicate work, requiring a steady hand and a lot of hope. If I got the pin assignment wrong, I could fry the fan, or worse, the entire power supply.
This is the part of the story where you feel like you’re on the verge of either a brilliant success or a costly failure. There’s no in-between. I’m at that point right now, with a modified PSU on my workbench.
The next step is to plug it in and see if my gamble paid off. If it works, I’ll have what I’ve been dreaming of: a silent server. A powerful machine that doesn’t sound like a jet engine is taking off in my office. If it doesn’t… well, I’ll be shopping for a new power supply.
Wish me luck.