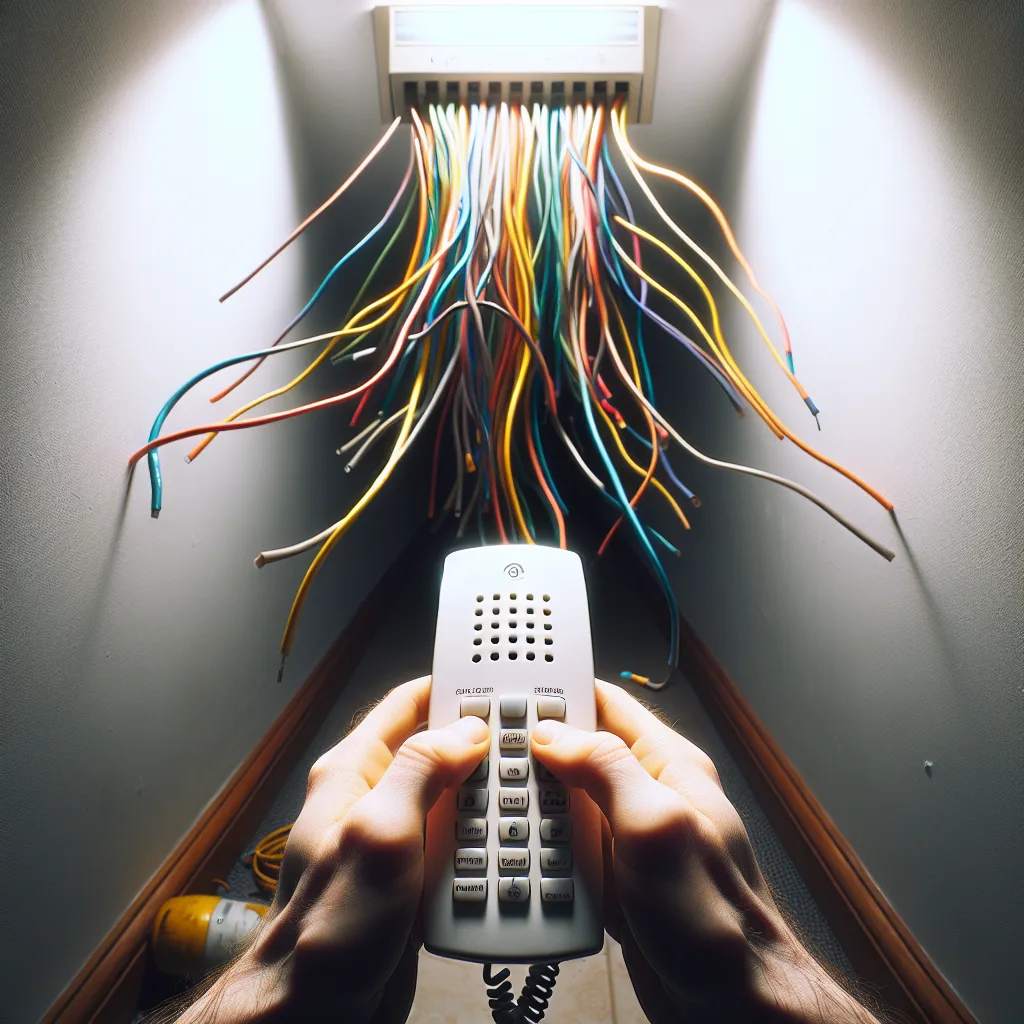
A friendly guide to troubleshooting why your intercom microphone isn’t working after an upgrade. Don’t worry, it’s usually an easy fix!
It’s one of those classic DIY moments. You set out to fix a small, nagging problem—in my case, a completely dead home intercom. After a bit of research, you buy a shiny new unit, spend an hour figuring out the wiring, and finally, success! You can hear visitors buzzing from downstairs perfectly. But then comes the test. You press the button to speak, and… nothing. Silence. Your voice doesn’t carry. It’s a surprisingly common headache when your new intercom microphone not working becomes the new problem, replacing the old one.
I recently went through this exact scenario. My old intercom was a relic, and after replacing it, I was met with this frustrating one-way communication. If you’re in the same boat, don’t start thinking you bought a faulty unit just yet. The problem is almost always simpler and, thankfully, fixable. It all comes down to the wiring.
Why Is My New Intercom Microphone Not Working?
When you swap one intercom brand for another—say, an old BTICINO for a new Fermax—you’re not just changing the plastic casing. You’re navigating two different electronic worlds. Each manufacturer has its own internal language for how its systems talk to each other. The terminals might be numbered similarly (1, 2, 3, 4), but what terminal “2” does on your old unit could be completely different from what terminal “2” does on the new one.
Think of it like trying to plug a European appliance into a North American outlet. The plug might look close, but it won’t work without an adapter. In the intercom world, the “adapter” is your understanding of the wiring diagram. The most common reason an intercom microphone not working after a swap is that the wire responsible for carrying your voice isn’t connected to the correct terminal on the new device.
Understanding Universal vs. Proprietary Systems
The intercom market is generally split into two types of systems:
- Proprietary Systems: These are designed by a single manufacturer (like BTICINO, Comelit, etc.) to work exclusively with their own hardware. The handset, the power supply, and the outdoor panel are all part of a closed ecosystem.
- Universal or “5-Wire” Systems: Some manufacturers, like Fermax with their universal handsets, create replacement handsets designed to work with many different existing systems. These are lifesavers for upgrades, but they still require careful wiring.
The key takeaway is that even a “universal” handset needs to be told what kind of system it’s connecting to. This is where the instruction manual becomes your best friend.
A Step-by-Step Guide to Fixing Your Intercom Microphone
Ready to get this sorted out? Grab a small screwdriver and let’s walk through the process. It’s less about being an electronics expert and more about being a patient detective.
1. Find the Manuals (Seriously)
I can’t stress this enough: you need the wiring diagrams for both the old unit you removed and the new one you installed. If you don’t have the paper copies, a quick search online for the model numbers will almost always bring up a PDF. Manufacturer websites are the best place to start. For instance, you can typically find support documentation on sites like BTICINO’s official page or for your new device. These diagrams are the treasure maps to solving your problem.
2. Translate the Terminals
Lay the two diagrams side-by-side. Your goal is to identify the function of each wire coming from your wall. Don’t trust the wire colors! They are not standardized. Instead, focus on what terminal they were connected to on the old unit. You’re looking for four main functions:
- Speaker (or Earpiece): The wire that lets you hear the person outside.
- Microphone: The wire that transmits your voice.
- Common Ground (GND): A shared neutral wire that completes the circuit for both the speaker and microphone.
- Door Release (or Lock): The button that opens the door.
3. The “Common Ground” Is the Most Likely Culprit
In many systems, the microphone and speaker share a single “common” wire. If your speaker works but your microphone doesn’t, it’s highly likely the common wire is connected correctly for the speaker but not for the microphone on the new handset. Your new manual should tell you which terminal is the “common” or “GND.” Ensure that wire is securely in place. Sometimes, a single wire from the wall needs to connect to two separate terminals on the new intercom, which is often done with a small “jumper” wire included with the new unit.
4. Double-Check the Microphone Wire
Once you’ve confirmed the common ground, use your translated diagram to find the specific wire for the microphone. On your new intercom’s diagram, find the terminal labeled “MIC” or “M”. This is where that wire needs to go. It’s easy to misplace this one, especially if the terminals are small and close together. A great resource for general electronics troubleshooting like this can be found on sites like iFixit, which often have forums and guides for similar devices.
It might take a little trial and error, but by methodically matching the function from the old diagram to the new one, you’ll find the right combination. Take your time, be safe, and soon enough, you’ll be able to have a proper two-way conversation through your new intercom. Happy fixing!
