You don’t need a rack-mounted beast to get started. Here’s how I built my humble, quiet home lab.
I think we’ve all been there. You scroll through forums or watch YouTube videos and see these incredible home lab setups—towering racks, blinking lights, and enough horsepower to launch a small satellite. It’s inspiring stuff, but it can also feel a little intimidating. Do you really need all that to get started?
I’m here to tell you that you don’t.
For a long time, the idea of a home server felt out of reach. I imagined a loud, power-hungry machine humming away in a corner, driving up my electricity bill and making it hard to hear myself think. But I finally decided to jump in, and the result is the opposite of what I feared: a quiet, efficient, and completely unassuming little box that just works. It’s my “sleeper” build, and it’s proof that we all start somewhere.
Starting Small, Dreaming Big
My main goal was simple: create a server that was silent and sipped power. This wasn’t going to be a machine for transcoding 4K video streams for a dozen users. It was for learning, tinkering, and running a few essential services 24/7 without being a nuisance.
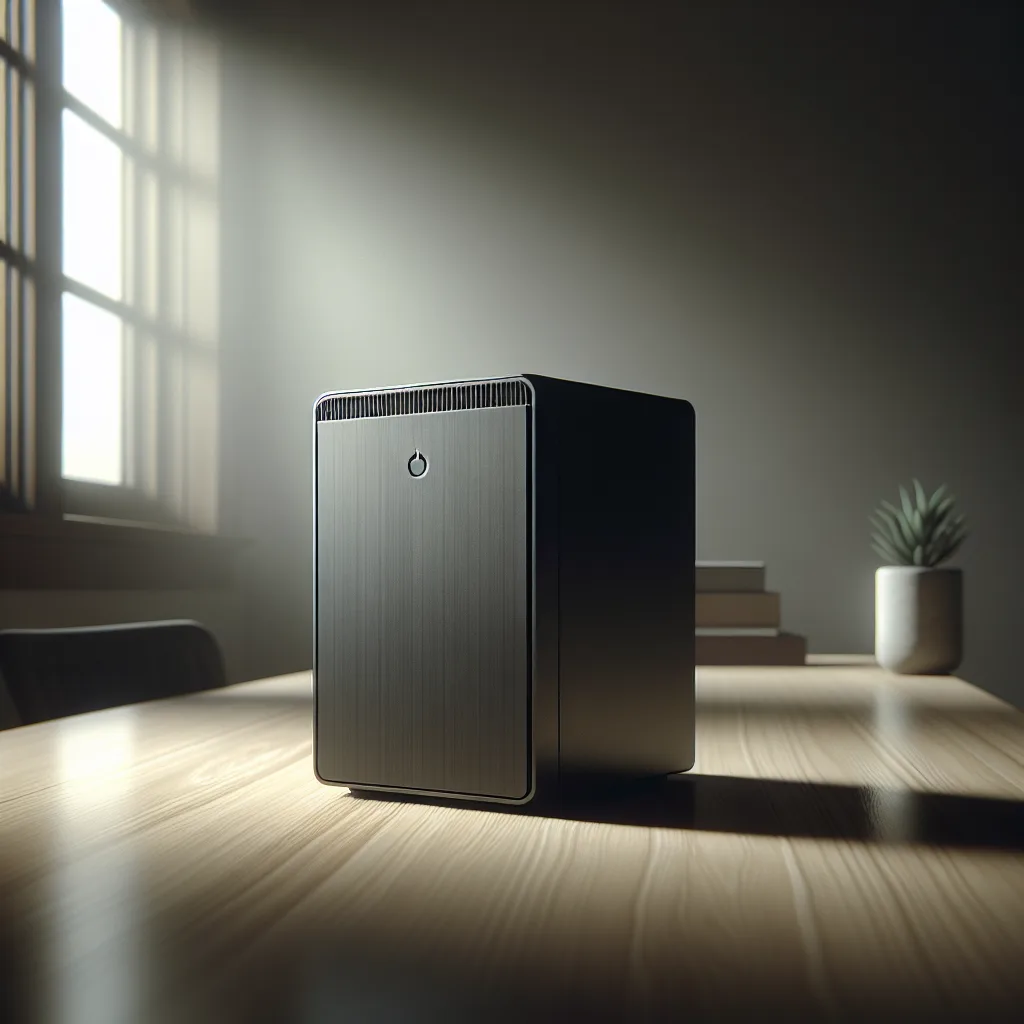
The “sleeper” philosophy is all about this. It’s a machine that looks plain on the outside but has a capable heart. No flashy RGB lights, no windowed side panels. Just a simple case that blends into the background. It’s the perfect approach for a first-timer who values function over flash. It’s not about having the fanciest equipment from day one; it’s about getting your hands dirty and building something that fits your needs right now.
The Parts List: Simple and Effective
So, what’s inside this silent workhorse? I kept the component list focused and budget-friendly. Here’s a peek under the hood:
- The Brain (CPU): I went with an N150 CPU. It’s not a chart-topping monster, but that’s the point. It provides more than enough power for a handful of virtual machines or containers while keeping power consumption incredibly low. For a machine that’s always on, this is a huge win.
- Memory (RAM): 16GB of RAM is the sweet spot for a build like this. It gives me enough breathing room to run Proxmox as the host operating system and still spin up a few services without constantly worrying about hitting a memory limit.
-
The OS Drive (SSD): The operating system, Proxmox, lives on its own dedicated 500GB M.2 SSD. Using a fast SSD for the host OS is one of the best decisions you can make. It keeps the whole system responsive, from boot-up to managing virtual environments.
-
Data Storage (HDDs): This is where I got a little creative. For my actual data, I have a total of 3TB of storage using standard 2.5″ laptop hard drives. To connect them all, I’m using a clever M.2 to SATA adapter, which lets me add more drives without needing a bulky motherboard with tons of SATA ports.
Now, I’ll be honest—it’s not perfect. Right now, one of the hard drives is powered over USB. It’s a temporary solution that works, but the next planned upgrade is a proper power supply to give all three drives the stable power they deserve. And that’s okay! A home lab is a journey, not a destination.
Quietly Does It: The Sleeper Build in Action
So, what’s the verdict? Everything is working flawlessly.
Seriously. There is no noise. The combination of a low-power CPU and no case fans means it’s completely silent. It just sits on the shelf, and the only way I know it’s on is the tiny power LED. I’m running Proxmox, which has opened up a whole world of possibilities. It’s a hypervisor that lets me create and manage virtual machines and containers, essentially turning this one small box into a dozen different computers.
It’s been the perfect environment for me to learn about networking, experiment with services like Pi-hole or a file server, and host my own applications without paying for cloud hosting.
Your Turn to Build
If you’ve been on the fence about building a home server, I hope this gives you a little push. You don’t need a four-figure budget or a dedicated server closet. You can start with a simple, quiet, low-power machine and build from there.
The most important step is the first one. Find a goal, pick some parts, and put something together. It won’t be perfect, but it will be yours. You’ll learn a ton, and you’ll have a powerful tool for your future projects.
What does your home lab setup look like? I’d love to hear about it in the comments below!