From a dusty old PC to a proper server, here’s the story and specs of my third home lab setup.
It all starts with that little itch. You know the one. It begins with a simple thought: “Could I host my own files instead of using Dropbox?” Before you know it, you’re looking at an old desktop computer in the corner and wondering, “What if?” That’s how my journey began, and I’ve just finished my third complete overhaul. This is the story of my version 3.0 home lab setup.
For me, building a home lab is the ultimate tinkerer’s playground. It’s a space to learn about networking, servers, and software without the risk of breaking something at work. My first two versions were humble. Version 1.0 was literally an old gaming PC I saved from the recycling bin. It was loud, inefficient, and not very powerful, but it was mine. Version 2.0 was a step up—a dedicated consumer desktop build. It was quieter and ran a few things well, but I quickly hit its limits. I wanted to run more virtual machines, experiment with containers, and have something a bit more robust.
It was time for a real server.
Why a New Home Lab Setup?
So, why tear everything down and start over for a third time? A few reasons.
- Noise and Power: My v2 setup, while better than the first, was still a collection of consumer parts that weren’t designed for 24/7 operation. The power consumption was higher than I liked, and the fan noise was noticeable.
- Performance Bottlenecks: With only a few virtual machines running, the CPU on my old desktop would start to struggle. I wanted to run a media server, a network ad-blocker, a home automation hub, and still have room to spin up new things to test without everything slowing to a crawl.
- Reliability: I was starting to rely on the services I was hosting. When my cobbled-together server went down, the whole house knew about it (the Wi-Fi-connected lights don’t work so well without Home Assistant). I needed something more dependable.
The Heart of the v3 Home Lab Setup: The Hardware
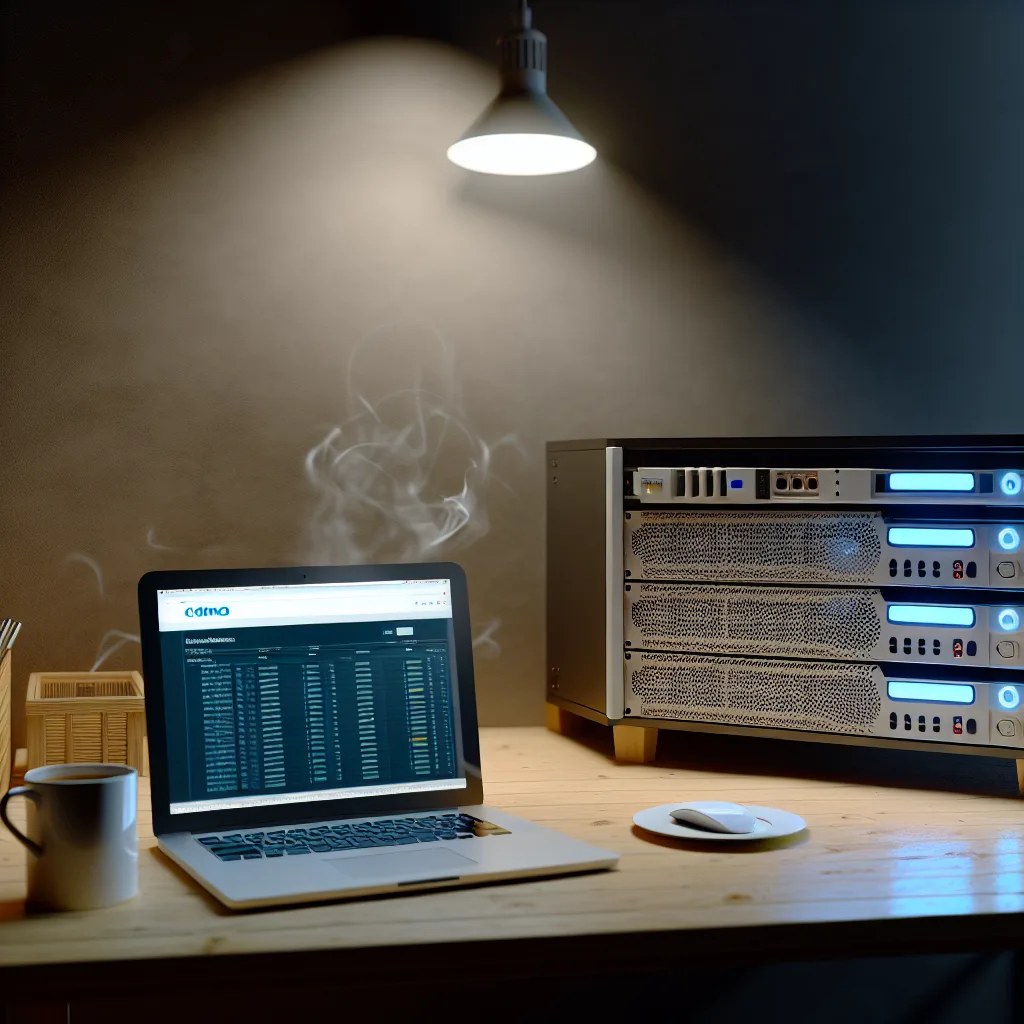
After weeks of research, I decided to dive into the world of used enterprise gear. You can get incredible performance for a fraction of the original cost. It’s a bit of a treasure hunt, but the payoff is huge. Here’s what my new build looks like:
- Server: A Dell PowerEdge R720. I found this on a local marketplace. It’s a rack server, which is a big step up for me. It’s quiet for its class and has dual power supplies for redundancy.
- CPU: It came with two Intel Xeon E5-2650 v2 processors. That gives me a total of 16 cores and 32 threads to play with. It’s more than enough for anything I can throw at it right now.
- Memory: 128GB of DDR3 ECC RAM. The “ECC” part is important—it stands for Error Correcting Code, which helps prevent data corruption. It’s a feature you don’t typically find in consumer hardware.
- Storage: This was a big upgrade. I’m using a mix of drives:
- Two 512GB SSDs in a RAID 1 configuration for the operating system and virtual machines. This means one drive is an exact mirror of the other, so if one fails, I don’t lose anything.
- Four 4TB HDDs for mass storage, mostly for my media server.
The Software: Making It All Work
Hardware is only half the battle. The software is what brings your home lab setup to life. I landed on a stack that is powerful, free, and has a massive community for support.
My operating system of choice is Proxmox VE. It’s a fantastic open-source virtualization platform. It lets me easily create and manage both virtual machines (VMs) and containers from a simple web interface. It’s incredibly powerful but surprisingly easy to get started with.
Inside Proxmox, I’m running a handful of services that have become central to my home network:
- Plex: For organizing and streaming my movies and music.
- Home Assistant: To control all my smart home gadgets.
- Pi-hole: For blocking ads across my entire network.
- Docker: I have one large VM dedicated to running Docker, which I use to experiment with dozens of smaller applications and services without needing to spin up a full new VM for each one.
This new setup is a dream come true. It’s quiet, surprisingly power-efficient for what it is, and has so much headroom for future projects. Diving into the world of used enterprise gear can be intimidating, but sites like LabGopher can help you search eBay for servers that fit your budget and needs.
If you’ve got that tinkerer’s itch, I can’t recommend building a home lab enough. It doesn’t have to be a big, expensive server rack. Start small, with an old computer or a Raspberry Pi. The journey of learning and building is the best part. This v3 build feels like a real milestone, but I’m already thinking about what v4 might look like.