A personal story of upgrading a simple closet server into a powerful, multi-drive homelab for Plex, storage, and tinkering. See the before and after.
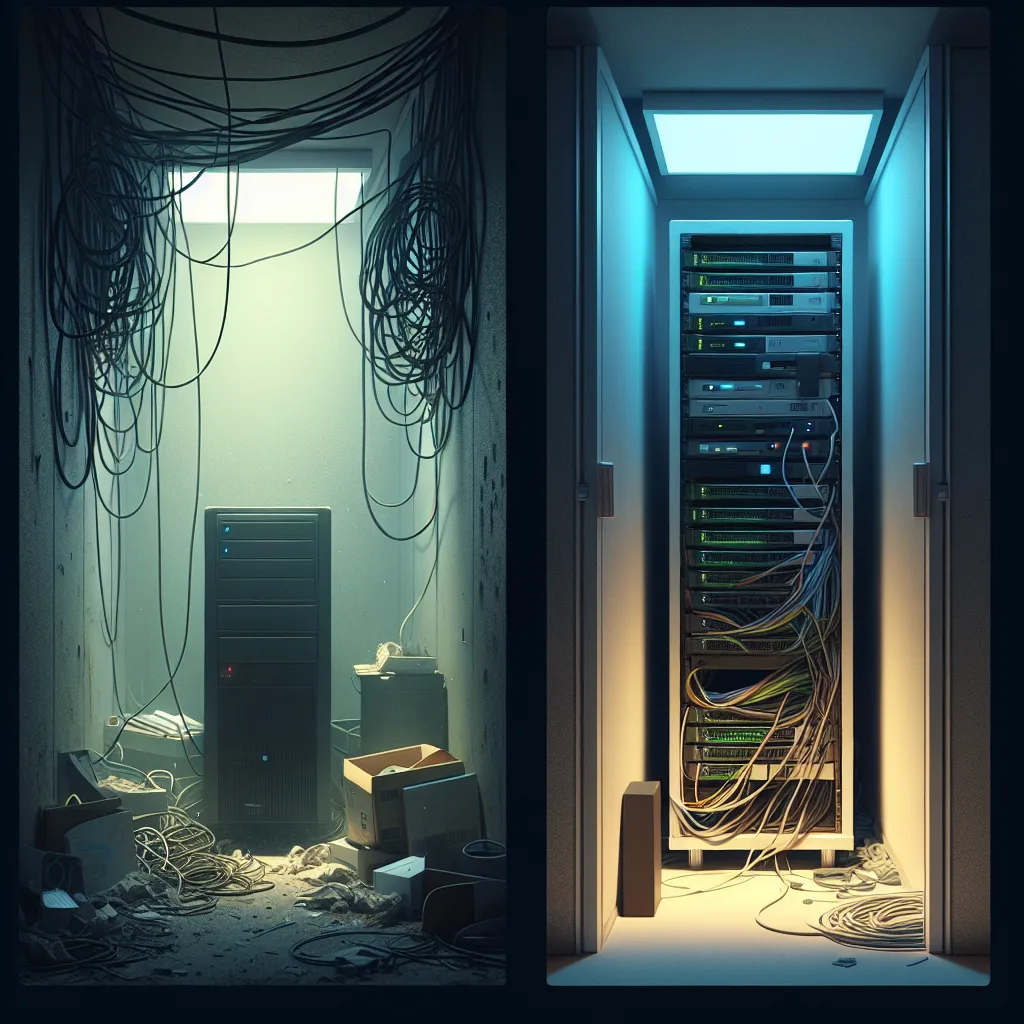
It all started in a closet.
That’s where the internet cable comes into the house, so it seemed like the logical place. I had an old Windows gaming PC that wasn’t doing much, so I loaded up Plex and called it a server. And for a while, it worked just fine. It was my first real “homelab,” even if it was just a single, dusty tower tucked away out of sight.
But things change.
That old PC was a power hog, and my electricity bill noticed. Plus, as the kids got older, their digital lives exploded. Suddenly, that makeshift server wasn’t just for my media—it needed to handle backups, photos, and all the digital odds and ends a family creates. The hardware was outdated, inefficient, and bursting at the seams. It was time for a real upgrade.
The Spark for a Full Rebuild
I knew I couldn’t just get a slightly newer PC. I wanted to do it right this time. I wanted something more powerful, more efficient, and much, much bigger in terms of storage. I also wanted a setup that I could tinker with and learn from.
So, I started planning. My goal was to separate tasks onto dedicated machines for better performance and reliability. After a lot of research, I landed on a multi-device setup that felt like a huge leap forward.
The New and Improved Homelab
My little closet server has grown into a proper rack. It’s still in the closet, but it’s a world away from the single dusty tower I started with. Here’s a look at what’s running the show now.
- The Brains: Mac Mini M4
This little machine is the core of my setup. With its 10GbE network connection and a speedy 4TB SSD, it runs all my primary services. This includes Plex and Jellyfin for media streaming, Tautulli for server stats, a personal website, and a handful of other useful applications. Using a Mac Mini is a bit unconventional for a server, but it’s quiet, power-efficient, and surprisingly fun to build on. - The Storage Powerhouse: Aoostar WTR Max running Unraid
This is where the serious storage lives. It’s a beast of a machine packed with six 22TB hard drives. That’s a whole lot of space for media, backups, and anything else I can think of. It’s all managed by Unraid, which is a flexible operating system for building a home NAS (Network Attached Storage). This was my first time using Unraid, and it’s been a fantastic learning experience. I also have a couple of NVMe drives inside for cache, which helps speed things up. -
The Network Backbone: UniFi Gear
To make sure all these devices can talk to each other at high speed, I invested in a proper network stack. A UniFi Cloud Gateway and a UniFi Pro Max switch handle all the traffic, including the PoE (Power over Ethernet) for my security cameras. It’s the glue that holds the entire system together. -
Even More Storage: UNAS Pro
Because you can never have too much storage, right? I also have a dedicated UNAS Pro chassis with another seven 18TB drives. This is mainly for long-term archives and secondary backups.
A Work in Progress (As Always)
Putting it all together was a project in itself. After getting the Aoostar box up and running, I had to completely reorganize the rack to make everything fit neatly. For the first time, it feels like a finished setup.
Well, “finished” for now.
Part of the fun of a homelab is the constant tinkering. I enjoyed building on the Mac, but I wanted a platform where I could really experiment with different operating systems and services. That’s why I went with the Aoostar build. I’m already debating if I should switch from Unraid to something like Proxmox to get even more flexibility.
The journey from that one PC in a closet to this multi-machine rack has been a blast. It started as a simple solution to a simple problem and evolved into a genuine hobby. And if you’re thinking about starting your own, just remember: it’s okay to start small. You never know where it might lead.