How to turn that old desktop computer into a powerful home server for your photos, media, and backups. It’s easier than you think.
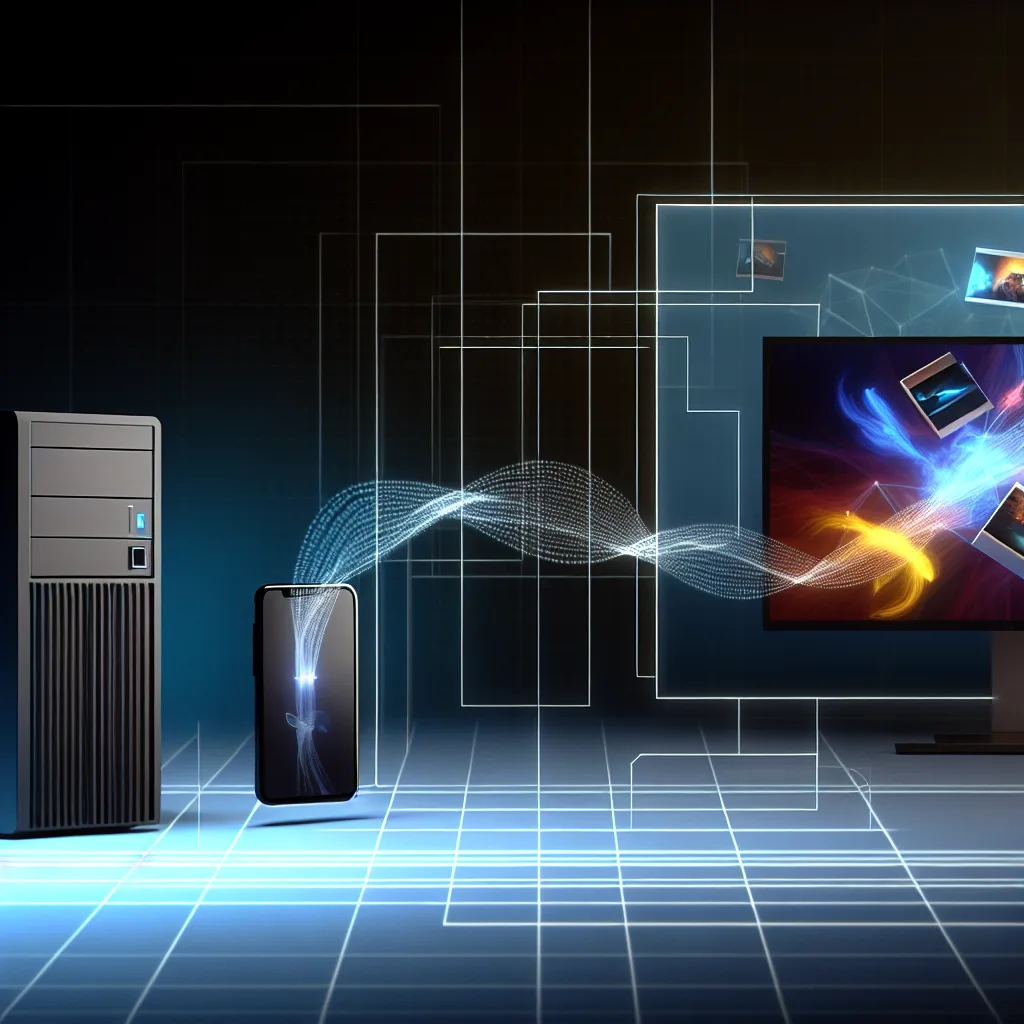
It starts with a simple thought. Maybe you’re staring at a “Storage Full” notification from Google Photos, or maybe you’re just tired of paying monthly subscription fees to access your own files. For me, it was the desire to build a private, reliable home for my family’s photos and our weekend movie collection. That’s what led me down the rewarding path of a PC to NAS conversion, turning a perfectly good computer I already owned into a powerful home server.
If you have an old or even a current desktop PC gathering dust, you might be sitting on the perfect foundation for your own private cloud. It can feel like a huge project, but let’s break it down. It’s probably easier than you think.
Is My Old PC Good Enough for a NAS?
This is the first question everyone asks. You might be surprised by the answer. Let’s look at the core components based on a pretty standard gaming PC build.
- CPU: A modern processor like an AMD Ryzen 5 3600 or a similar Intel Core i5 is more than powerful enough for a home NAS. Most of the time, your server will just be sitting there, serving files, which doesn’t take much power at all. The real test comes with video transcoding—converting a video file on-the-fly to play on your phone or TV. A chip like the Ryzen 5 can handle a couple of 4K streams without breaking a sweat.
- RAM: For a basic file server, 8GB of RAM is fine. But since we’re looking to run cool applications like Immich (for photos) and Jellyfin (for media), starting with 16GB is a fantastic idea. It gives you plenty of headroom to run multiple services at once without things slowing down.
- Motherboard & Case: The main thing to check here is how many SATA ports your motherboard has. Each hard drive you add will need one. Your case just needs enough physical space to hold the drives. A standard mid-tower case is perfect.
- Power Supply (PSU): An efficient, high-quality PSU (like an 80+ Gold rated one) is a huge plus. Since your server will likely be running 24/7, an efficient power supply will save you money on your electricity bill in the long run.
- Video Card (GPU): Here’s the fun part—you barely need one! For a “headless” server (one you access over the network), a basic GPU like a GeForce GT 1030 is only needed for the initial setup. After that, it won’t be doing much. However, if you plan to do a lot of 4K video transcoding with Jellyfin, a GPU can be a massive help. Features like Intel’s Quick Sync or NVIDIA’s NVENC offload the work from your CPU. You can learn more about this on the official Jellyfin hardware acceleration page.
Planning Your PC to NAS Conversion Storage
Okay, so the computer itself is good to go. Now, let’s talk about the most important part: the hard drives.
Your first step is to figure out how much space you actually need. I estimated about 3-4 TB for my growing photo library and another 2-3 TB for media. It’s always a good idea to aim for more than you need right now.
But you can’t just throw one big drive in and call it a day. What happens if it fails? You lose everything. That’s where parity comes in.
Think of parity as insurance for your data. You’ll use one hard drive in your array to hold parity information. If any other single drive fails, this parity drive can be used to completely rebuild the lost data on a replacement drive. It’s a lifesaver. This means if you want 6TB of usable space, you might buy three 3TB drives—two for storage and one for parity.
When buying drives, I strongly recommend getting ones designed for NAS use, like the Western Digital Red Plus or Seagate IronWolf series. They are built to run 24/7 and handle the vibrations of being next to other drives.
The Software: Bringing Your Home Server to Life
With your hardware sorted, you need an operating system. You could just install a standard Linux distribution like Ubuntu Server, but I’d recommend a dedicated NAS OS to make life easier.
- TrueNAS SCALE: A powerful, open-source option with tons of features. It’s incredibly robust and based on Linux, so it has great app support.
- Unraid: A very popular, user-friendly choice that’s great for beginners. It’s not free, but many find the license fee is well worth the convenience.
Once your OS is running, you can install applications. This is where the magic happens.
* Immich: This is your self-hosted Google Photos. It automatically backs up photos from your phone, organizes them by date, and even uses machine learning to identify people and objects. It’s fantastic.
* Jellyfin: This is your personal Netflix. Point it to your movie and TV show folders, and it creates a beautiful, browsable library that you can stream to any device, anywhere.
Don’t Forget the Golden Rule: Backups!
Remember, parity and RAID are not backups. They protect you from a single drive failure, but not from accidental deletion, file corruption, or a disaster like a fire.
A great strategy is the 3-2-1 Backup Rule.
* 3 Copies of your data.
* 2 Different types of media (e.g., your NAS and an external hard drive).
* 1 Copy kept off-site.
My plan involves using a couple of external hard drives to back up the most critical data (family photos) and keeping one of them at my office. It’s a simple and effective way to ensure my most precious files are safe. You can read a great breakdown of this rule from the pros at Backblaze.
Embarking on a PC to NAS conversion is a journey, but it’s one that puts you in complete control of your digital life. It saves you money, protects your privacy, and, honestly, it’s a really fun project. Your old PC has more life in it than you think.